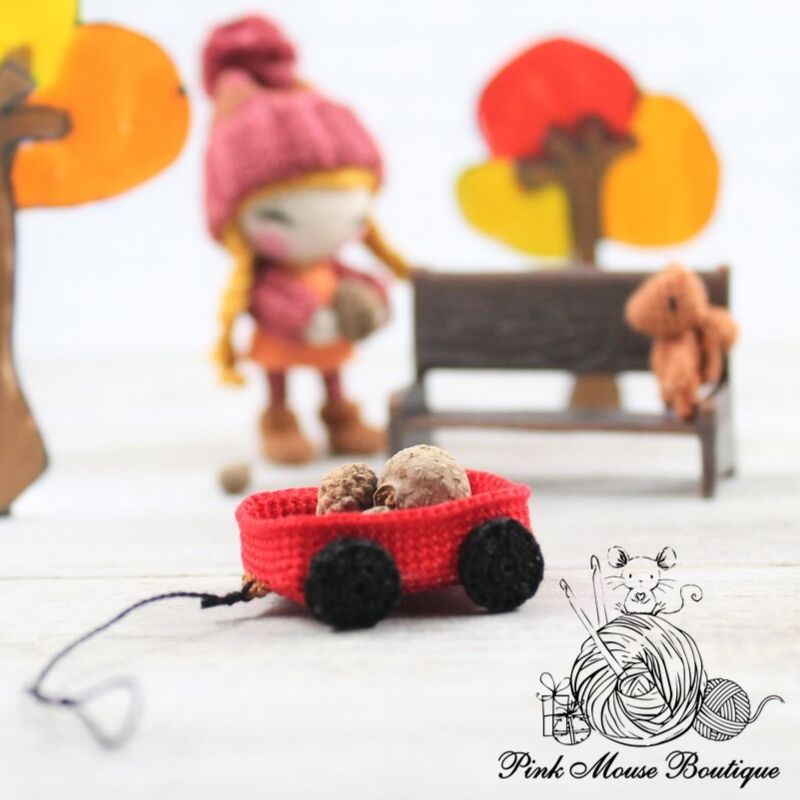
I love everything about the fall season – the rain, the colors, the falling leaves. Everything…
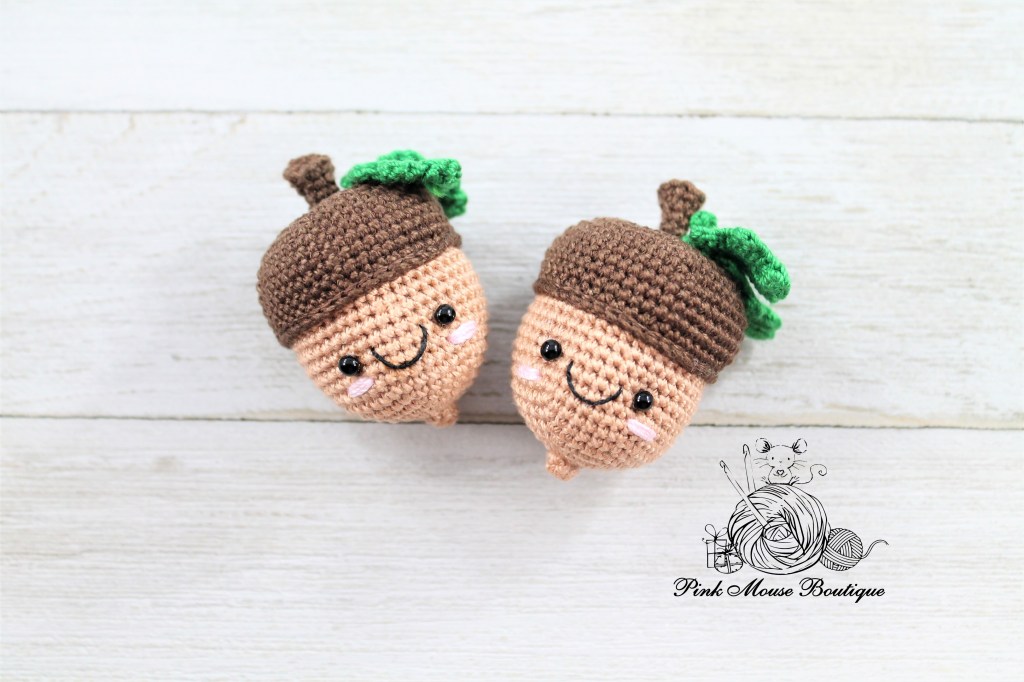
And this year I was inspired to make a sweet little acorn. You can add a cute face or leave it plain for a more stylish fall decor.
The pattern is below.
Or you can download the free PDF by visiting my amigurumi patterns (dot) net store here: PINK MOUSE BOUTIQUE
MATERIALS
- Aunt Lydia’s size 10:
- Light brown – acorn
- Dark brown – acorn top
- Light pink – cheeks
- DMC cotton perle 12 (or single strand DMC floss)
- Black – mouth
- Plastic eyes – 3 mm
- Clover Amour hook – 1.5 mm
- Stuffing
- Clear tacky glue
ABBREVIATIONS:
MR – magic ring
St(es) – stitch(es)
Sl st – slip stitch
Sc – single crochet
Inc – increase
Dec – decrease (invisible decrease)
RS – right side
PATTERN
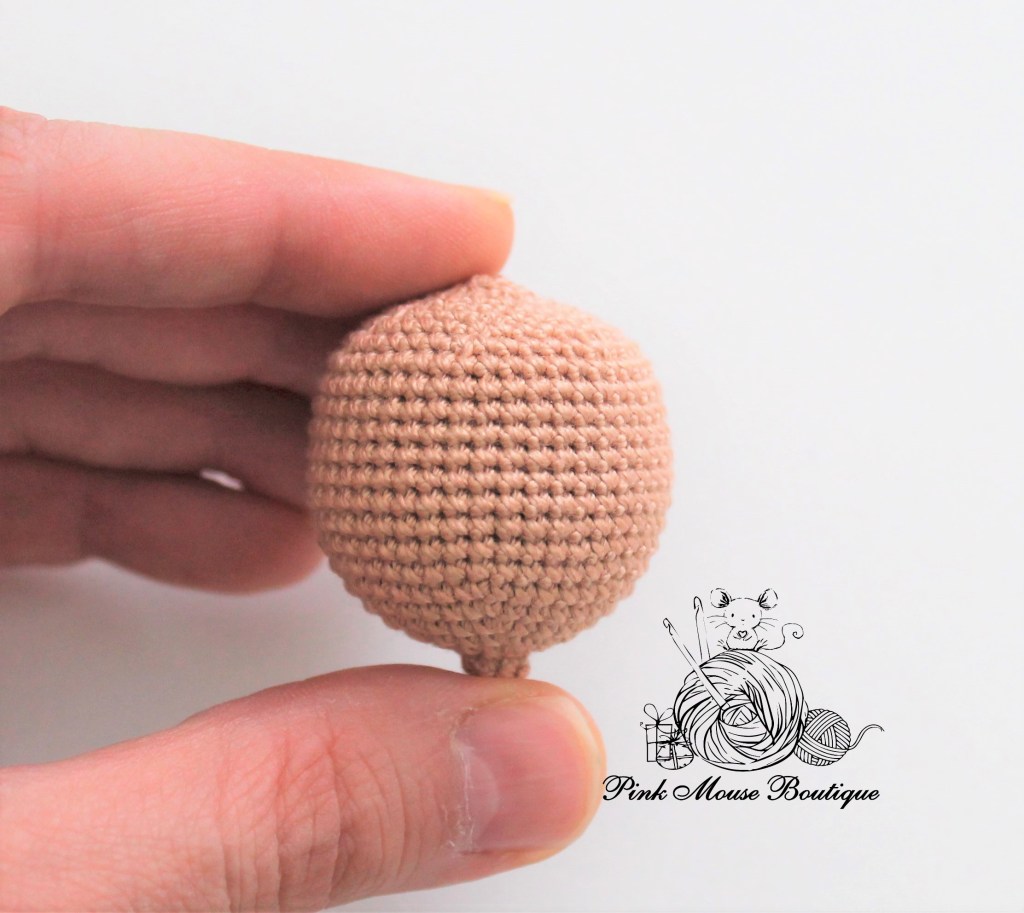
ACORN
Crochet in continuous rounds.
Round 1: (RS) with light brown 6 sc in a mr – 6 sts
Round 2: sc around – 6 sts
Round 3: 6 inc – 12 sts
Round 4: (sc, inc) x 6 – 18 sts
Round 5: (2 sc, inc) x 6 – 24 sts
Round 6: (3 sc, inc) x 6 – 30 sts
Round 7: (4 sc, inc) x 6 – 36 sts
Round 8: (5 sc, inc) x 6 – 42 sts
Rounds 9 – 18: sc around – 42 sts (10 rounds)
If you are using safety eyes, attach them between Rounds 11 and 12, 7 spaces apart.
Round 19: (5 sc, dec) x 6 – 36 sts
Round 20: (4 sc, dec) x 6 – 30 sts
Round 21: (3 sc, dec) x 6 – 24 sts
Round 22: (2 sc, dec) x 6 – 18 sts
Stuff firmly. You may need to stuff more before finishing the last round.
Round 23: (sc, dec) x 6 – 12 sts
Round 24: 6 dec – 6 sts
Fasten off, finish off, and secure the stitches.


STEM
Crochet tight. The stem is not stuffed.
Round 1: with dark brown 4 sc in a mr – 4 sts
Round 2: 4 inc; ch 1 and turn – 8 sts
Round 3: sc in BLO – 8 sts
Round 4: (2 sc, dec) x 2 – 6 sts
Rounds 5 – 7: sc around – 6 sts (3 rounds)
ACORN CAP – Continue crocheting from where you stopped with the stem.
Round 8: 6 inc – 12 sts
Round 9: (sc, inc) x 6 – 18 sts
Round 10: (2 sc, inc) x 6 – 24 sts
Round 11: (3 sc, inc) x 6 – 30 sts
Round 12: (4 sc, inc) x 6 – 36 sts
Round 13: (5 sc, inc) x 6 – 42 sts
Round 14: (6 sc, inc) x 6 – 48 sts
Rounds 15 – 18: sc around – 48 sts (4 rounds)
Round 19: (6 sc, dec) x 6 – 42 sts
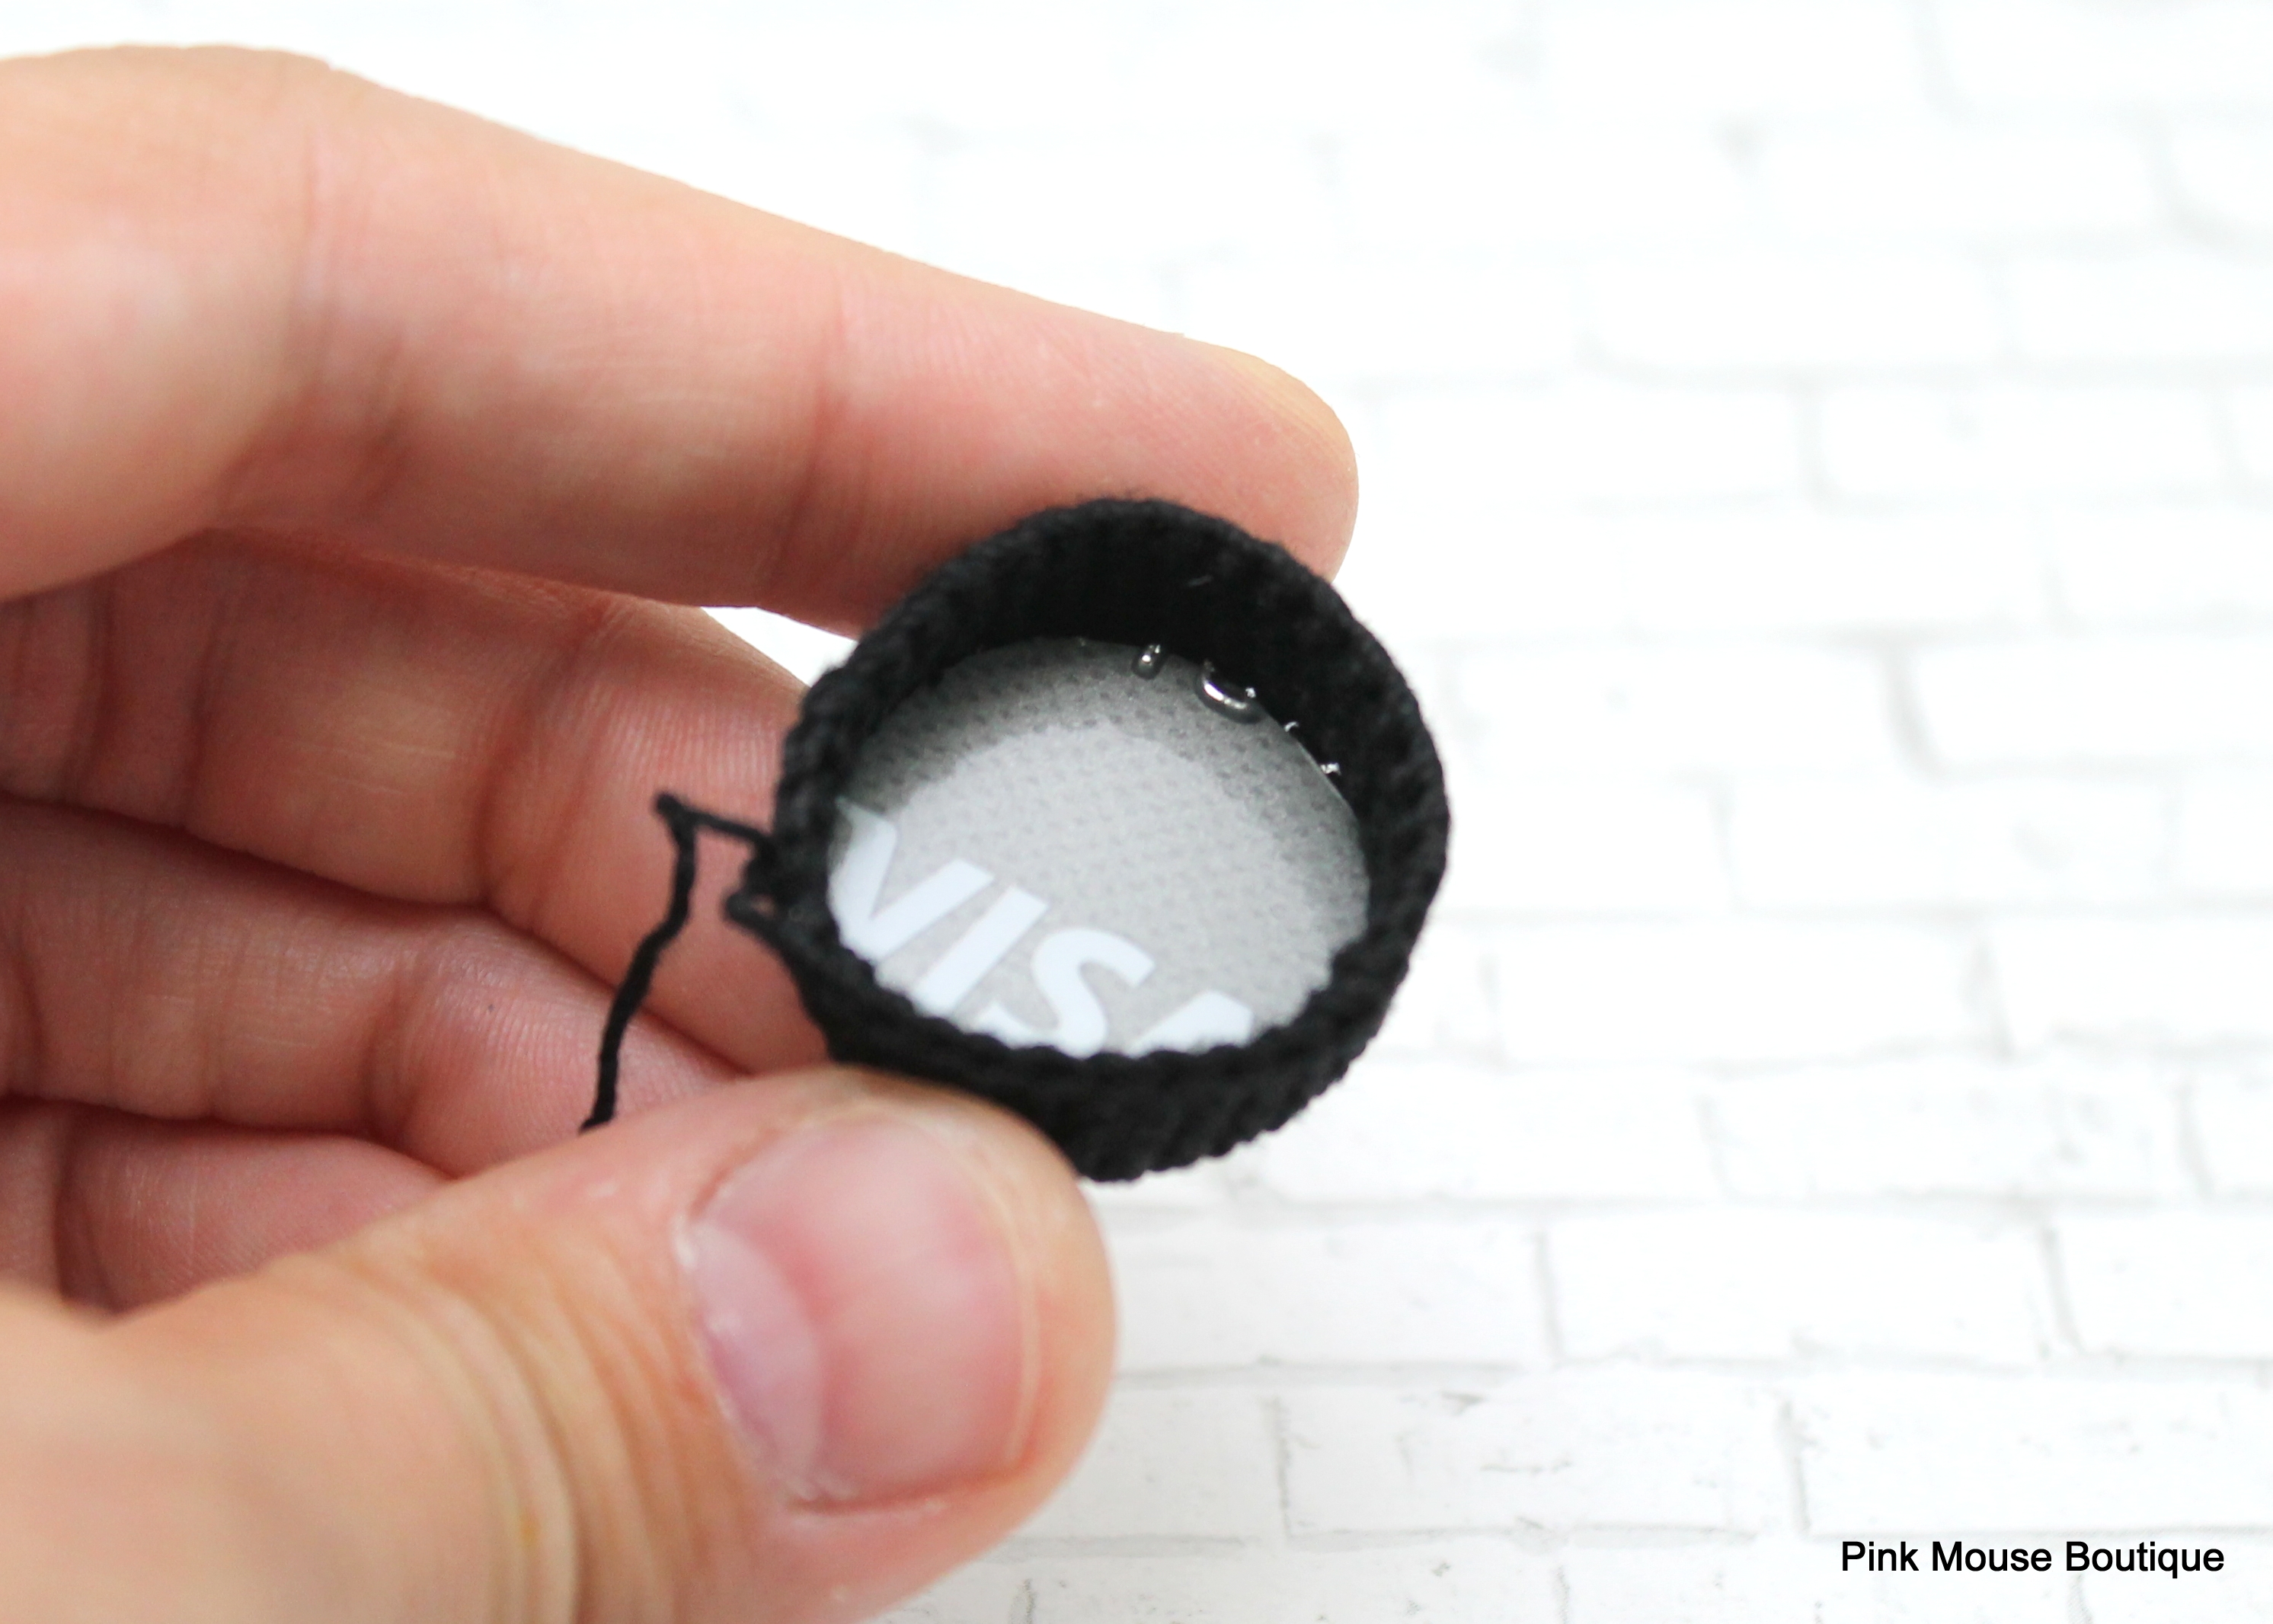
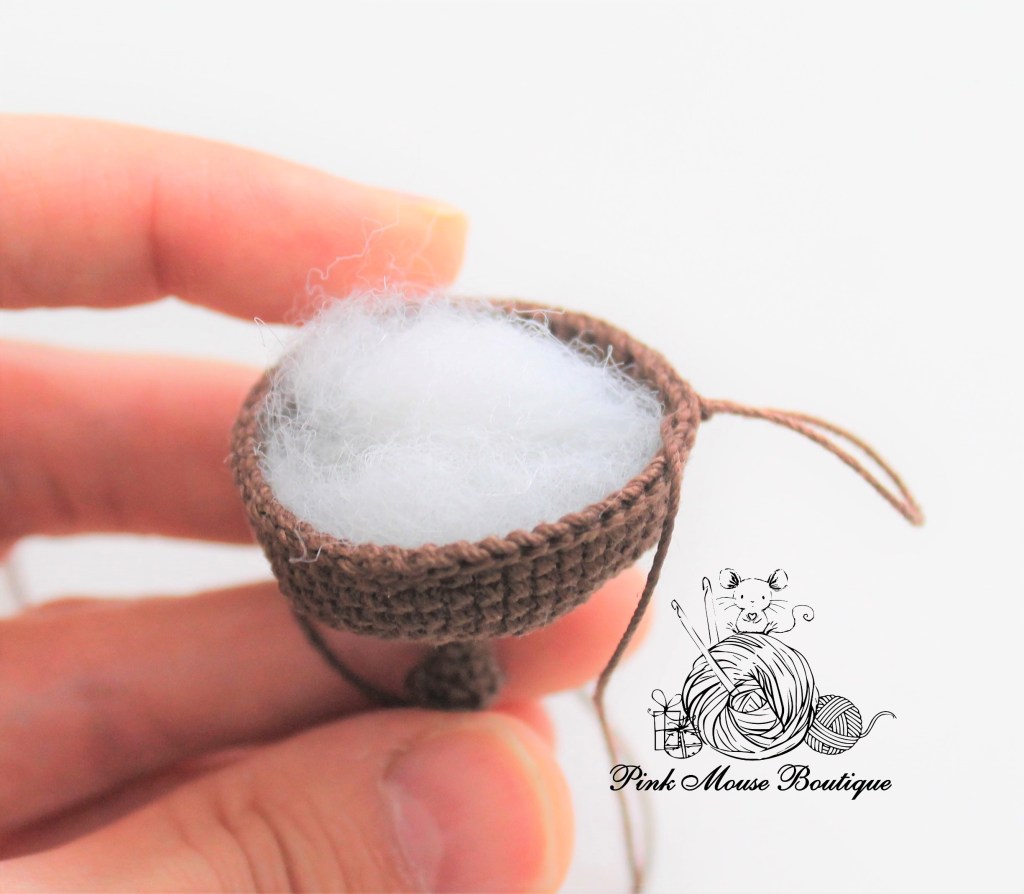
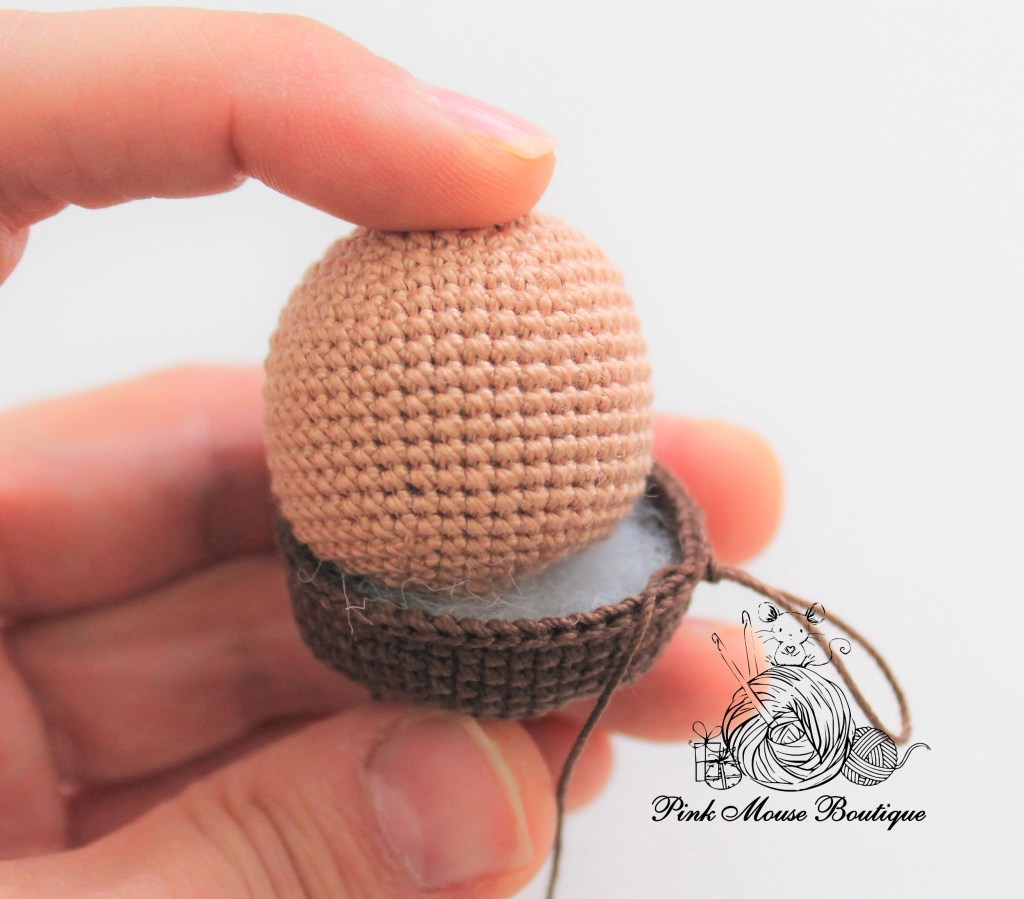
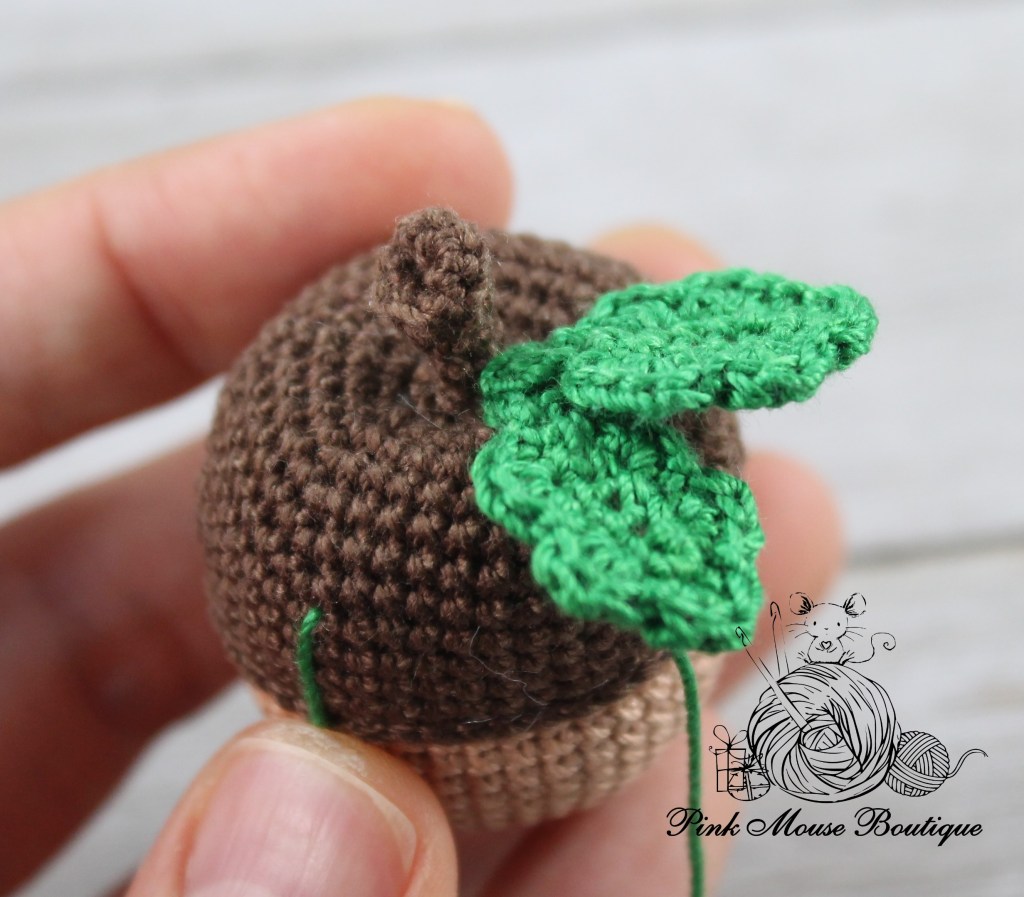
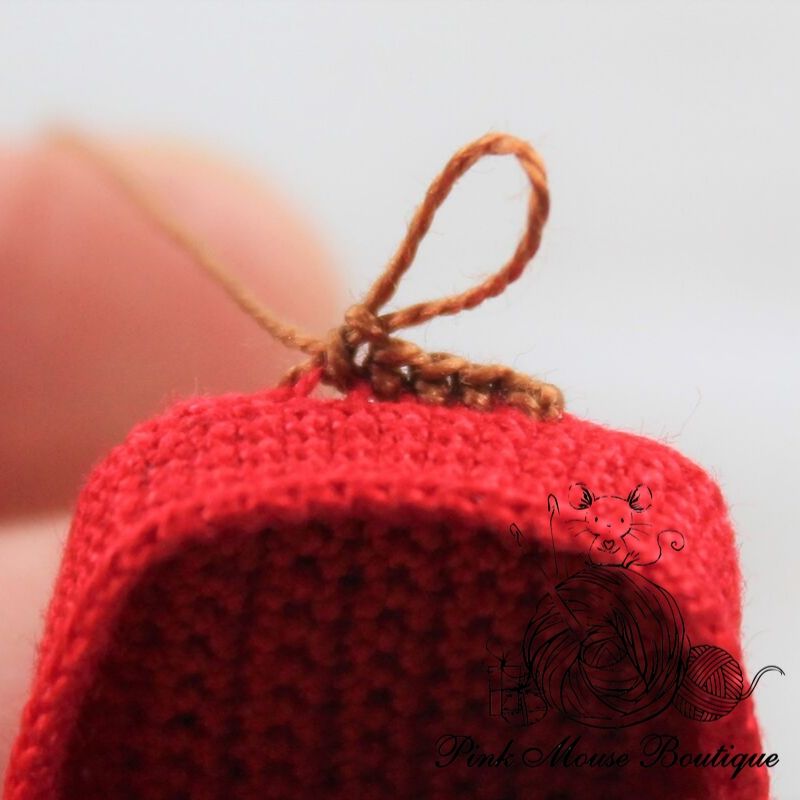
Stuff the cap and place it on the acorn. Hold in place while crocheting the last round. Pictures B and C
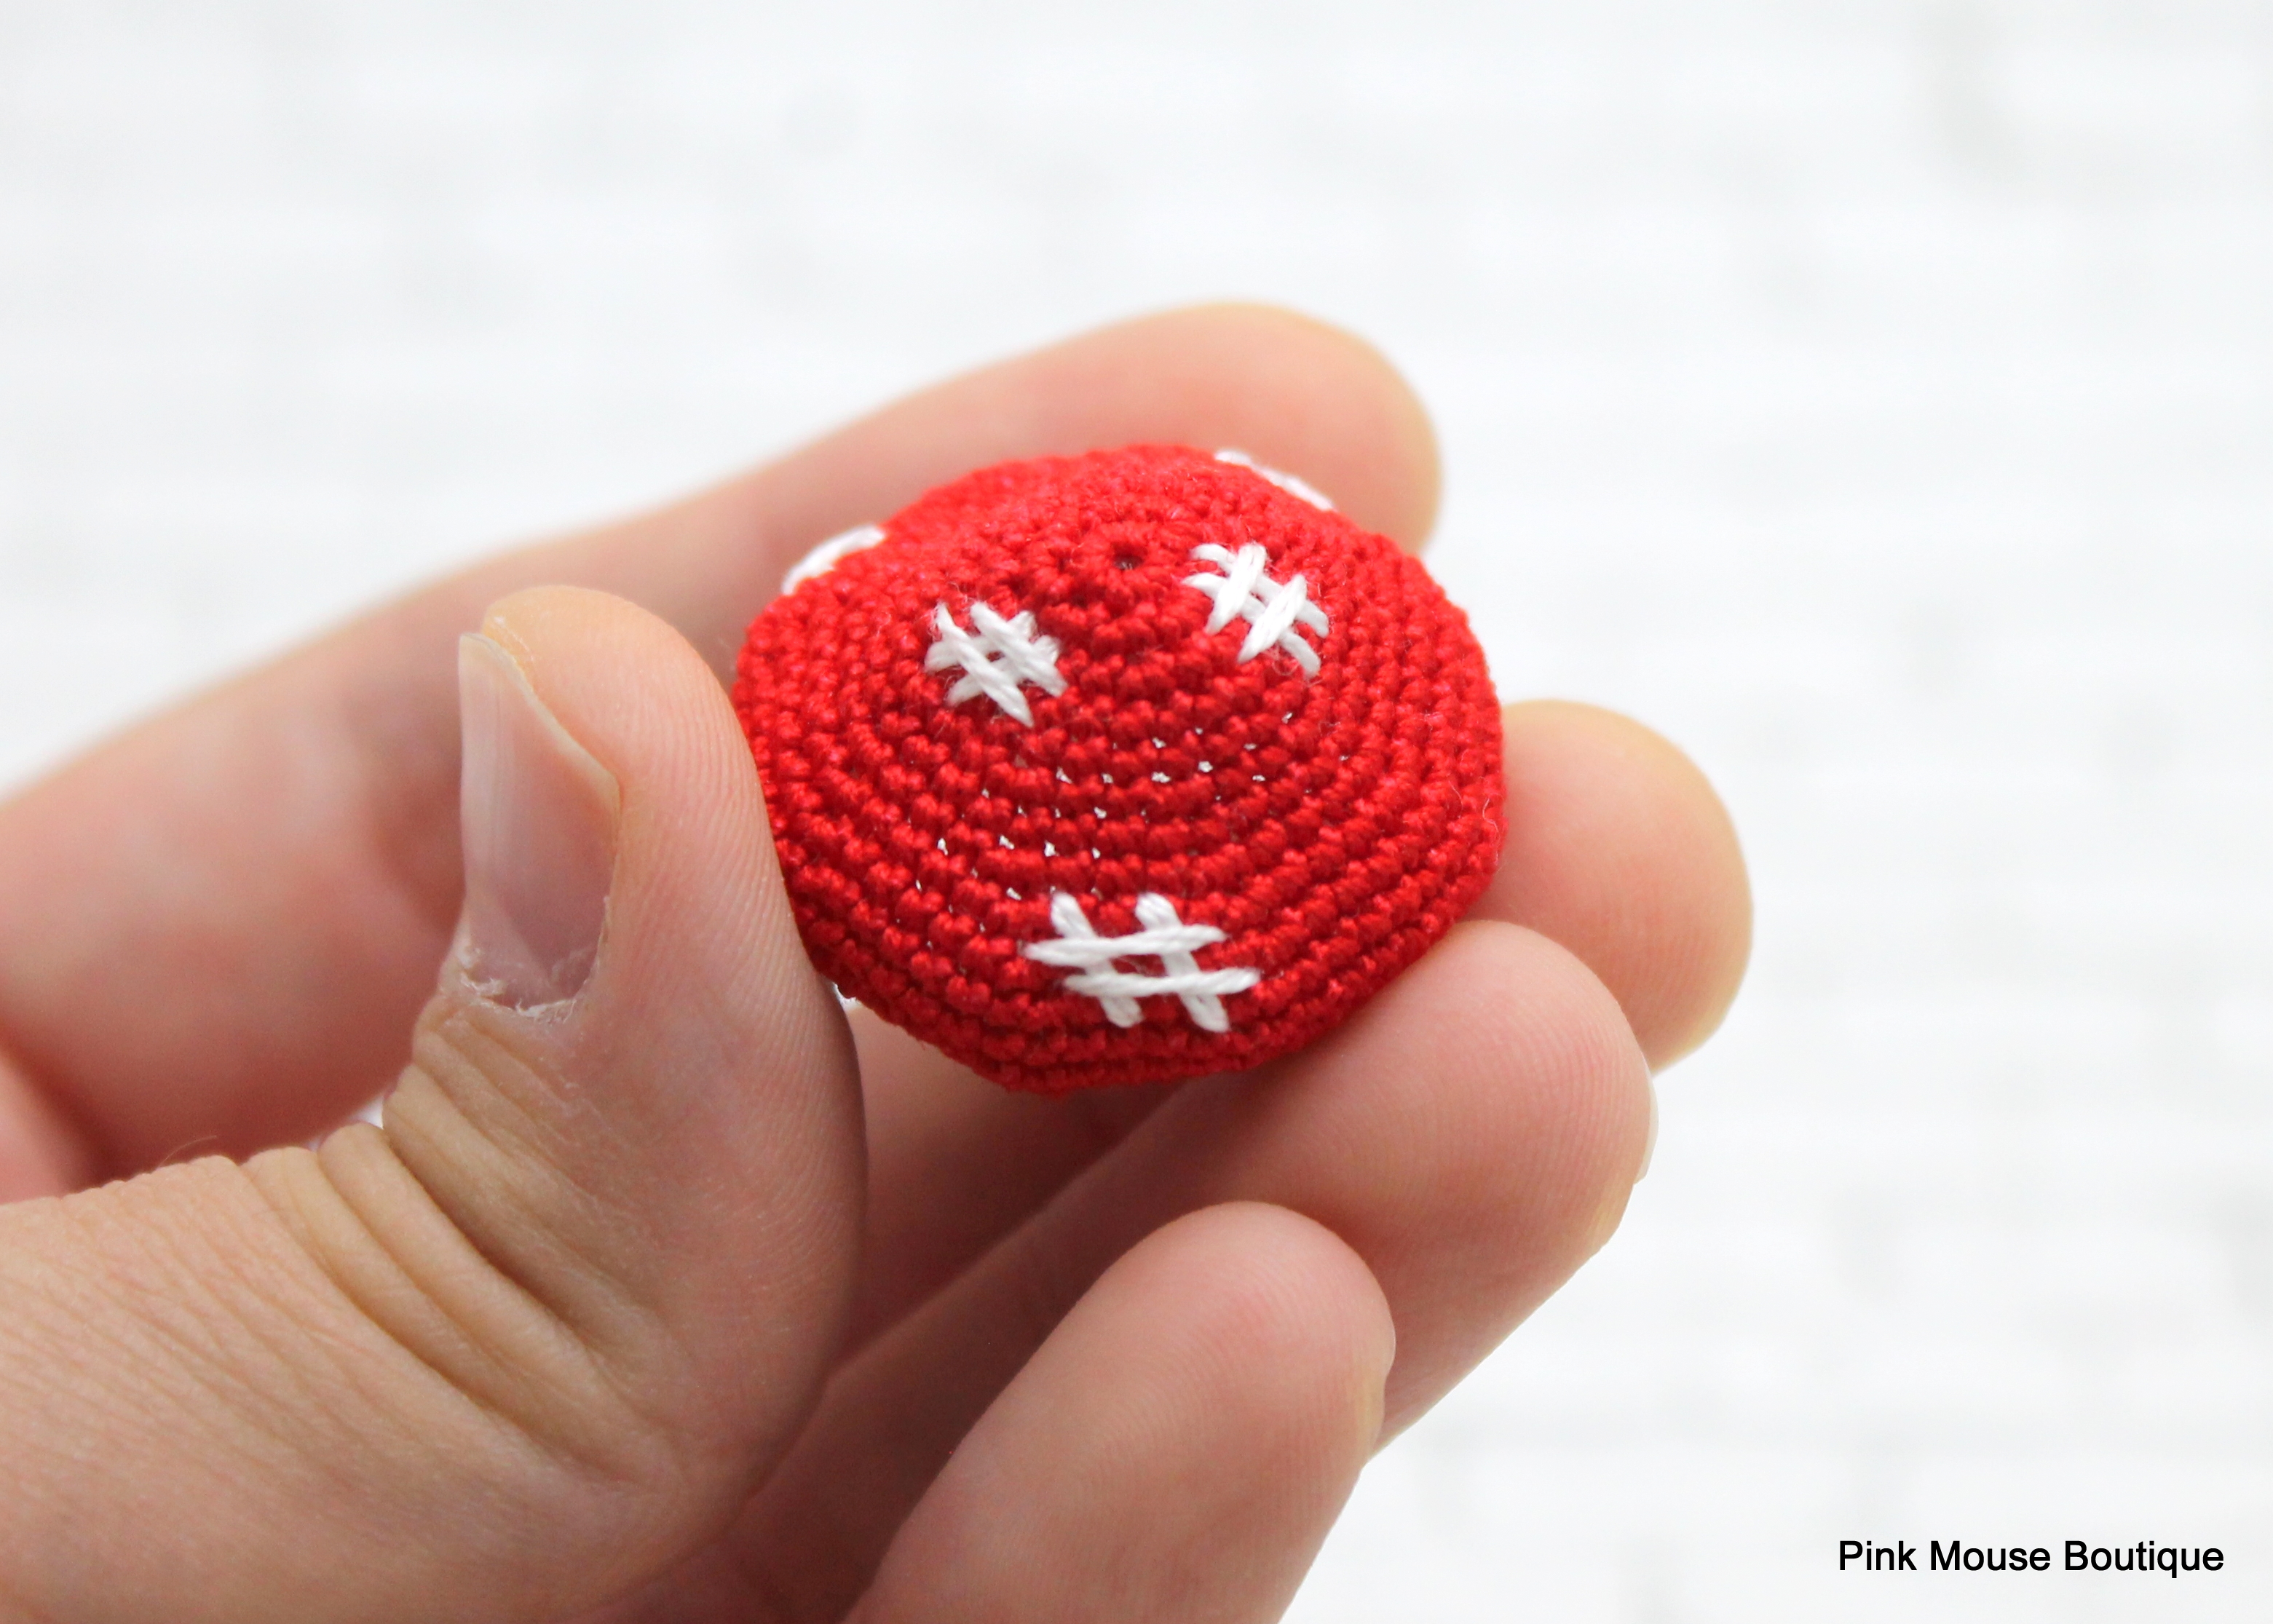
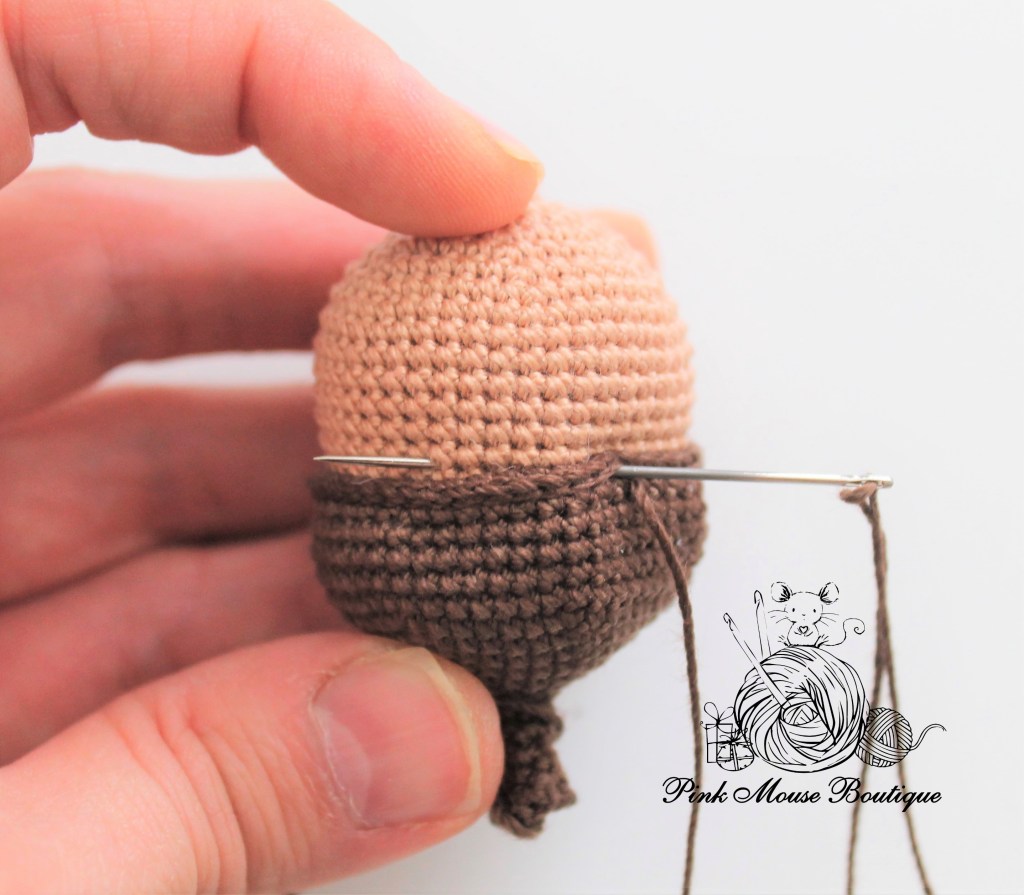
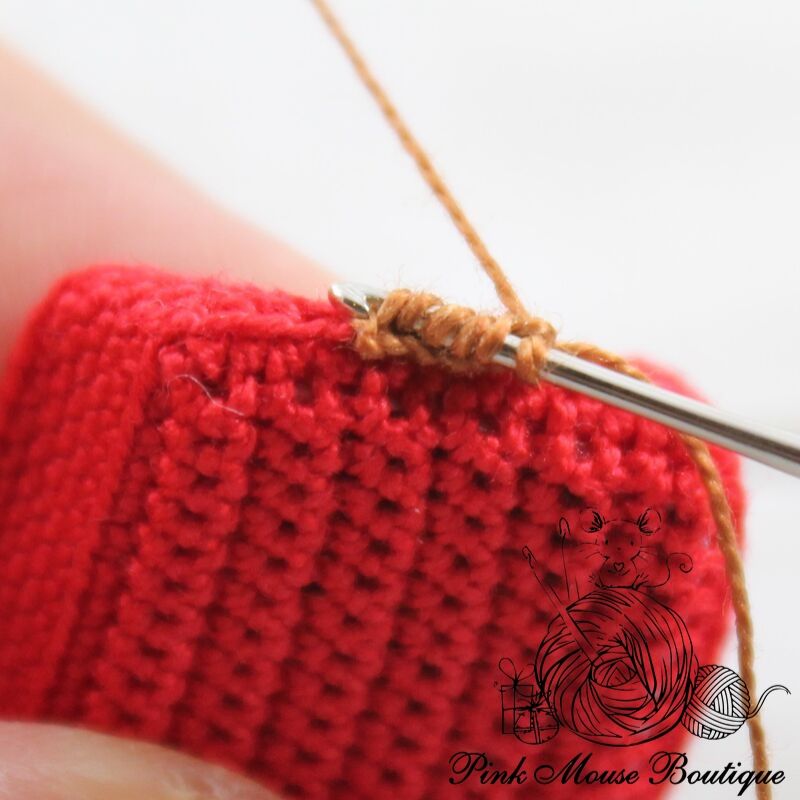
Round 20: sl st around – 42 sts (Picture D)
Fasten off leaving a tail for sewing.
Sew Round 19 of the acorn cap to the space between Round 15 and Round 16 of the acorn. Because we did a round of slip stitch, we don’t need to sew every single stitch. Sew every 4 or 5 stitches. (Picture E)
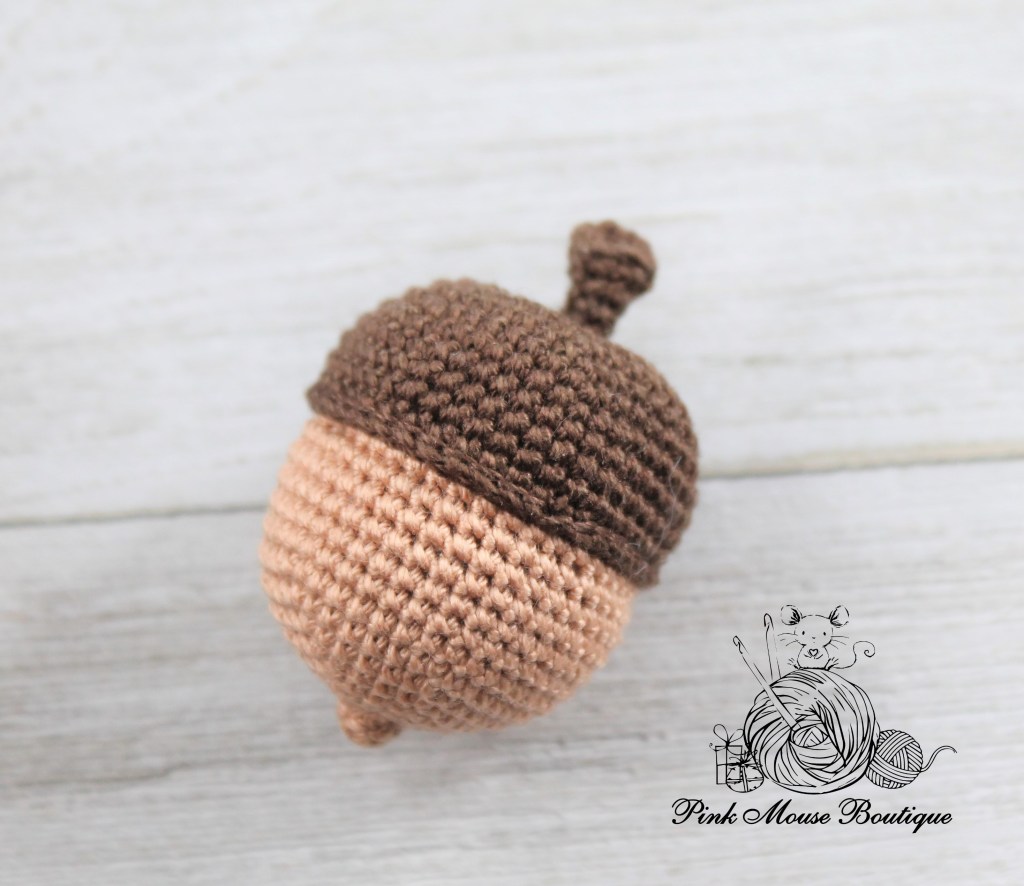
SHAPING THE ACORN CAP
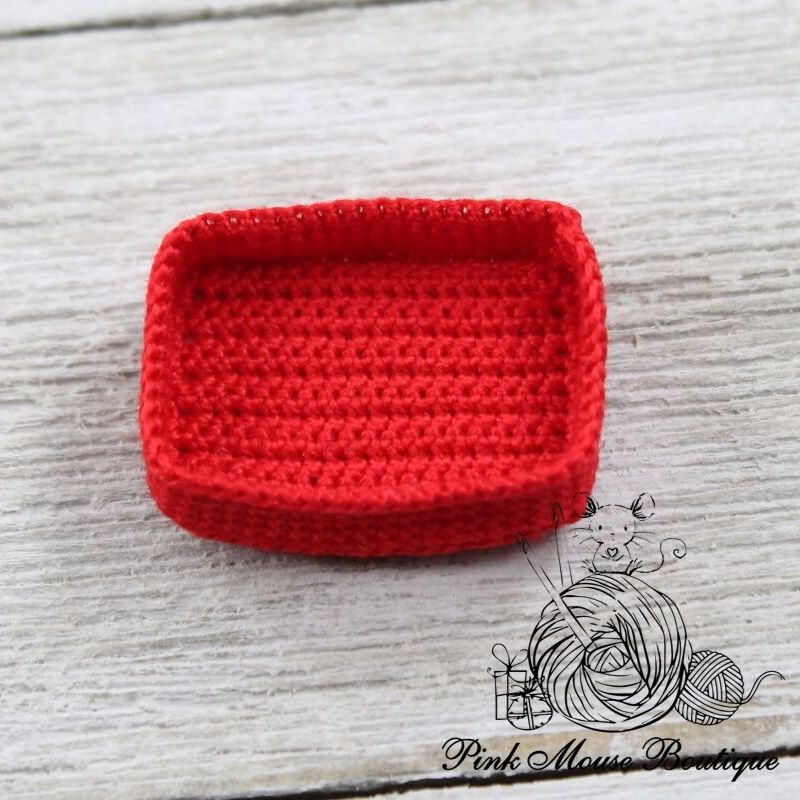
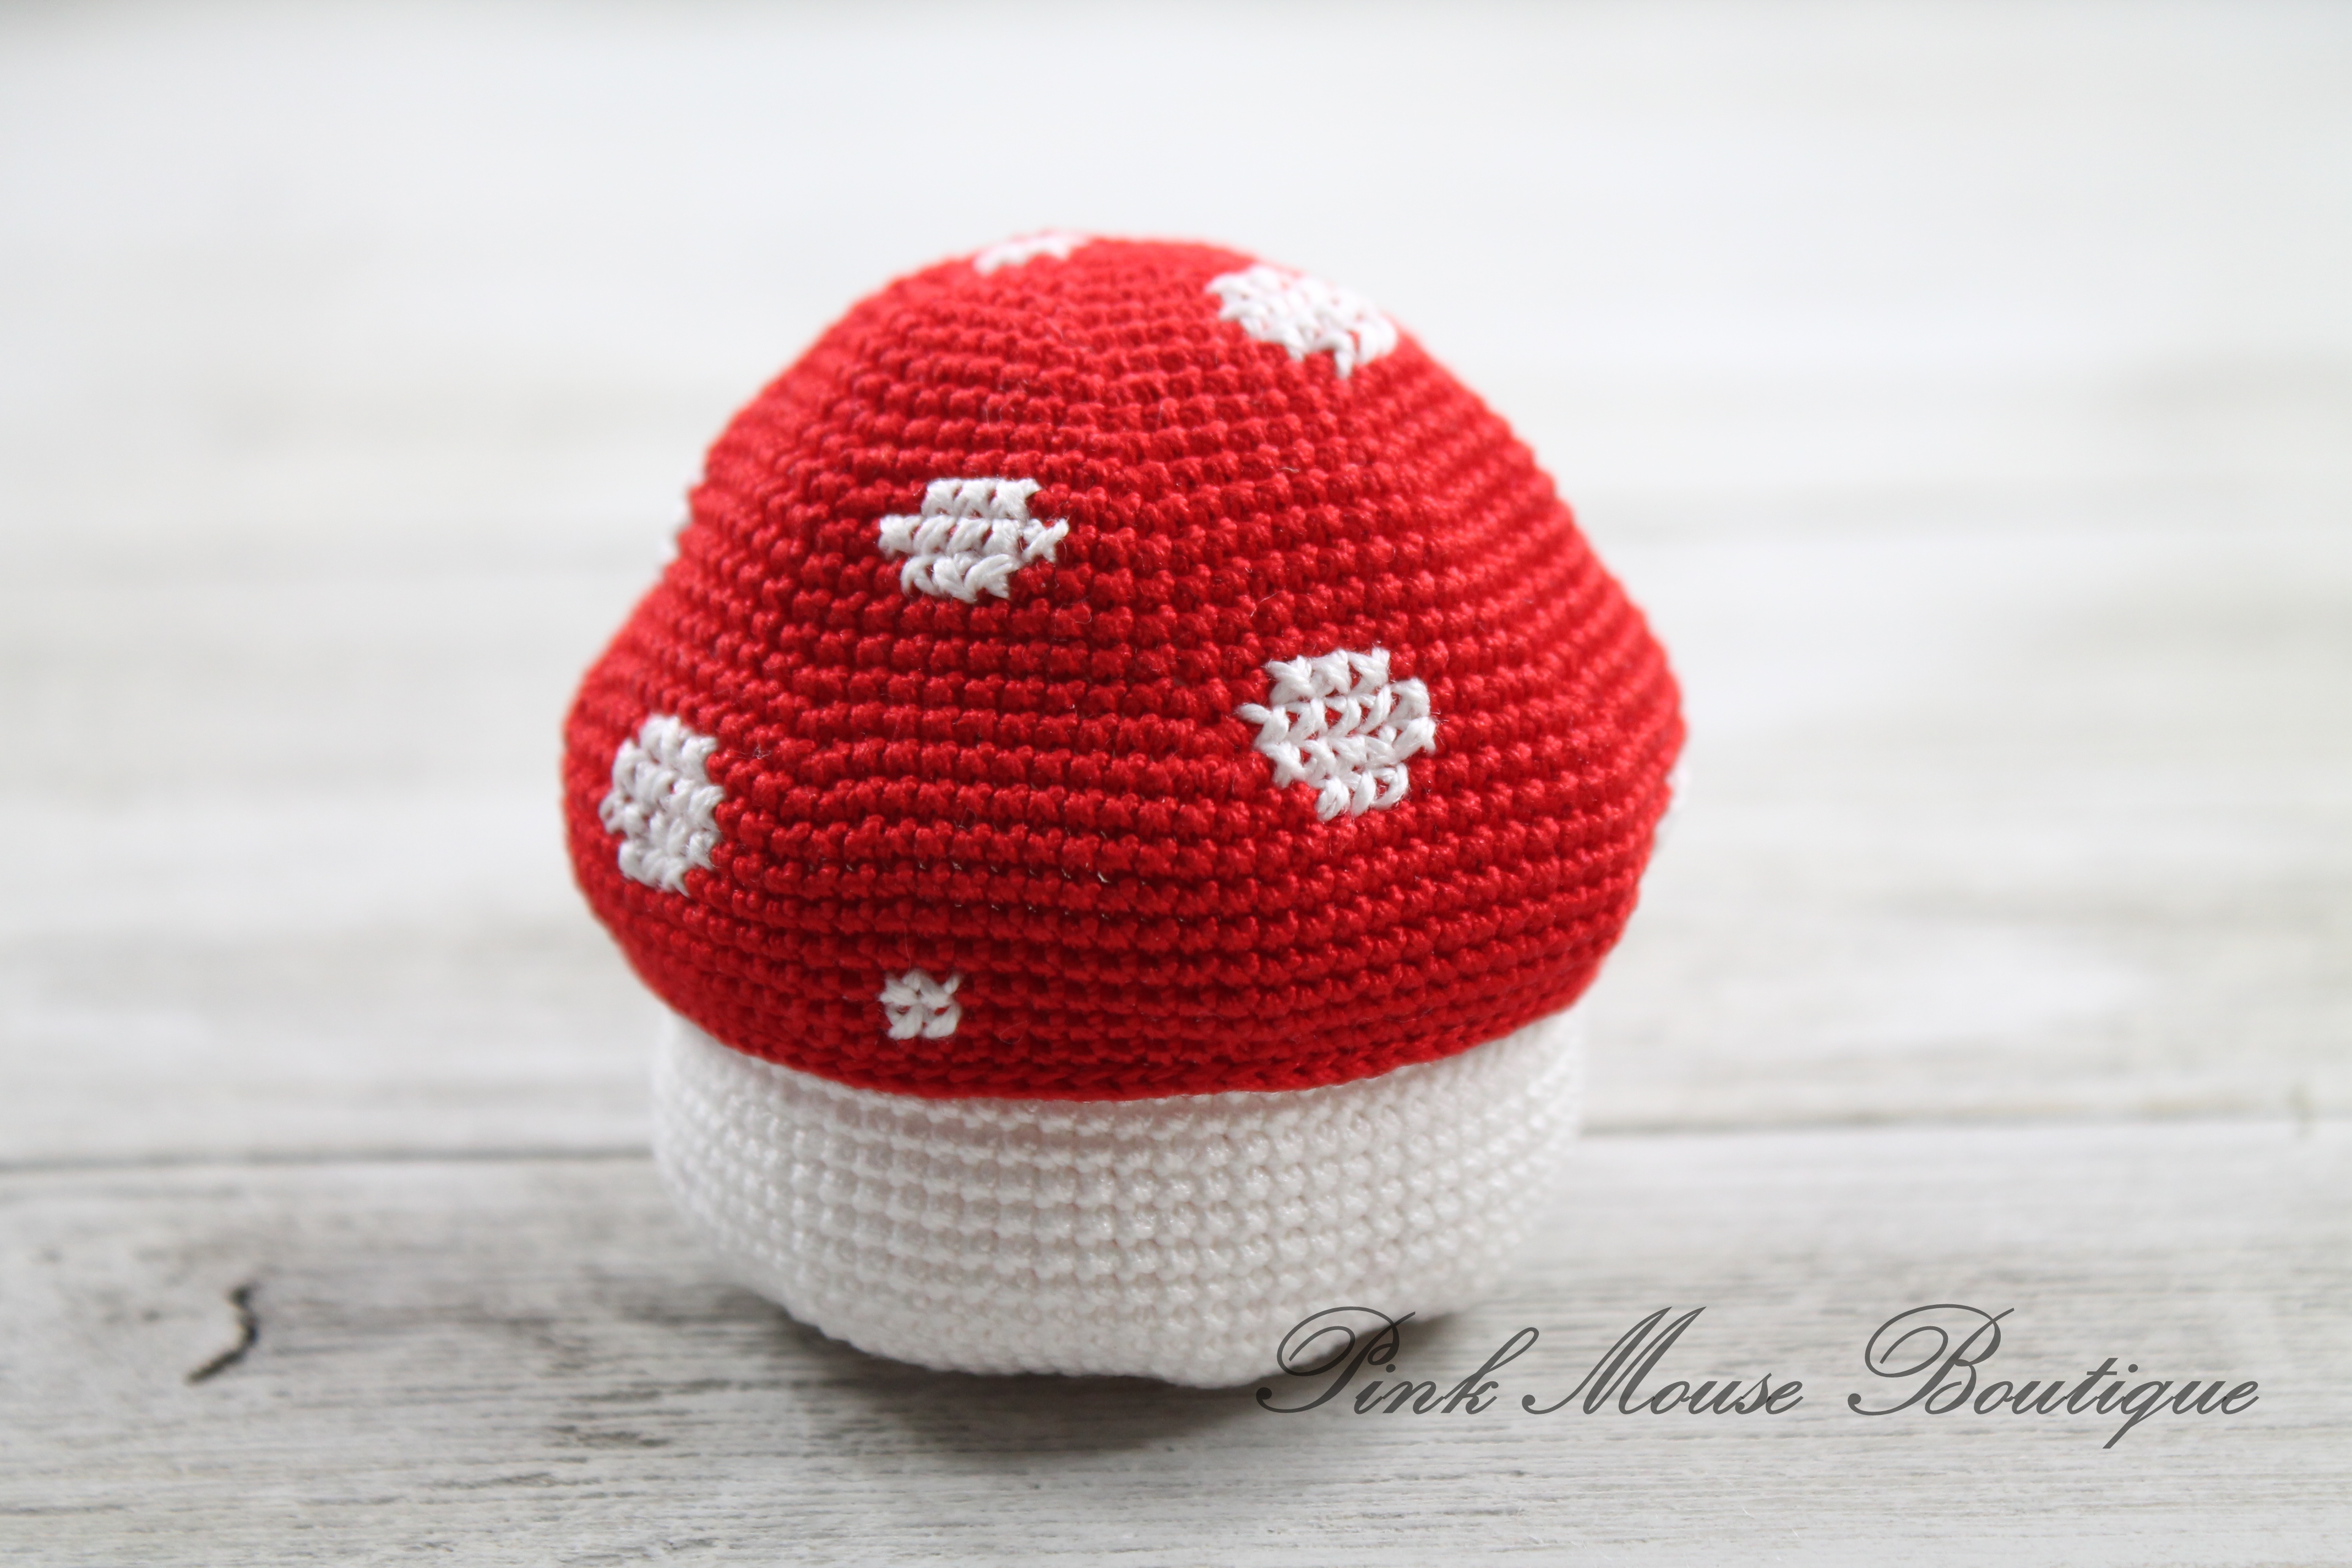
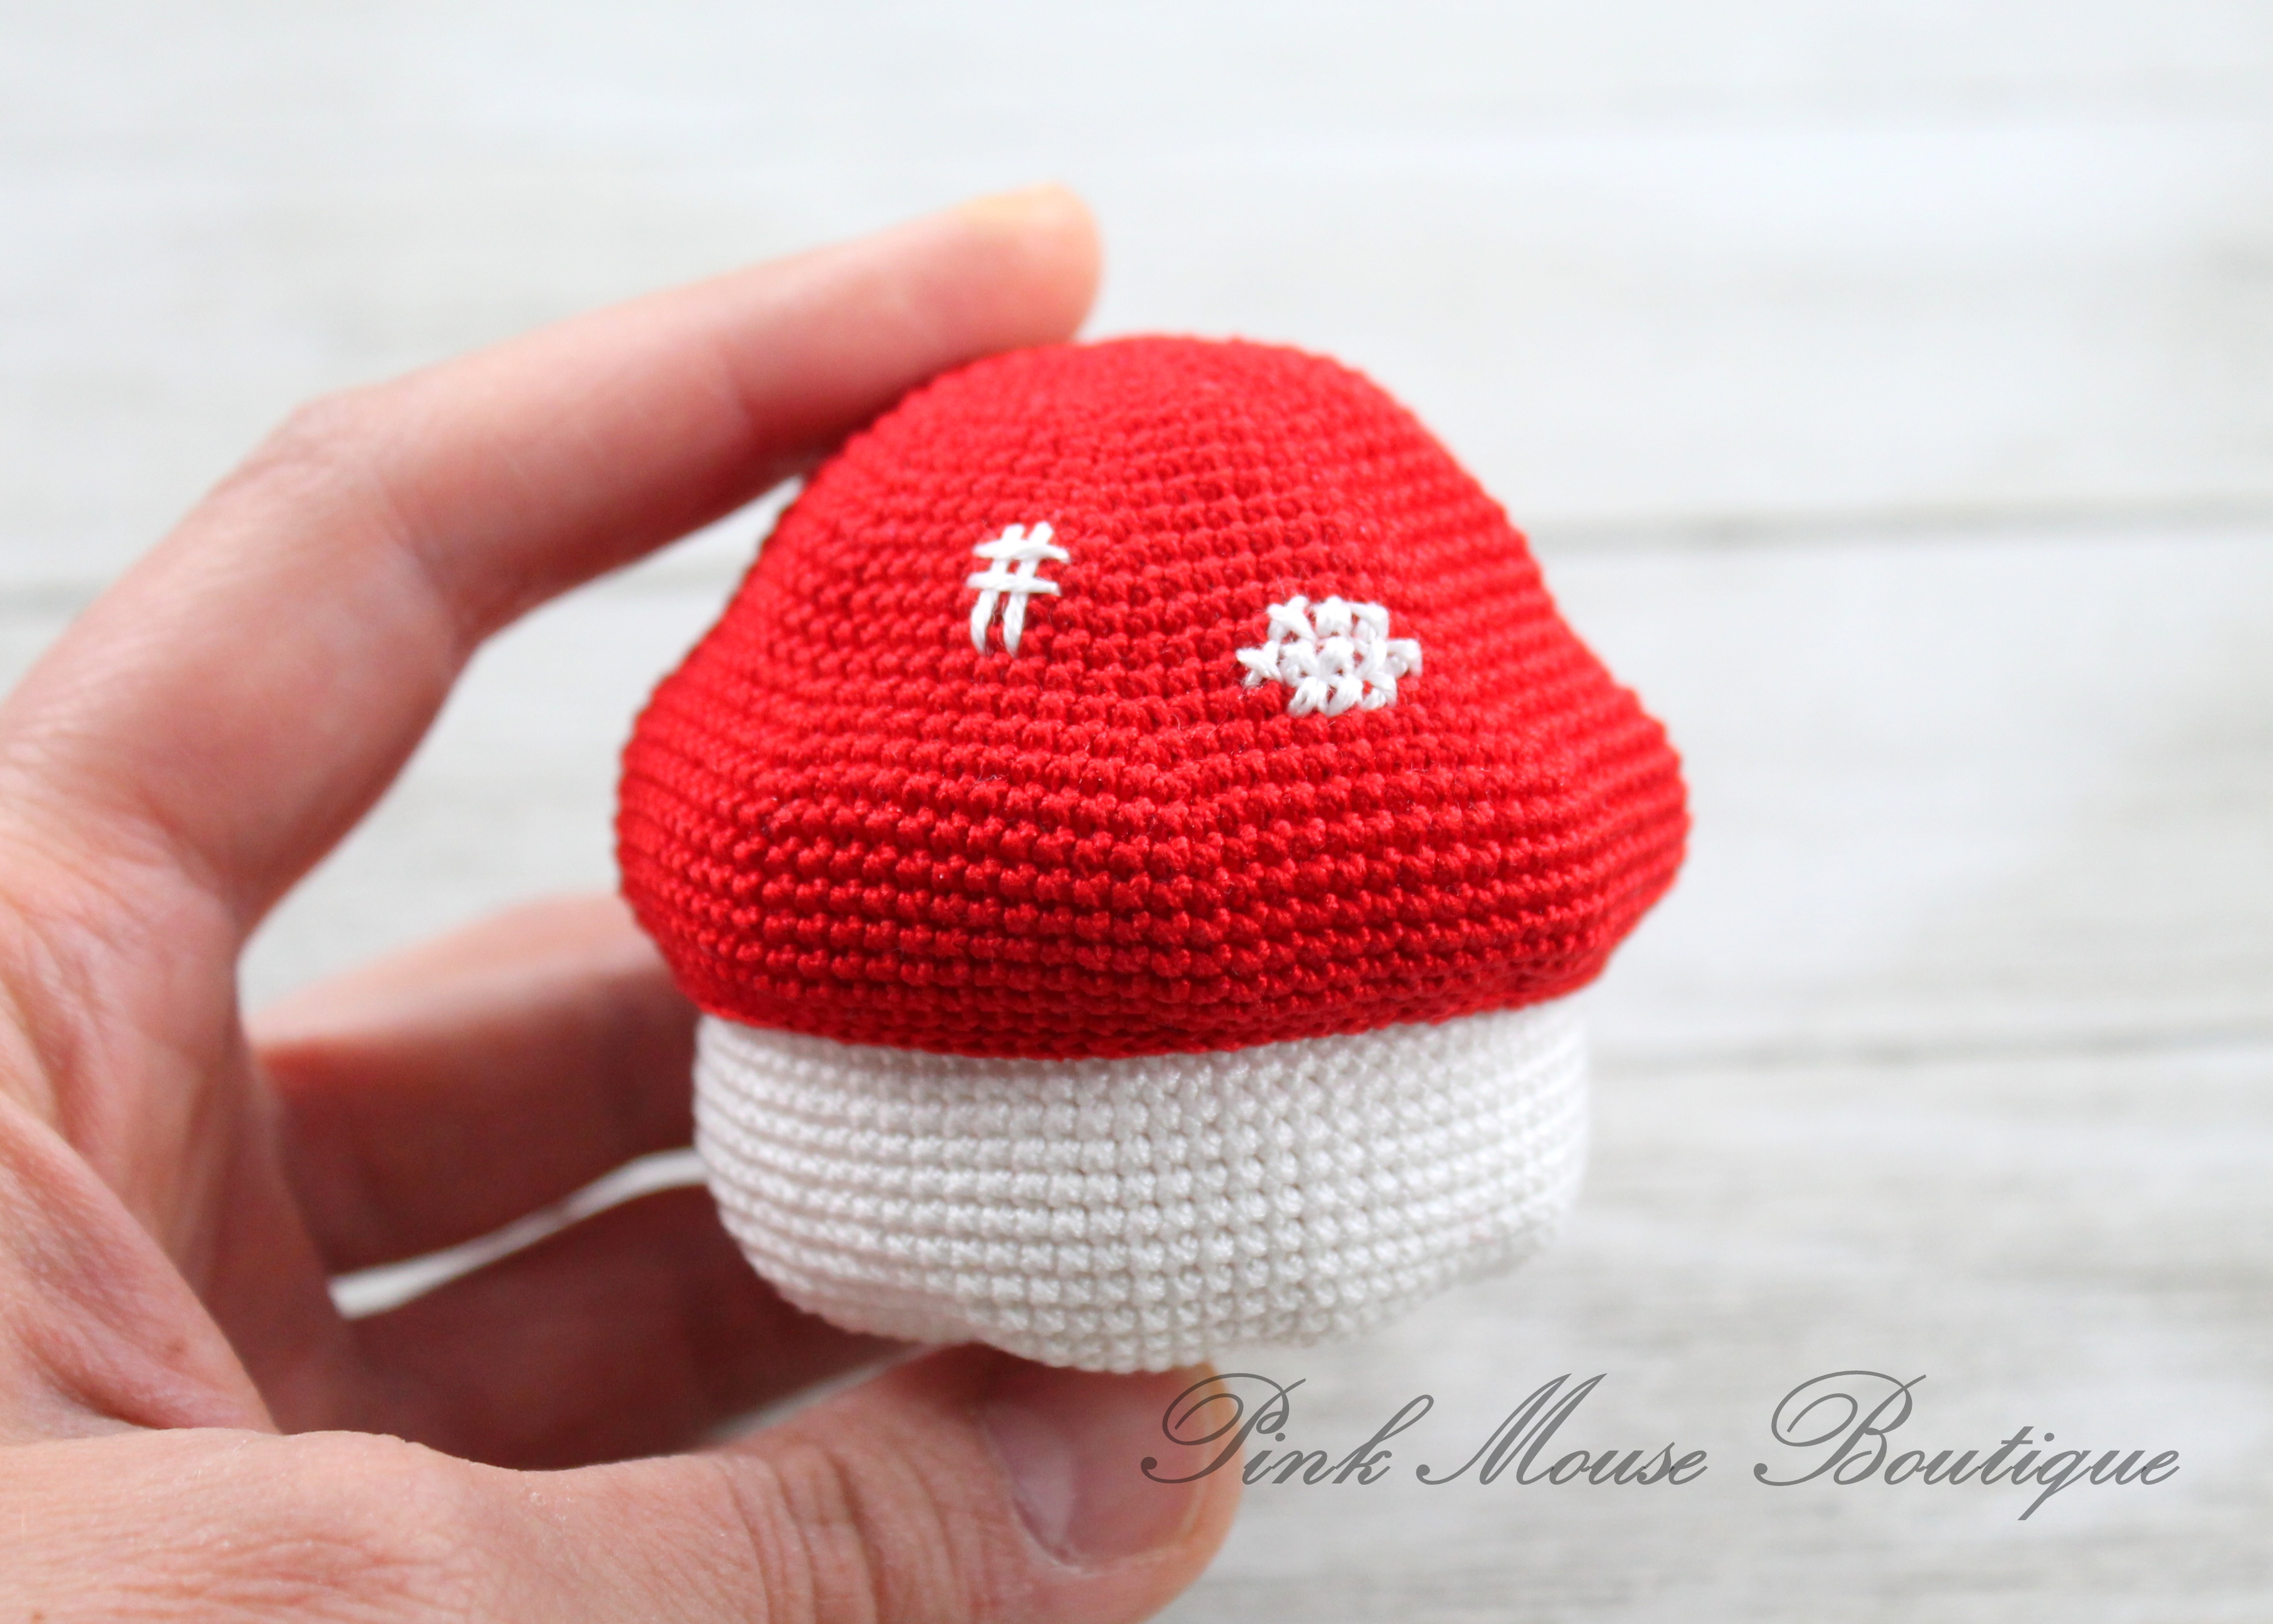
You can leave the acorn cap as is (Picture F) or you can create a slight indentation and add more shape to it (Picture G).
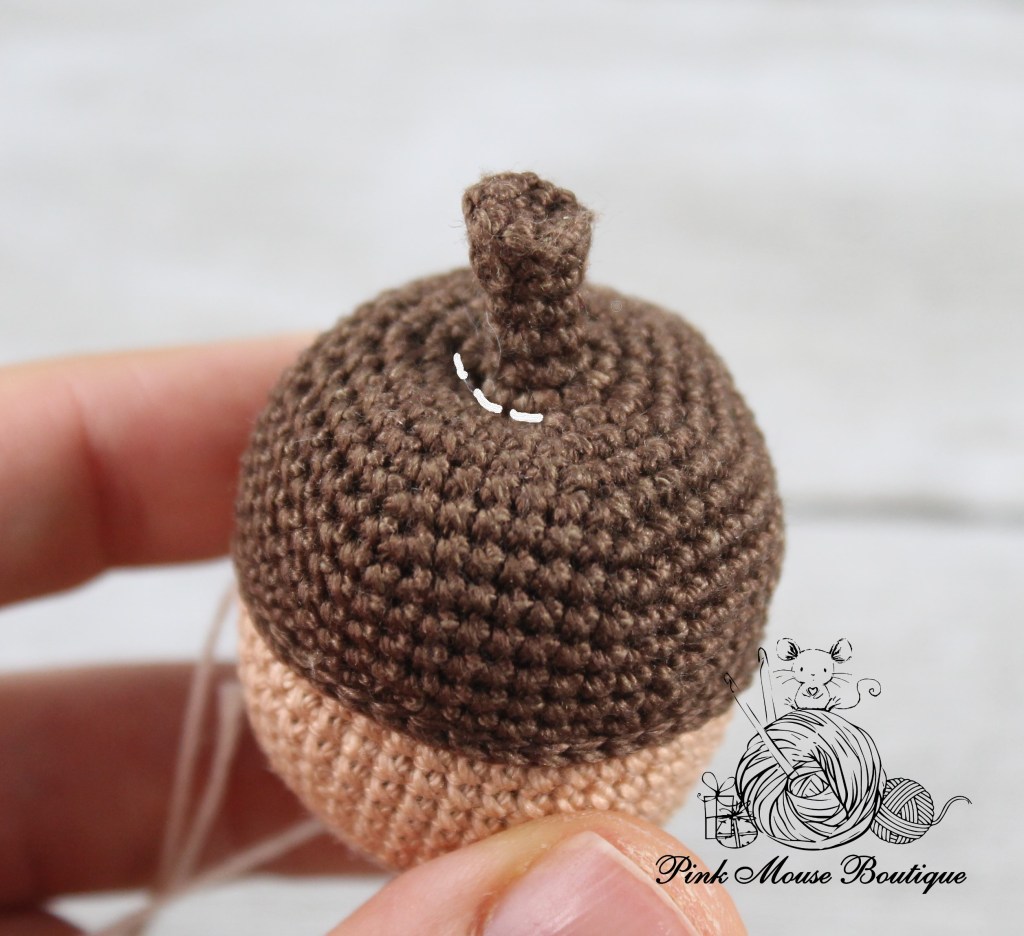
To do that, we will sew between Rounds 8 and 9 of the acorn cap pulling tightly to create the indentation. Use the same color thread you used to make the cap. I used ecru for the step by step pictures to show the process better.
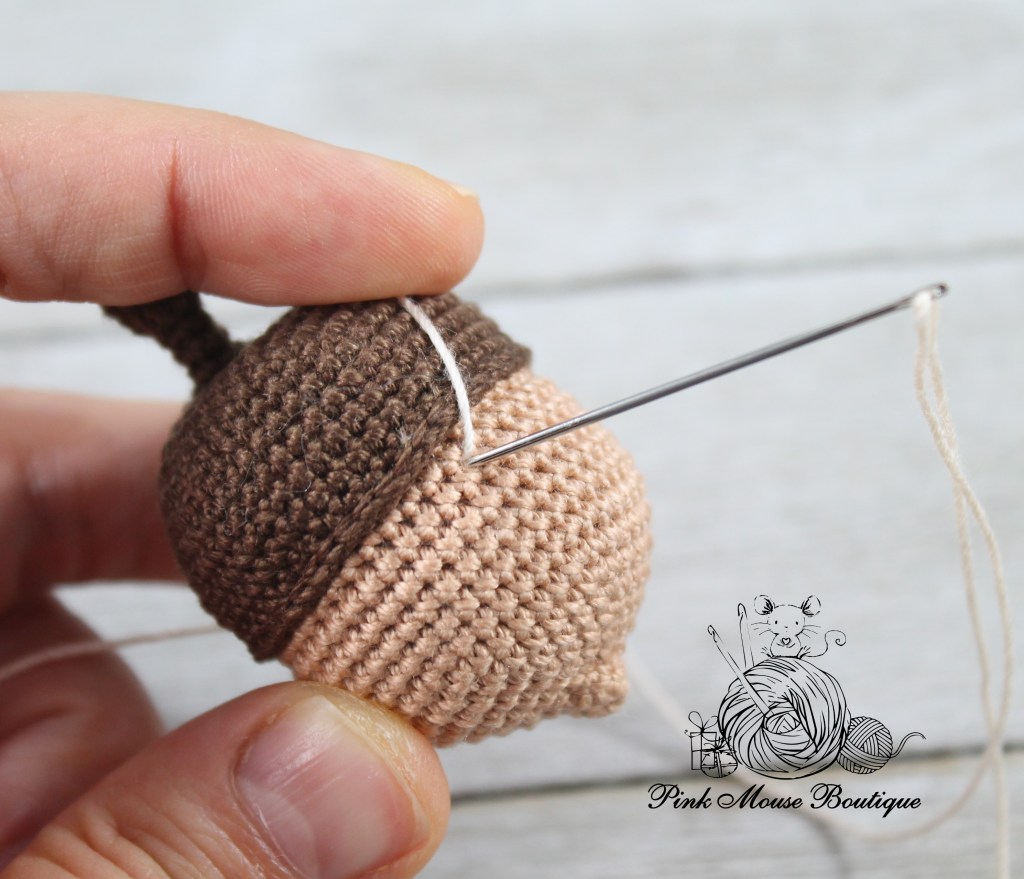
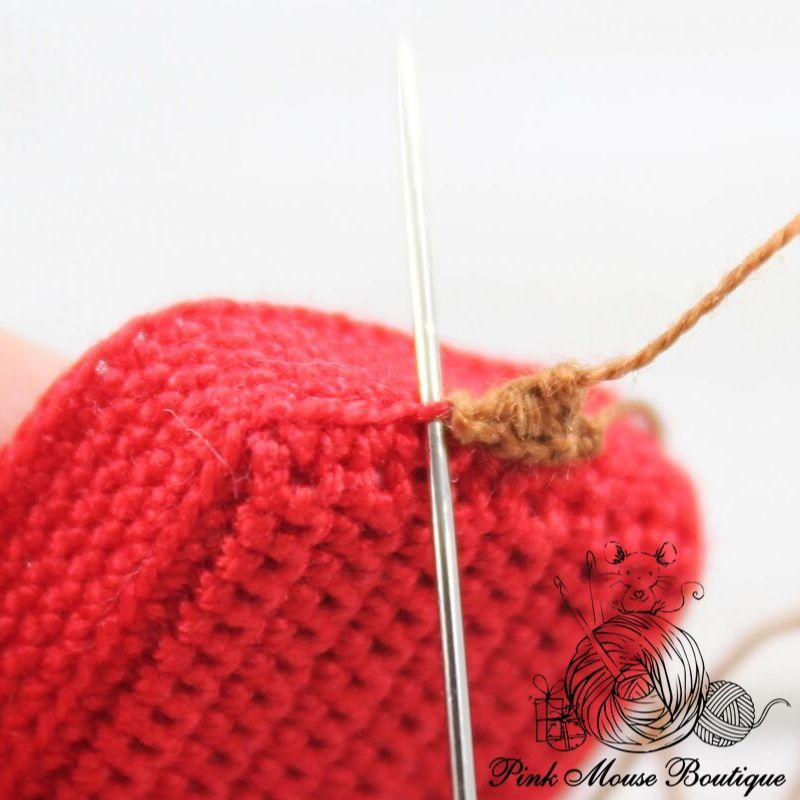
Insert your needle through a stitch in the acorn and through a space between Rounds 8 and 9 of the acorn cap (Picture H). Insert the needle through the next stitch of the acorn cap (Picture I) and through any stitch of the acorn.
Pull tight while holding the beginning tail (Picture J).
Insert your needle through the same stitch in the acorn you just pulled it out of (Picture K) and through the next space in the acorn cap (Picture L).
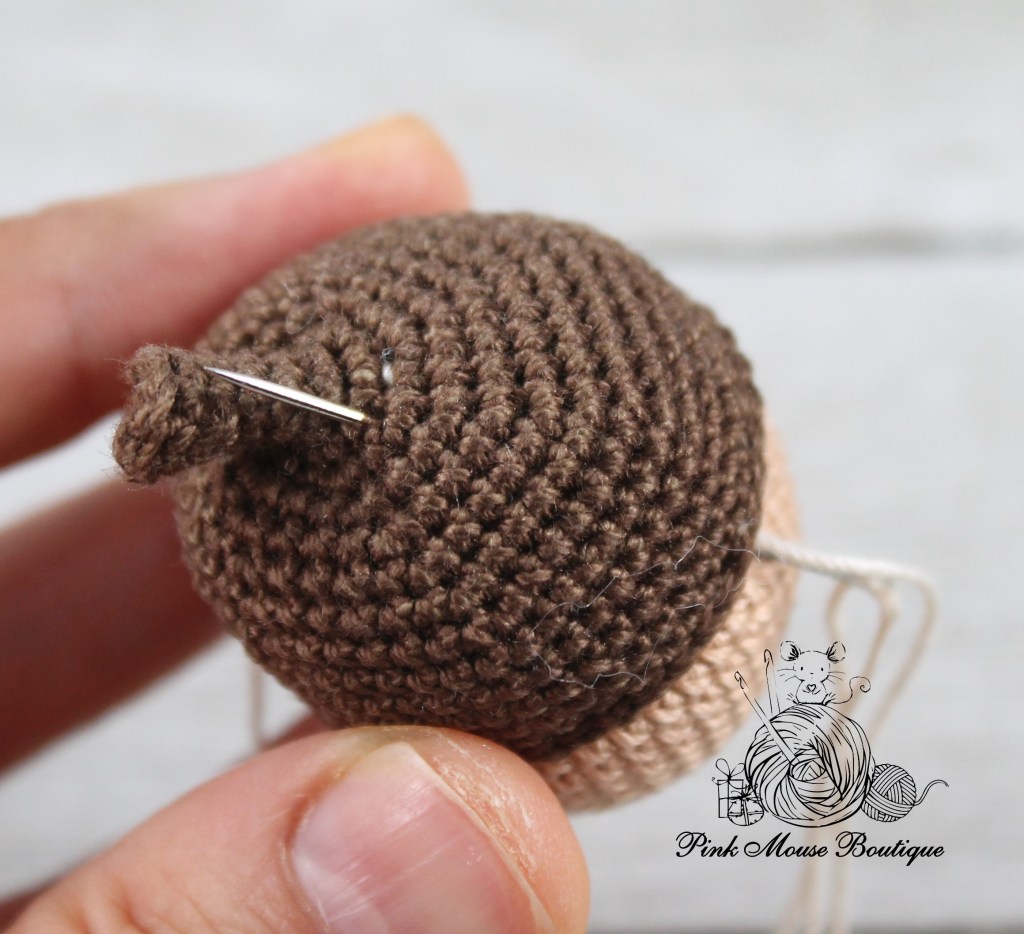
Pull tight and insert your needle through the next space between Rounds 8 and 9 of the acorn cap and any one stitch of the acorn. Pull tight. (Picture M)
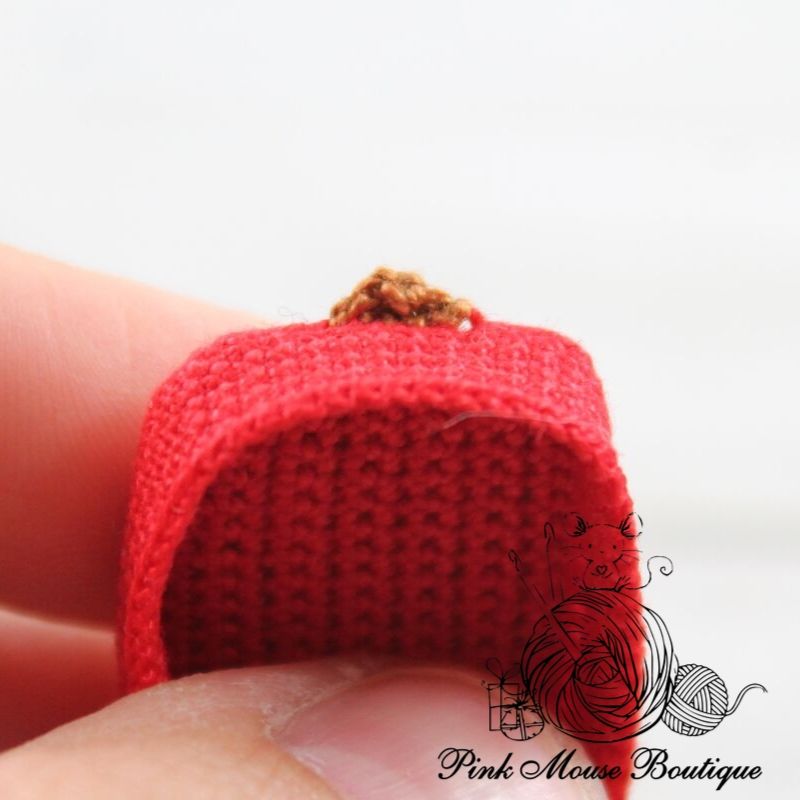
Repeat until you create an indentation all around the stem. Make sure to pull tight to create the indentation but be careful not to break the thread.


LEAVES (x 2)
Ch 6
Round 1: 1 sc in 4 sts, 3 sc in last st; going around the chain 1 sc in 4 sts; sl st to join sides and ch 1 – 11 sts
Round 2: 1 sc in 1st st; 3 hdc in 2nd st, sl st in next, (3 dc in 4th st, sl st in next) x 3; 3 hdc in 2nd to last st, 1 sc in last st; sl st in the sl st you made earlier; ch 3 and 1 sc in 2nd ch from hook, 1 sc in next; sl st in the sl st where you began the ch
Fasten off leaving a tail for sewing.
Sew the stems of the leaves together and then to Round 8 of the acorn cap. The leaves are to the right of the eyes.
EYES: Glue the eyes between Rounds 11 and 12, 7 spaces apart if you have not done so already.
CHEEKS: With light pink thread sew three times a round below each eye, about 3 stitches long.
MOUTH: Use DMC cotton perle 12 black thread (or single strand DMC floss).
Insert both ends a stitch away from each eye. Pull until you have enough thread to form the smile.
Put clear tacky glue on the black thread and press on the acorn’s face with the back of your hook forming a cute smile.


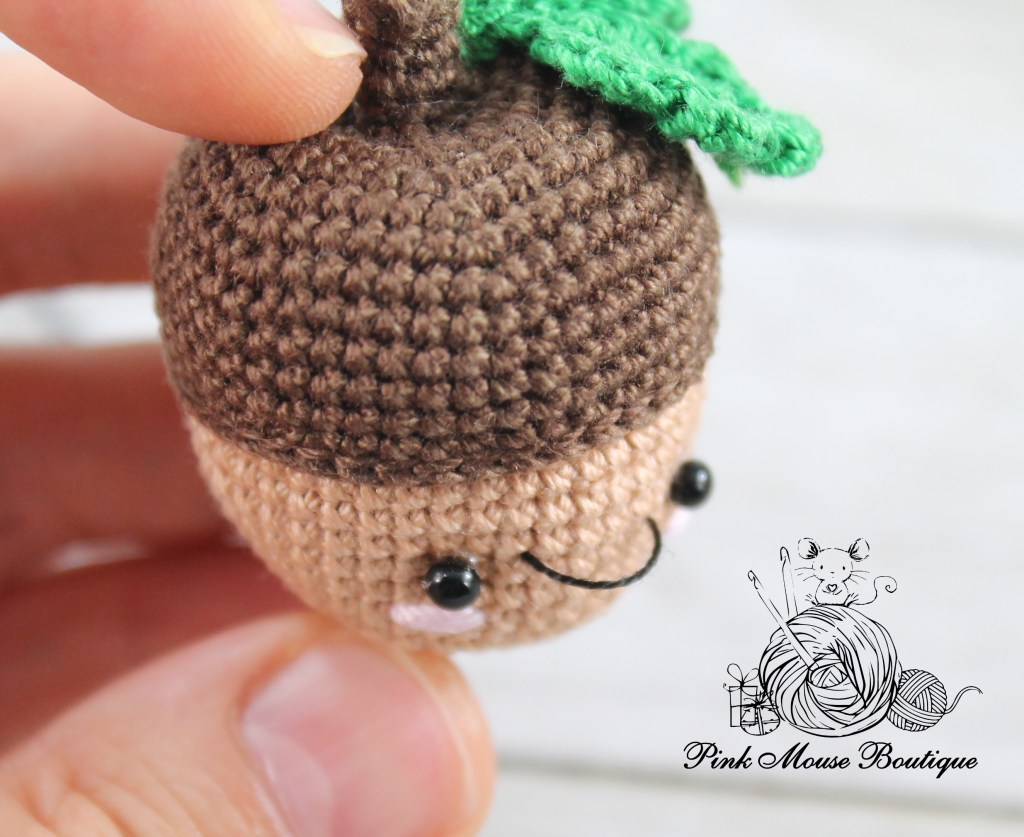
And your Sweet Little Acorn is now complete!
HAPPY CROCHETING!


")