

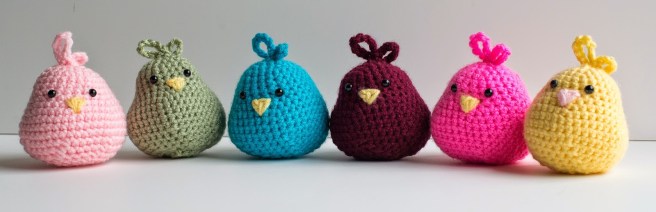
My daughter loves birds. So, for her birthday party, I made seven crochet birds – one for each of her guests. The kiddos loved them. My daughter likes to put hers in a little basket and walk around the house. I should make more because these cuties are perfect for a child to hold and great for learning colors or counting.
Materials:

- Red Heart worsted weight yarn – 2 colors
- Boye crochet hook – size G
- Solid black eyes – 6 mm
- Stuffing
- Sewing needle
Notes:
- Crochet in continuous rounds.
- Use the invisible decrease technique.
- Crochet with the right side out.
Abbreviations:
mr – magic ring
ch – chain
sc – single crochet
st(s) – stitch(es)
yo – yarn over
sl st – slip stitch
Pattern:
Leave a long tail (you’ll make feathers later).
Round 1: mr, ch 1, 6 sc in the ring – 6 sts
Pull yarn to close the mr.
Round 2: 6 inc – 12 sts
Round 3: (sc, inc) x 6 – 18 sts
Round 4: (2 sc, inc) x 6 – 24 sts
Rounds 5 – 7: 24 sc
Round 8: (3 sc, inc) x 6 – 30 sts
Round 9: (4 sc, inc) x 6 – 36 sts
Round 10: (5 sc, inc) x 6 – 42 sts
Rounds 11 – 13: 42 sc
Round 14: (5 sc, dec) x 6 – 36 sts
Round 15: (4 sc, dec) x 6 – 30 sts
Round 16: (3 sc, dec) x 6 – 24 sts
Round 17: (2 sc, dec) x 6 – 18 sts
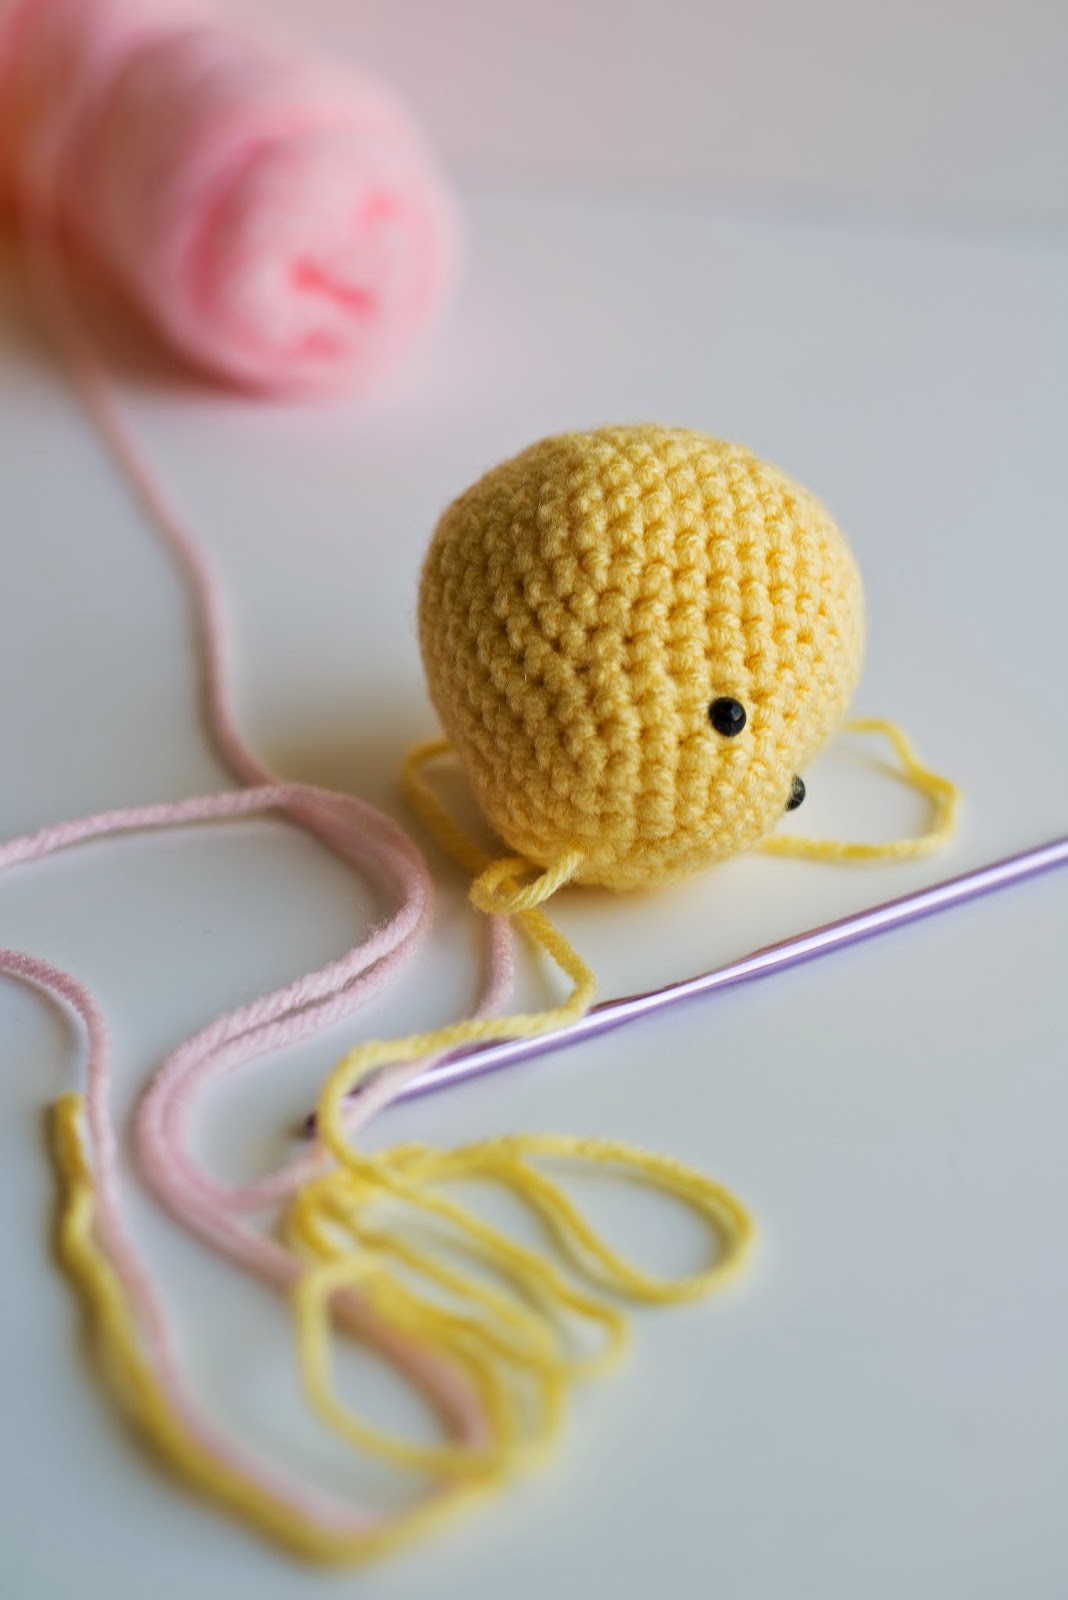
Put the eyes on round 7. Leave 3 sts between them.
 Round 18: (sc, dec) x 6 – 12 sts
Stuff the bird.
Round 19: 6 dec x 6 – 6 sts
Fasten off.
Do not secure the stitches just yet. First, we will make the feathers on top of the head.
Feathers:
The feathers are made on top of the head of the bird. I made three feathers using the long tail I left before starting the magic ring.

Insert hook anywhere you want on top of the head (I keep it close to where the tail starts), YO, pull and sl st. Now make a ch of 6 or 7 (this is the smaller feather). Insert hook in same st you started, YO, pull and sl st. Make a ch of 10 or 11 (bigger feather). Insert hook where you started, YO, pull and sl st. Fasten off.
You can make the feathers longer by making longer chains.
Now you can finish off and secure the stitches. If you are not sure how to do that, follow the tutorials here:
The Ultimate Finish for Amigurumi
Beak:
You’ll make the beak a row below the eyes in the 3 sts between them. I start by making an outline (a little triangle). After you make the outline, you can keep sewing until you fill in the beak. I usually sew right in the middle (from the bottom of beak until very top).
And voila! You have a cute little crochet bird.
I hope you like this pattern. It’s the very first one I ever made.
Happy Crochet!
Pictures were taken by my very talented friend Kristen Willden.

I LOVE this!! I am always looking for something to send with baby blankets that I gift and these are adorable! Thank you so much for sharing the pattern!
LikeLiked by 1 person
Thank you! I am so happy you like the pattern. 🙂
LikeLike
I would like to create your birds and would like to use them on keychains. They are adorable! I would like to make them smaller 2 to 3 inches tall, but I’m not sure how to redo the pattern for smaller birds. do you by chance have a smaller pattern? I would love it!
I have given many birds out to my friends and their children and they are in love with your pattern.
I would appreciate any help you could give me on making them smaller.
Thank you so much, Linda
LikeLiked by 1 person
Thank you for your comment! I am so happy you like this pattern. It’s the first pattern I ever made. 🙂
I don’t have a smaller version of this pattern. You can use thinner yarn and a smaller hook to make them smaller. If you enjoy working with thread, you can also use thread. I like Aunt Lydia’s 10 with a 1.5 mm hook.
LikeLike