


This little fox was not planned. But once the idea popped into my head, I had to make it.
If you have made the other Valentine critters, you will notice that most of the instructions are the same as for the other animals. Only the tail and some of the facial details are different.
Part 1: Envelope, Speech Bubble, and Heart
Part 5: Bee (coming soon)
Part 6: Fox
Materials
- Drops Muskat Worsted Weight: White, Black, Orange
- Crochet Hook, 3.25 mm
- Stuffing
- Black fabric marker
- Others: sewing needle, scissors, cotton swab, blush
Abbreviations
mr – magic ring
ch – chain
st – stitch
sl st – slip stitch
sc – single crochet
hdc – half double crochet
trbl – treble crochet
inc – increase
dec – decrease
Helpful Tutorials
Notes: Make sure to read through the whole pattern and look at all the step-by-step pictures before crocheting the fox.
Arms (x 2)
Suggested color – Orange
Ch 4
Row 1: in back bump of ch only sc in 2nd ch from hook, sc in next, hdc in last ch
Fasten off leaving a tail for sewing.
Ears (x 2)
Suggested Color – Orange
Round 1: in a mr 1 sc, 1 hdc, 1 trbl, 1 hdc, 1 sc; do not sl st to join – 5 sts
Fasten off leaving a tail for sewing.
Tail
Suggested Colors – Orange and White
With Orange, ch 3
Row 1: in back bump of ch only 1 sc in 2nd ch from hook, sc in last; ch 1 and turn – 2 sts
Row 2: 2 inc; ch 1 and turn – 4 sts
Row 3: sc in each st; ch 1 and turn – 4 sts (do not cut the orange yarn just yet)
Change Color – White (leave a long beginning tail)
Row 4: sc in each st; ch 1 and turn – 4 sts
Row 5: in BLO 2 dec; ch 1 and turn – 2 sts
Row 6: in FLO dec – 1 st
Fasten off.
Cut the orange yarn leaving a long enough tail to crochet around the orange part. With a needle carry it to the left side of the tail and begin sc around the orange part with the orange yarn. When you get to the white part, change color and use the white beginning tail. Sc around with white. Fasten off when you get to the orange. I did not slip stitch to join to the orange. I sewed the first orange and last white stitches together. Weave in all ends, except for the one you will use to sew the tail in place.


BODY – Back Piece
Suggested Colors – Orange
Ch 7
Row 1: in back bump of ch only 2 sc in 2nd ch from hook, 4 sc, 2 sc in last ch; ch 1 and turn – 8 sts
Row 2: inc, 6 sc, inc; ch 1 and turn – 10 sts
Rows 3 – 11: sc in each st; ch 1 and turn – 10 sts (9 rows)
LEG 1
Row 12: sc in 4 sts; ch 1 and turn – 4 sts
Row 13: sc in each st – 4 sts
Fasten off.
LEG 2
Join thread to 7th st of Row 11.
Row 1: sc in 4 sts; ch 1 and turn – 4 sts
Row 2: sc in each st – 4 sts
Sc in each st and row all around the body.
Fasten off and weave in the ends.
BODY – Front Piece
Suggested Colors – White and Orange
With White, ch 7
Row 1: in back bump of ch only 2 sc in 2nd ch from hook, 4 sc, 2 sc in last ch; ch 1 and turn – 8 sts
Row 2: inc, 6 sc, inc; ch 1 and turn – 10 sts
Rows 3 – 5: sc in each st; ch 1 and turn – 10 sts (3 rows)
Change Color – Orange
Rows 6 – 11: sc in each st; ch 1 and turn – 10 sts (6 rows)
LEG 1
Row 12: sc in 4 sts; ch 1 and turn – 4 sts
Row 13: sc in each st – 4 sts
Fasten off.
LEG 2
Join thread to 7th st of Row 11.
Row 1: sc in 4 sts; ch 1 and turn – 4 sts
Row 2: sc in each st – 4 sts
Sc in each st and row all around the body.
Do not fasten off just yet.
ASSEMBLY
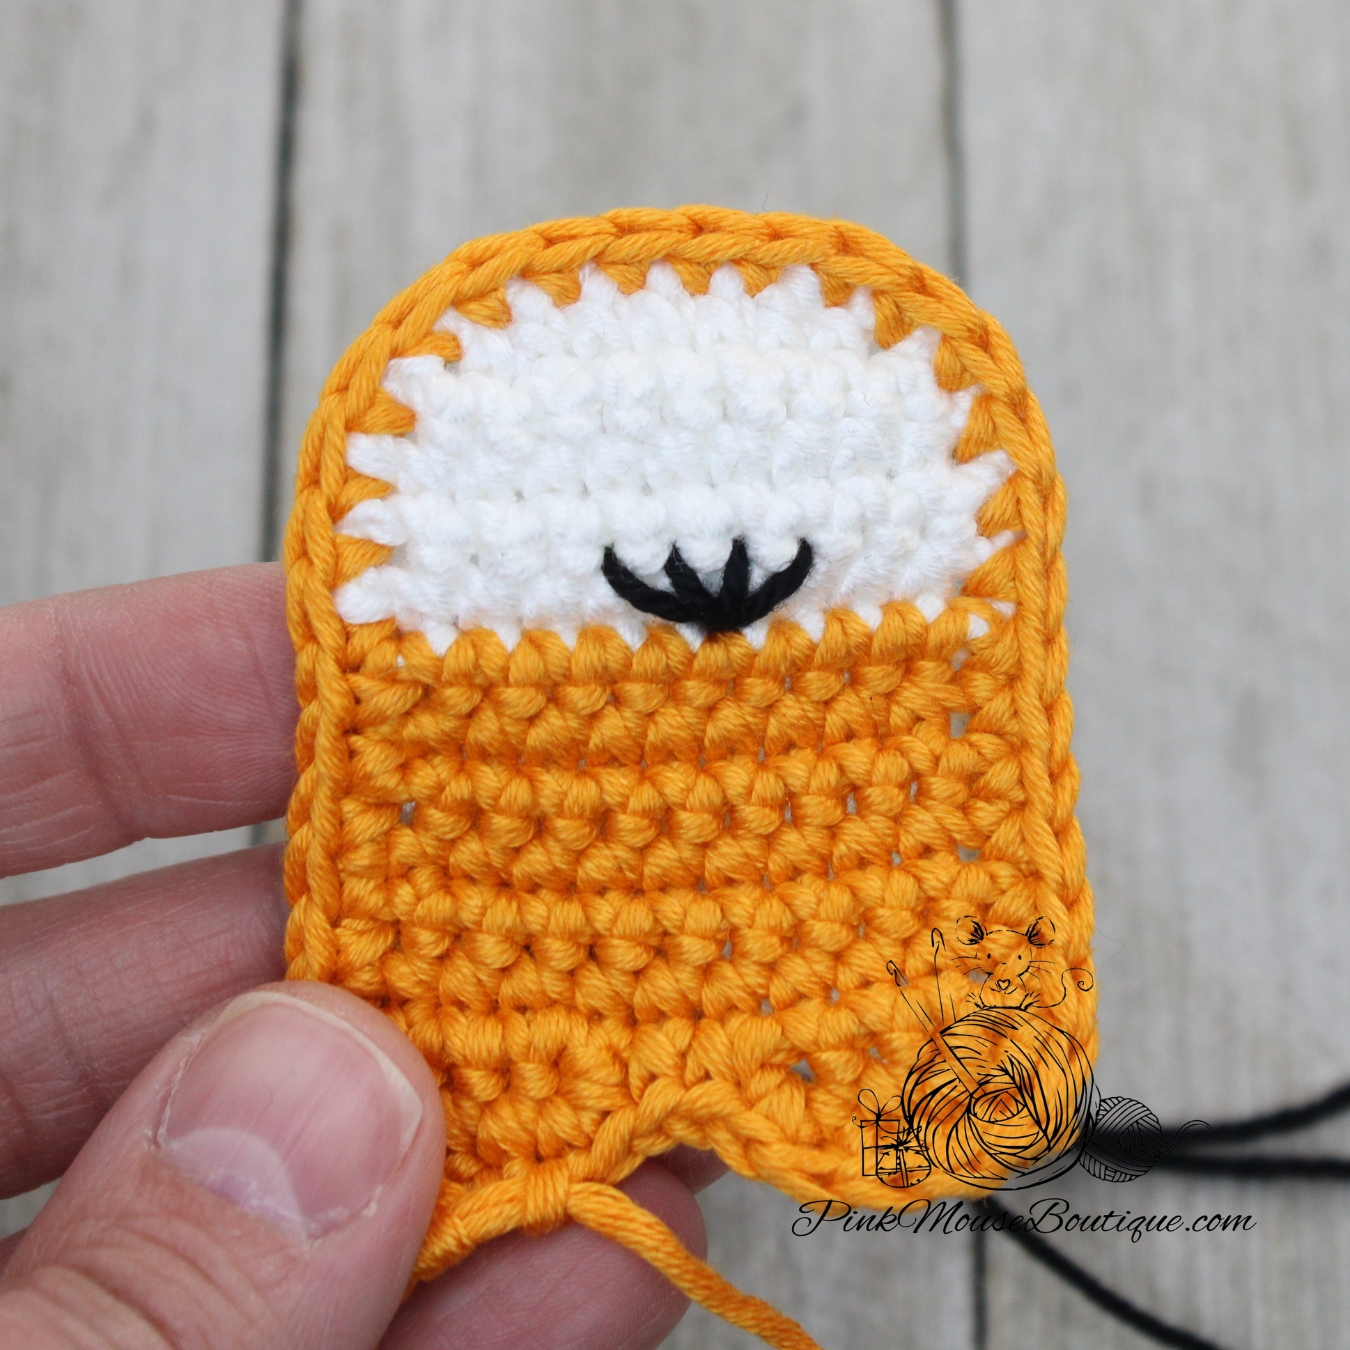
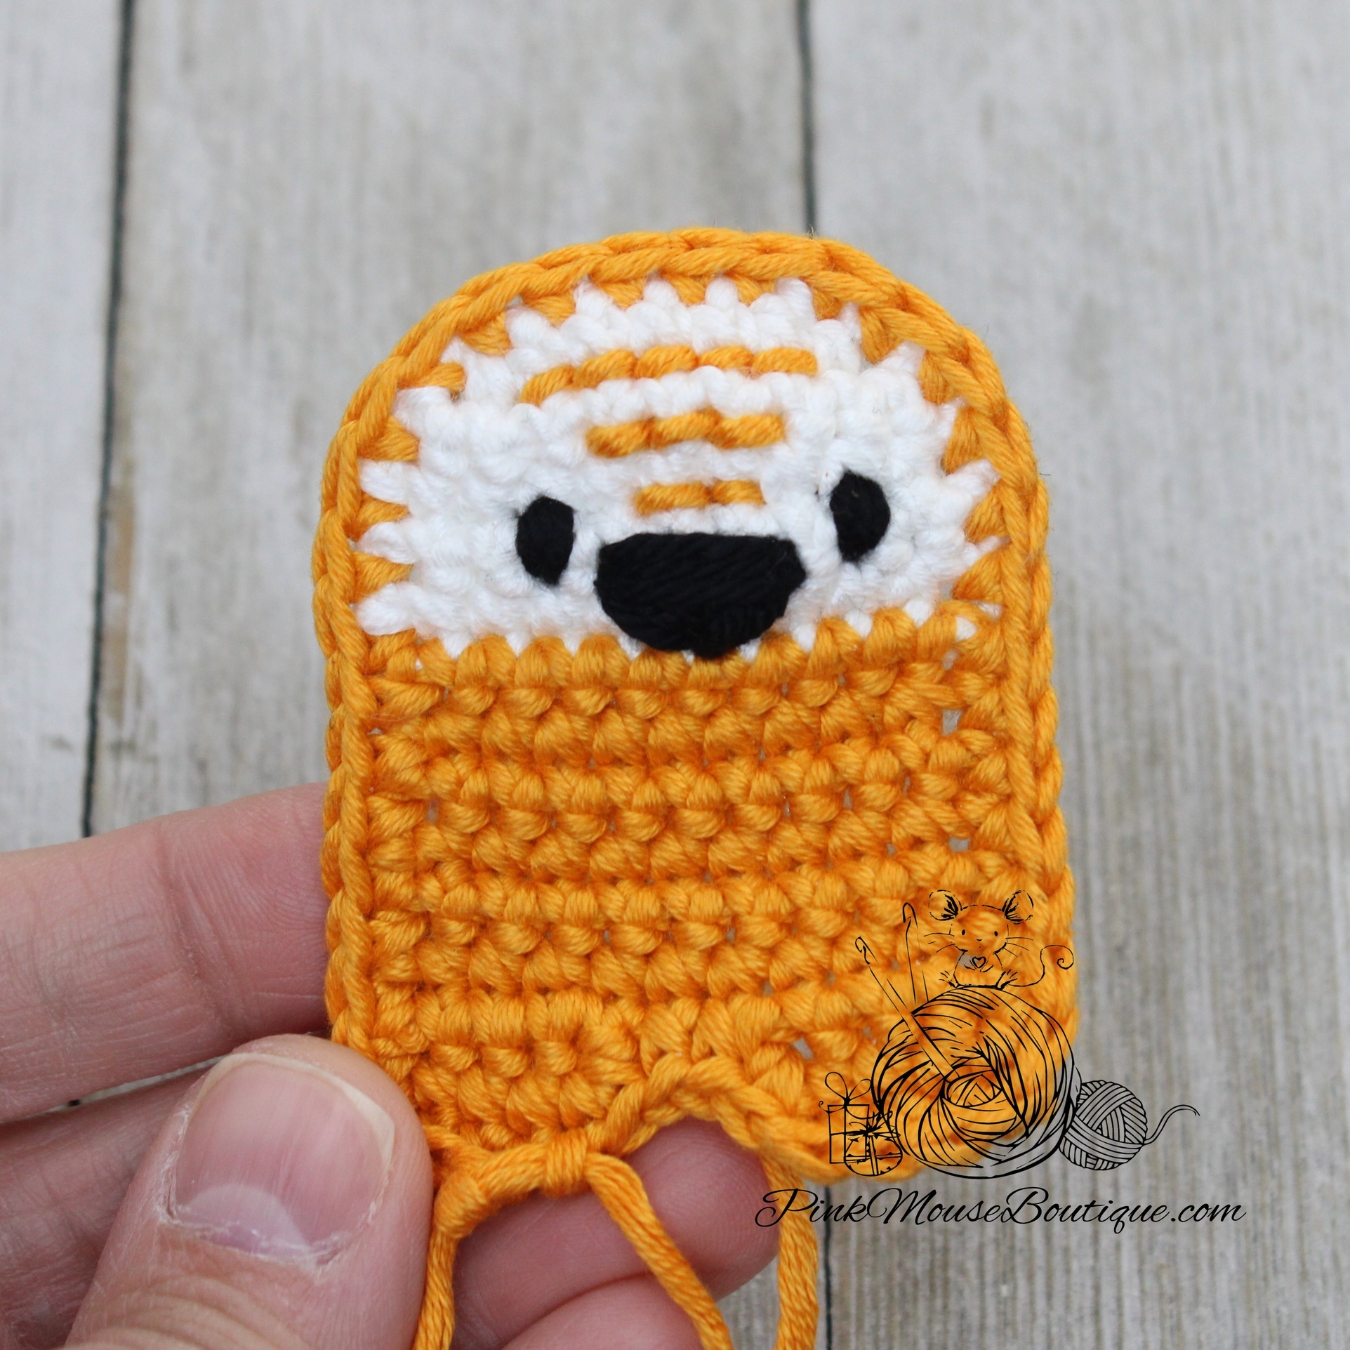
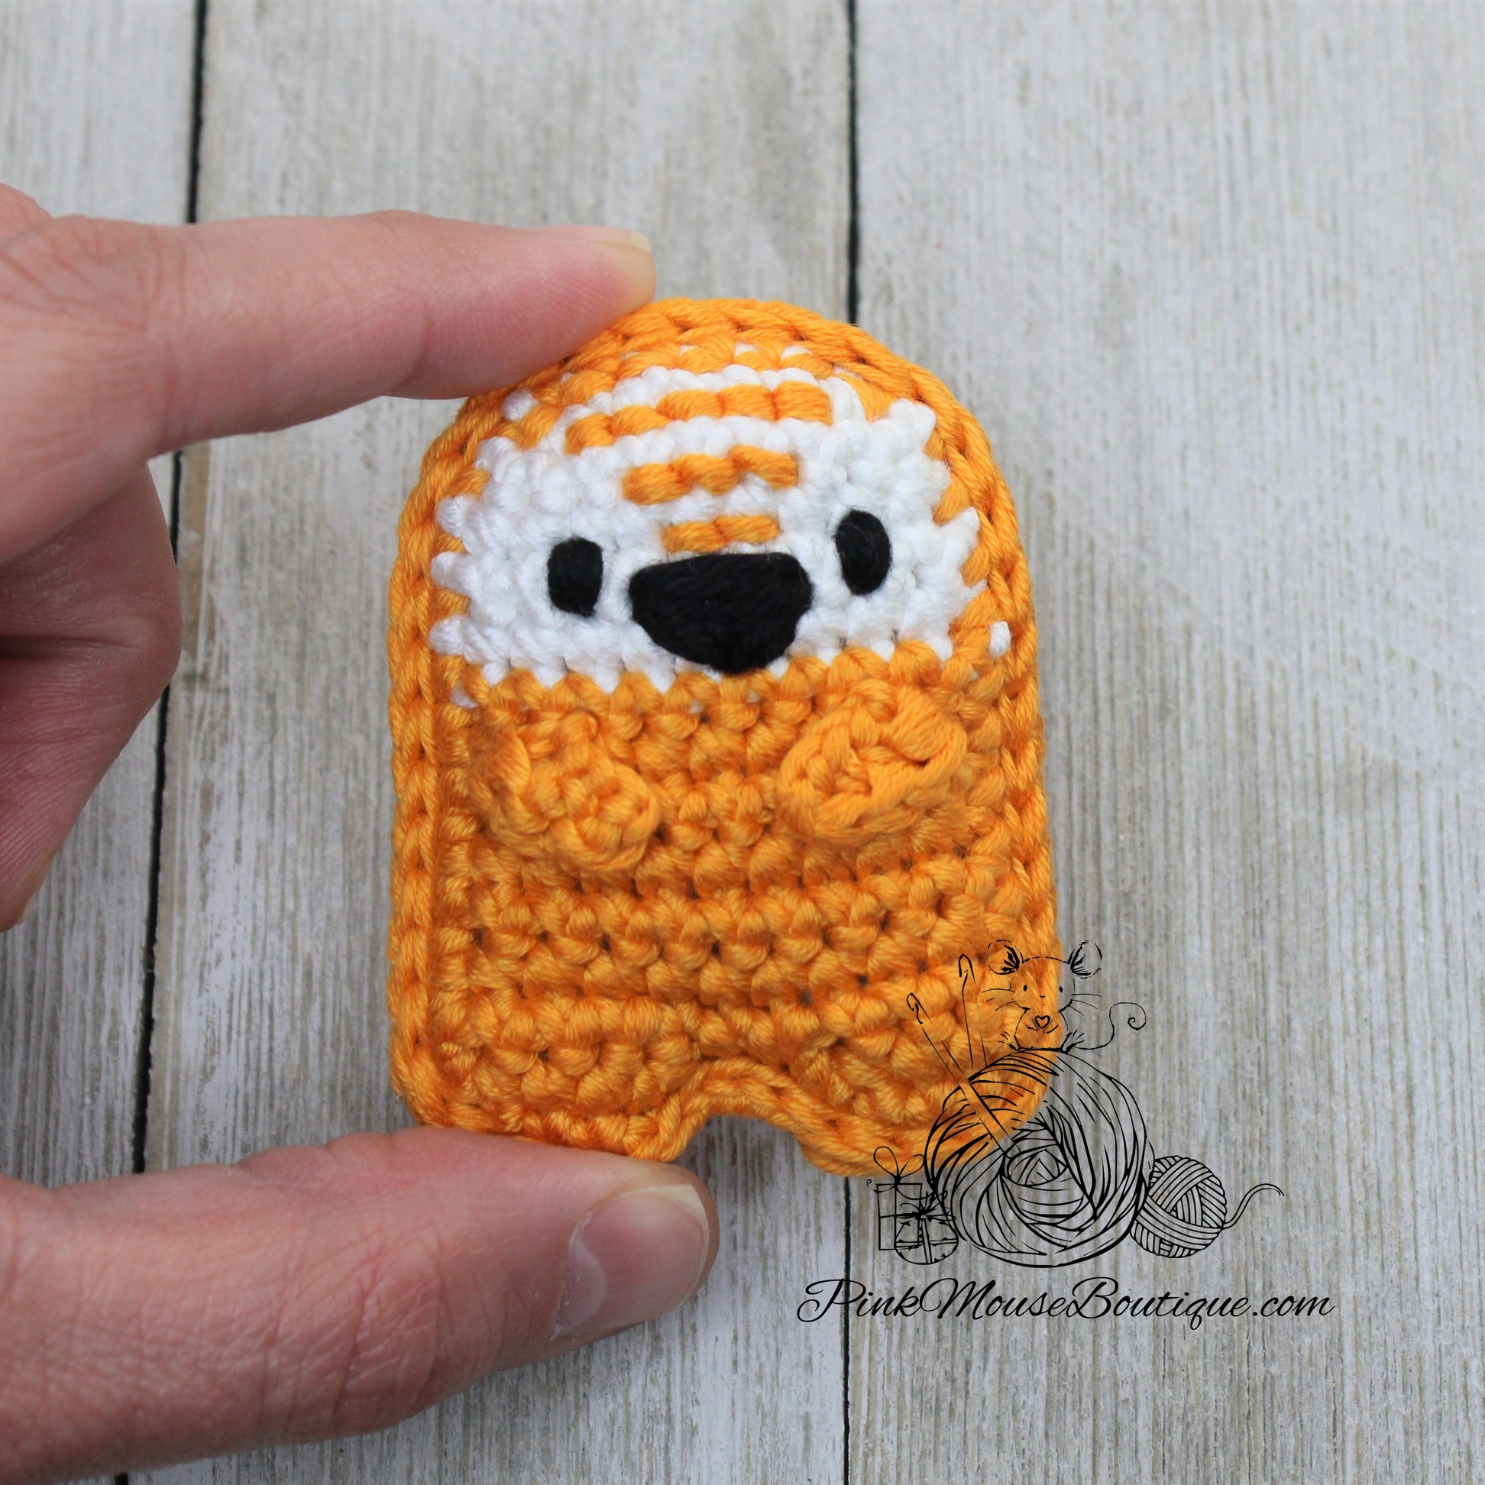
- With black, sew the nose. The nose is sewn between Rows 4 and 6. Refer to the first five pictures below. Count 4 spaces in start sewing the nose at the 4th space going down one row. I sewed once in each at first and then went back, and sewed one more time (the 4th picture). Once the bottom of the nose is filled, sew three lines at the top.
- With black, sew the eyes a stitch away from the nose on Row 4. Sew several times. Tie knots to secure the yarn.
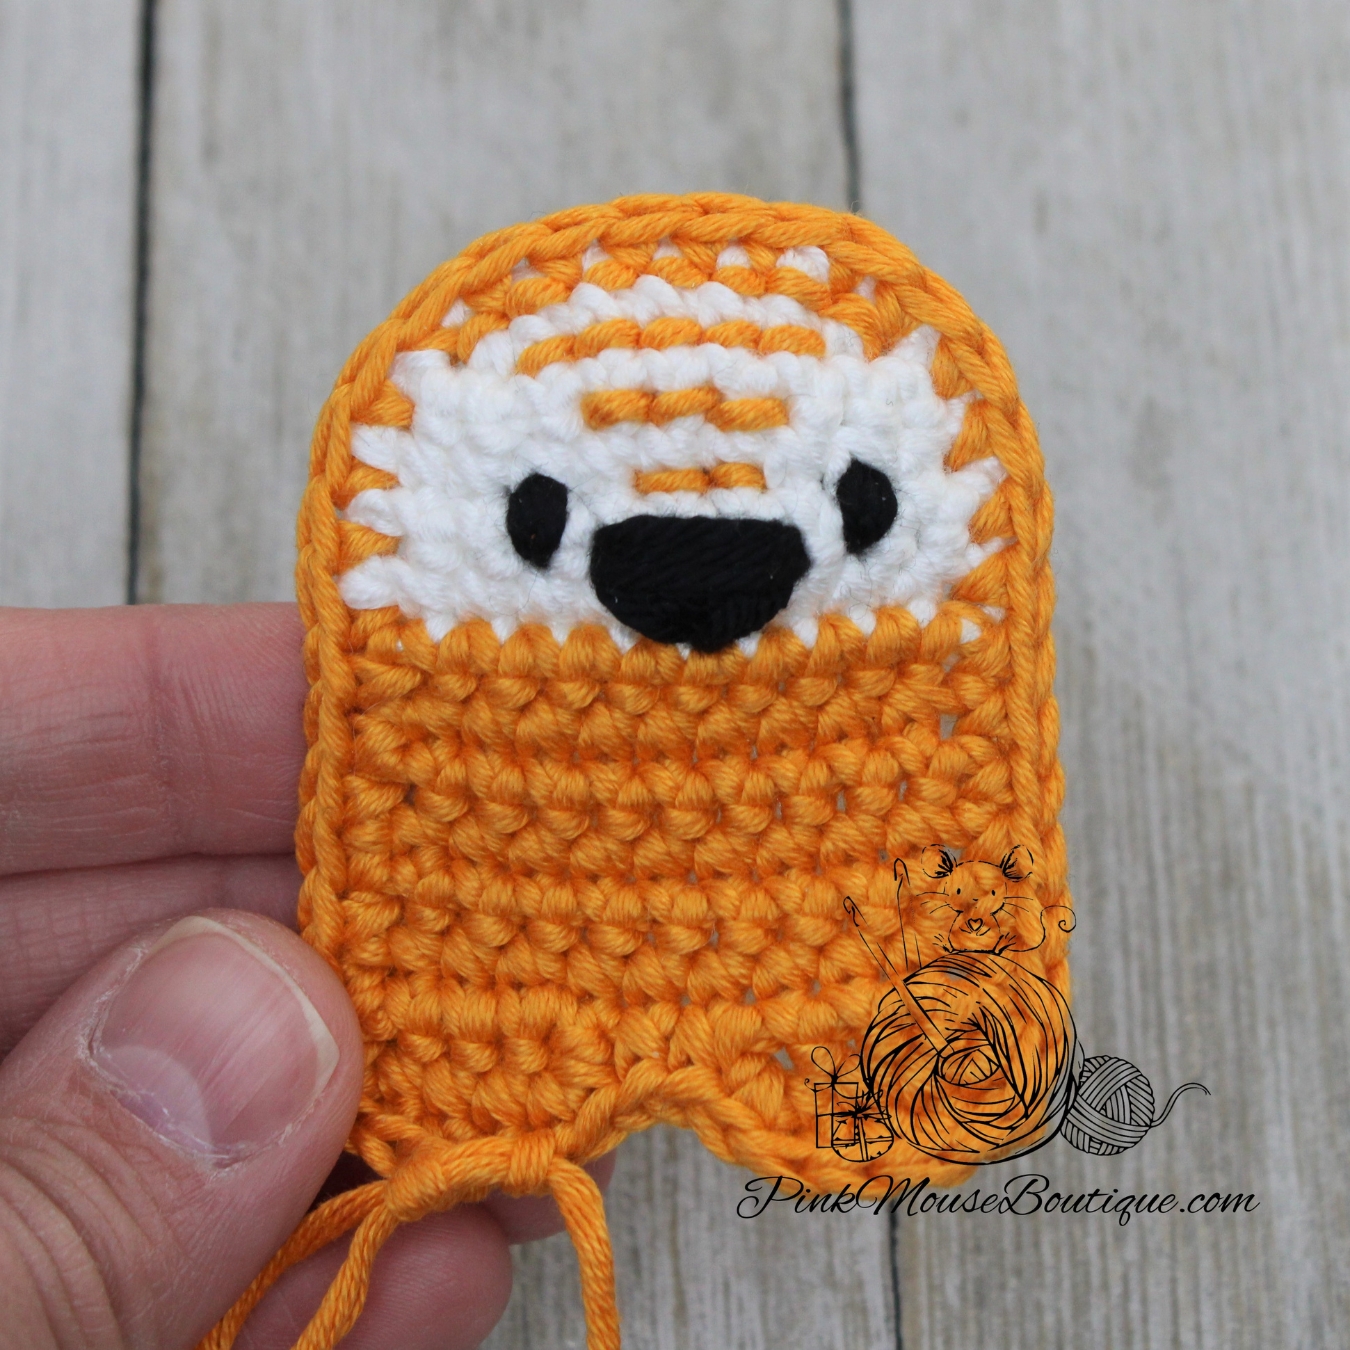
- With orange, sew lines starting with the two stitches above the nose and going up increasing the lines: 2 above the nose, 3 lines in next row, 5 lines in following row, and 7 lines in last row. Secure the yarn by tying both ends with a knot.
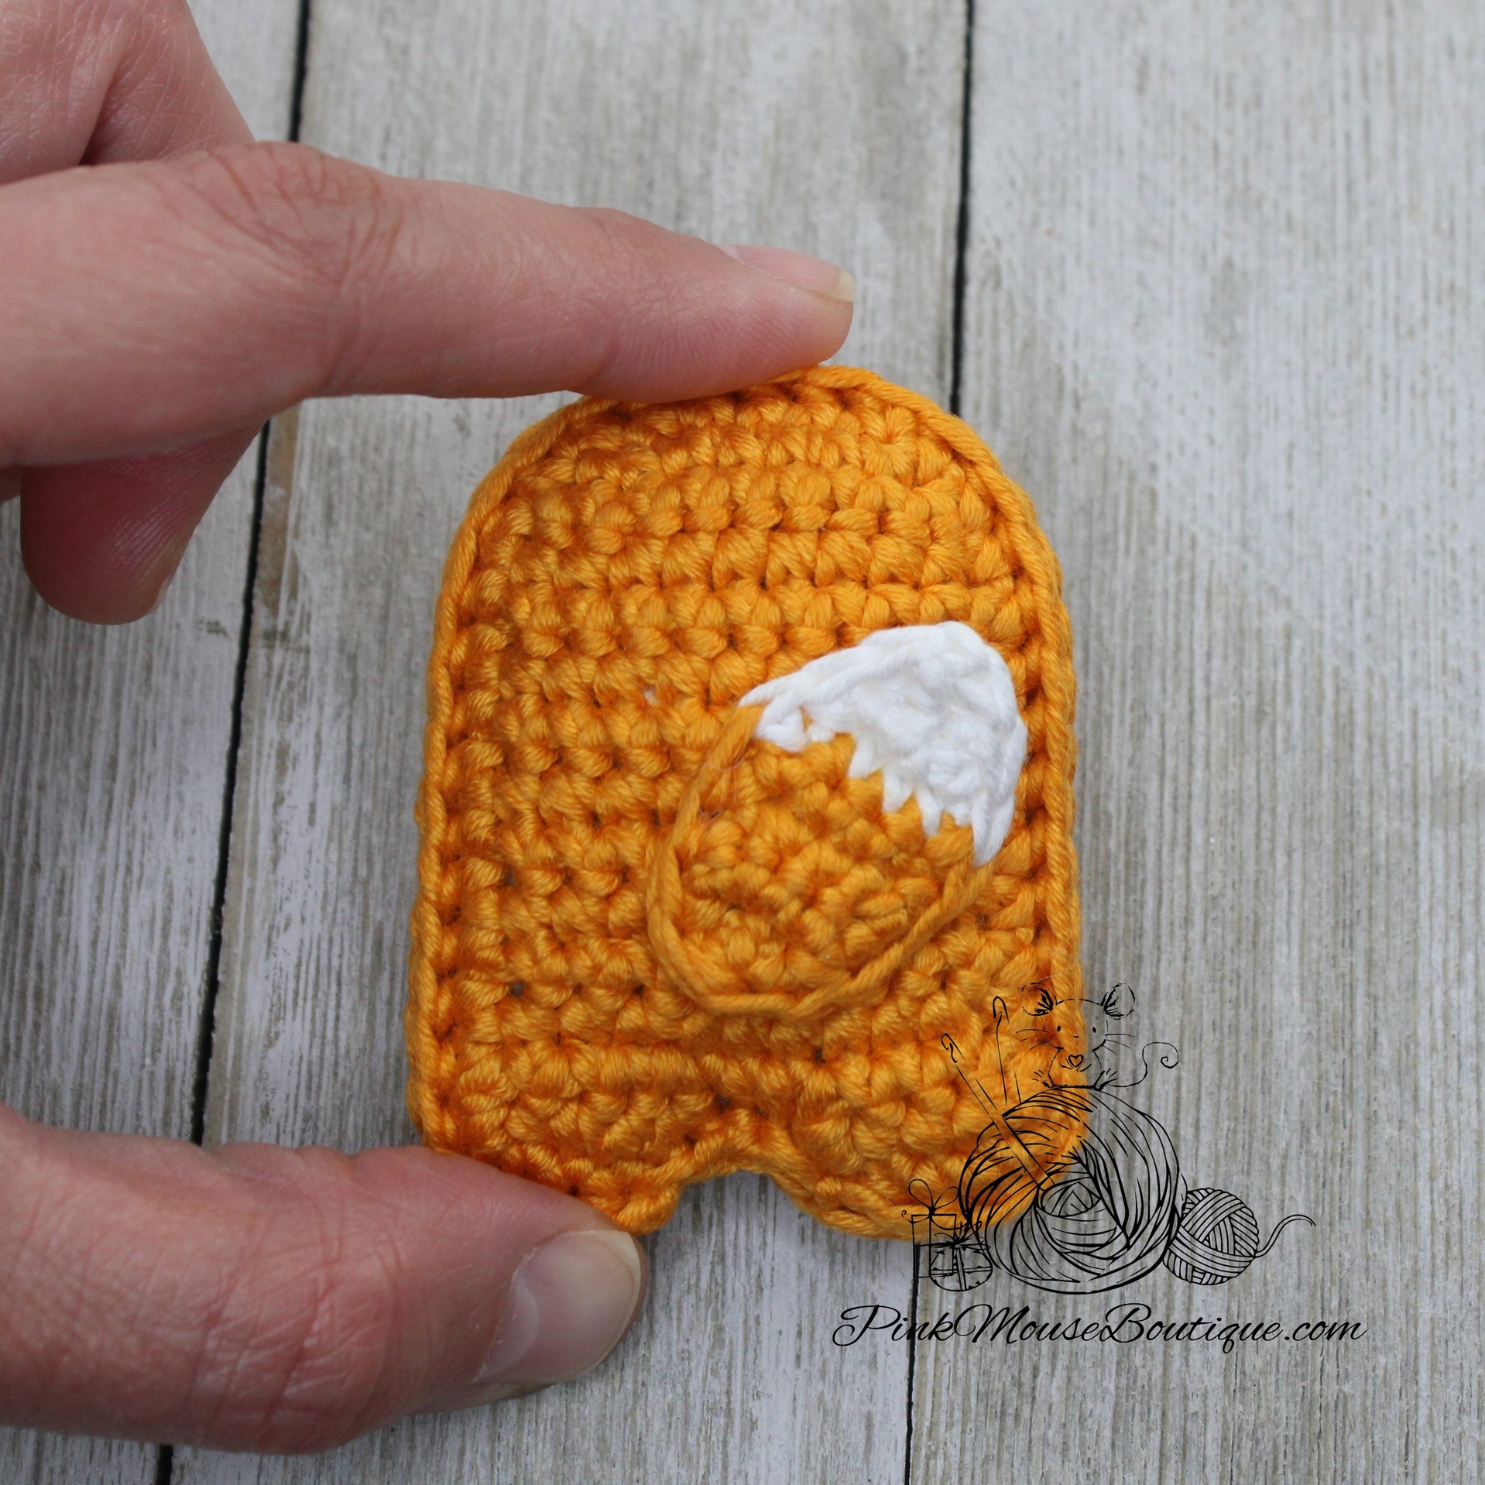
- Sew the arms at an angle between Rows 7 and 8.


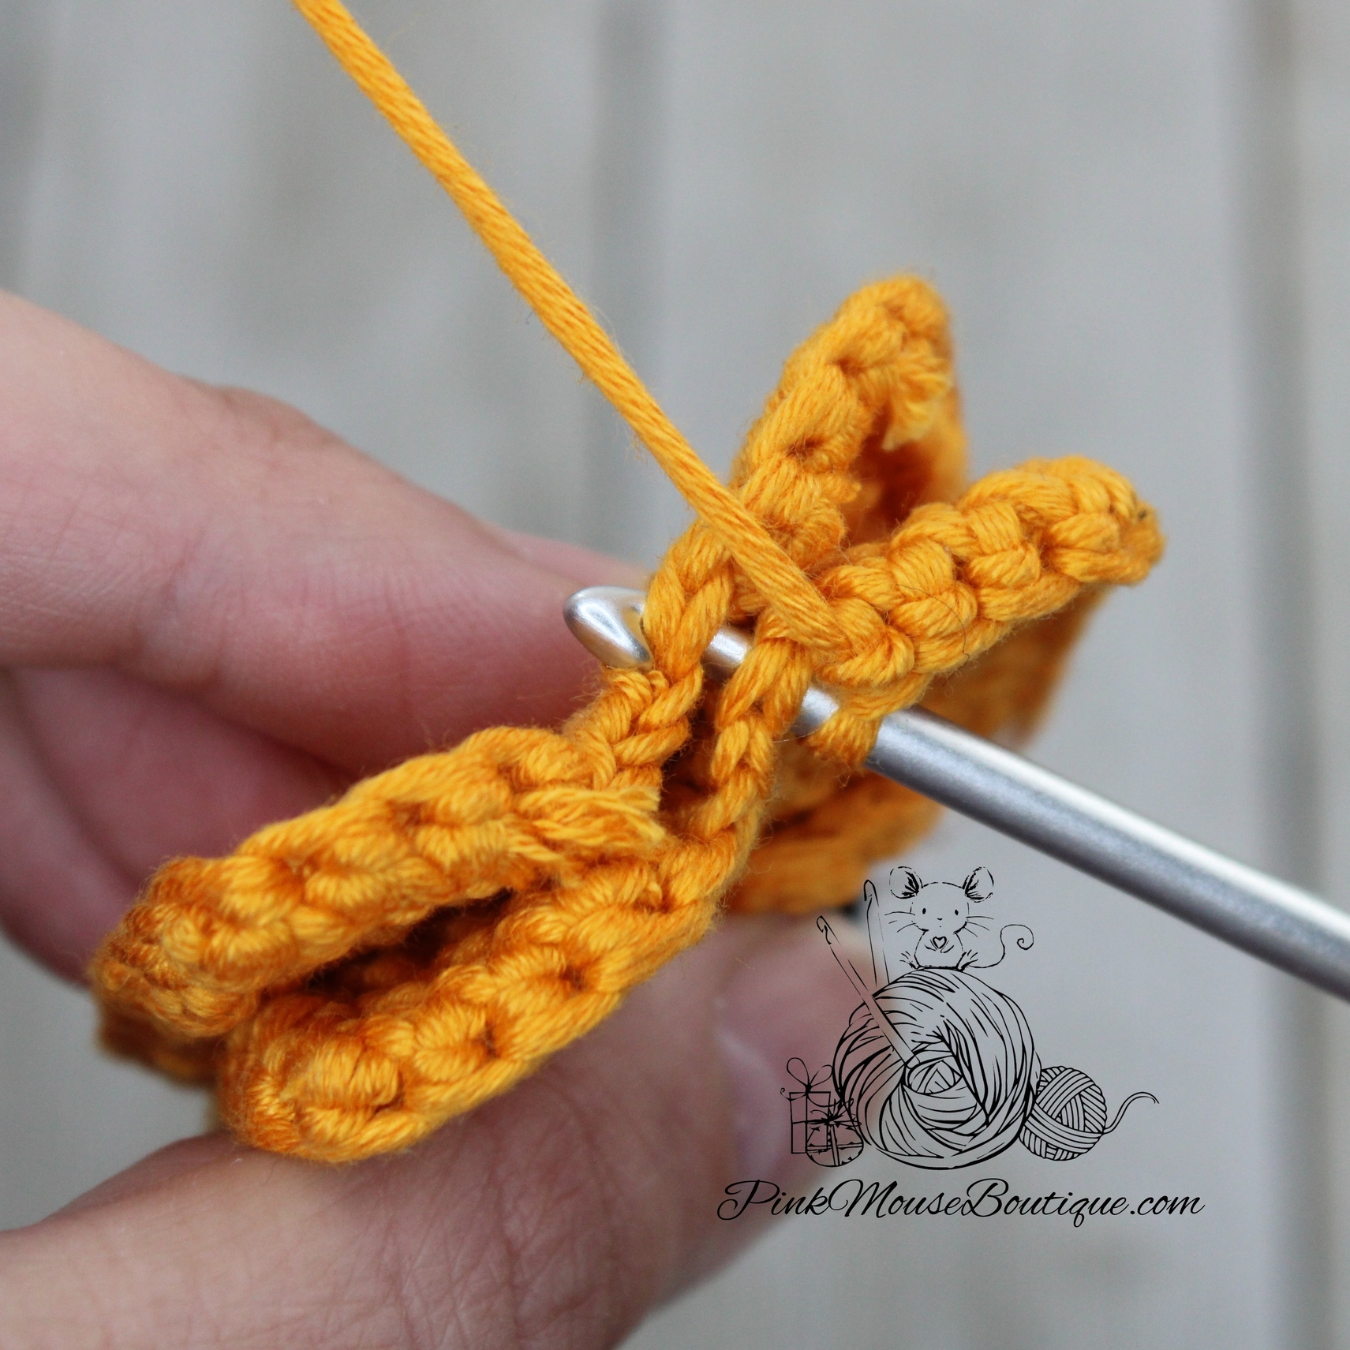
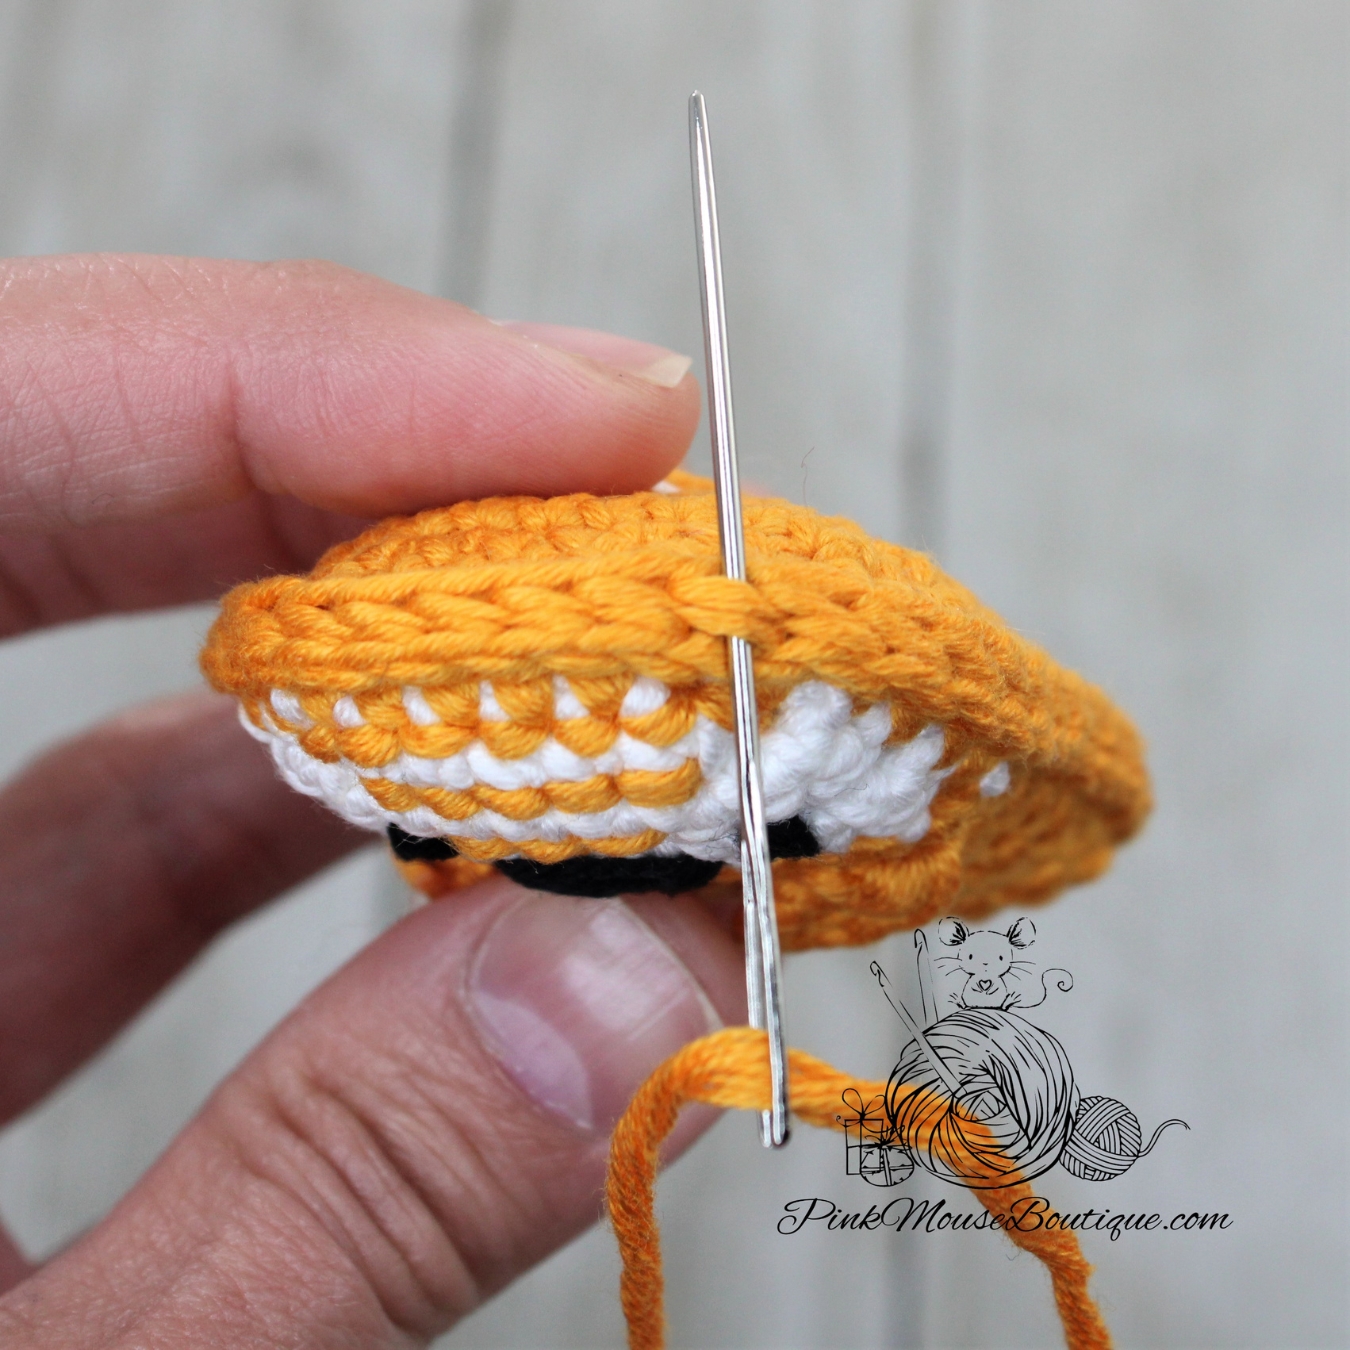
5. Put the front and back pieces together with the wrong side touching and the right side facing out. Slip stitch through both inserting the hook through the front piece first. Stuff lightly before completely closing the piece. Slip stitch until the end. Weave in the tail.
6. Sew the tail in place. I sewed the orange part in place and left the white part free. I sewed the tail at an angle.
7. Using only the BLO of the front piece and the FLO of the back piece, sew the ears in place. Use black fabric marker, to color the tip of the ears.
8. OPTIONAL: With the cotton swab and blush, add color to the cheeks.
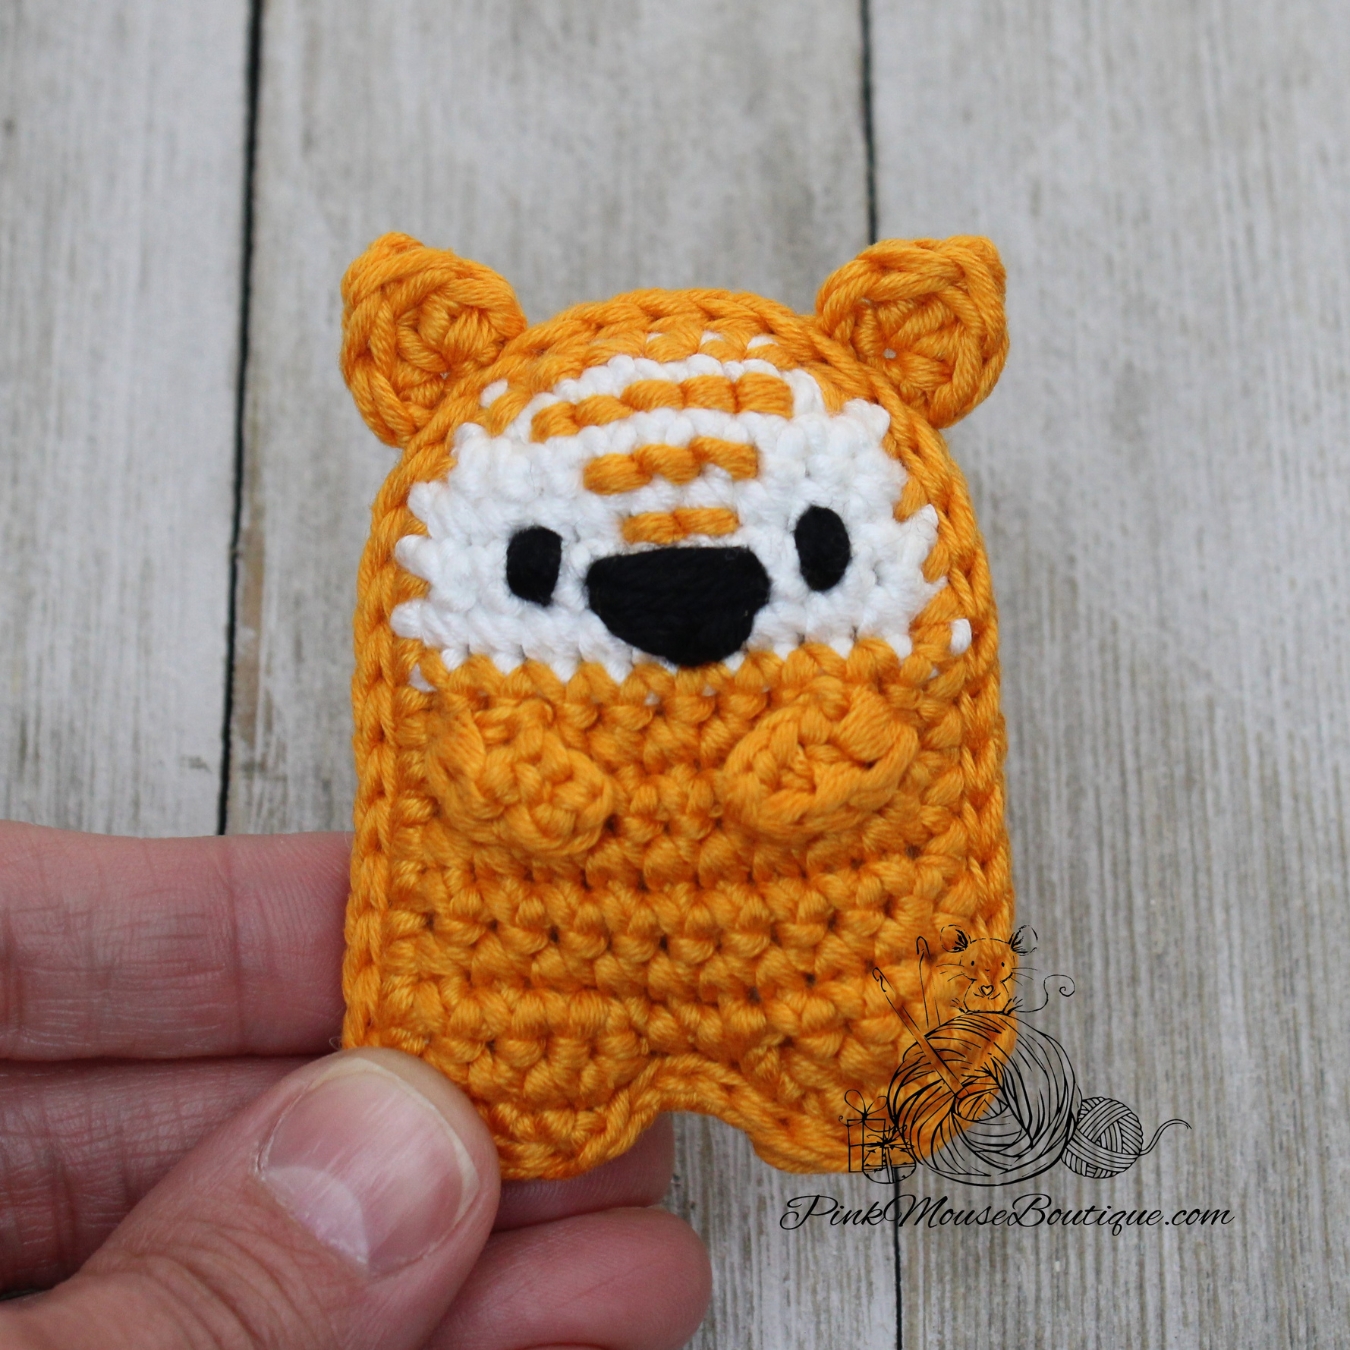

Our little fox is finished!
I hope you enjoyed this part of the pattern. Let me know in the comments below.
Happy Crochet!

Ils sont trop mignons je vais faire des cadeaux pour les inconnus, générosité crochet. MERCI à vous super.
LikeLike