


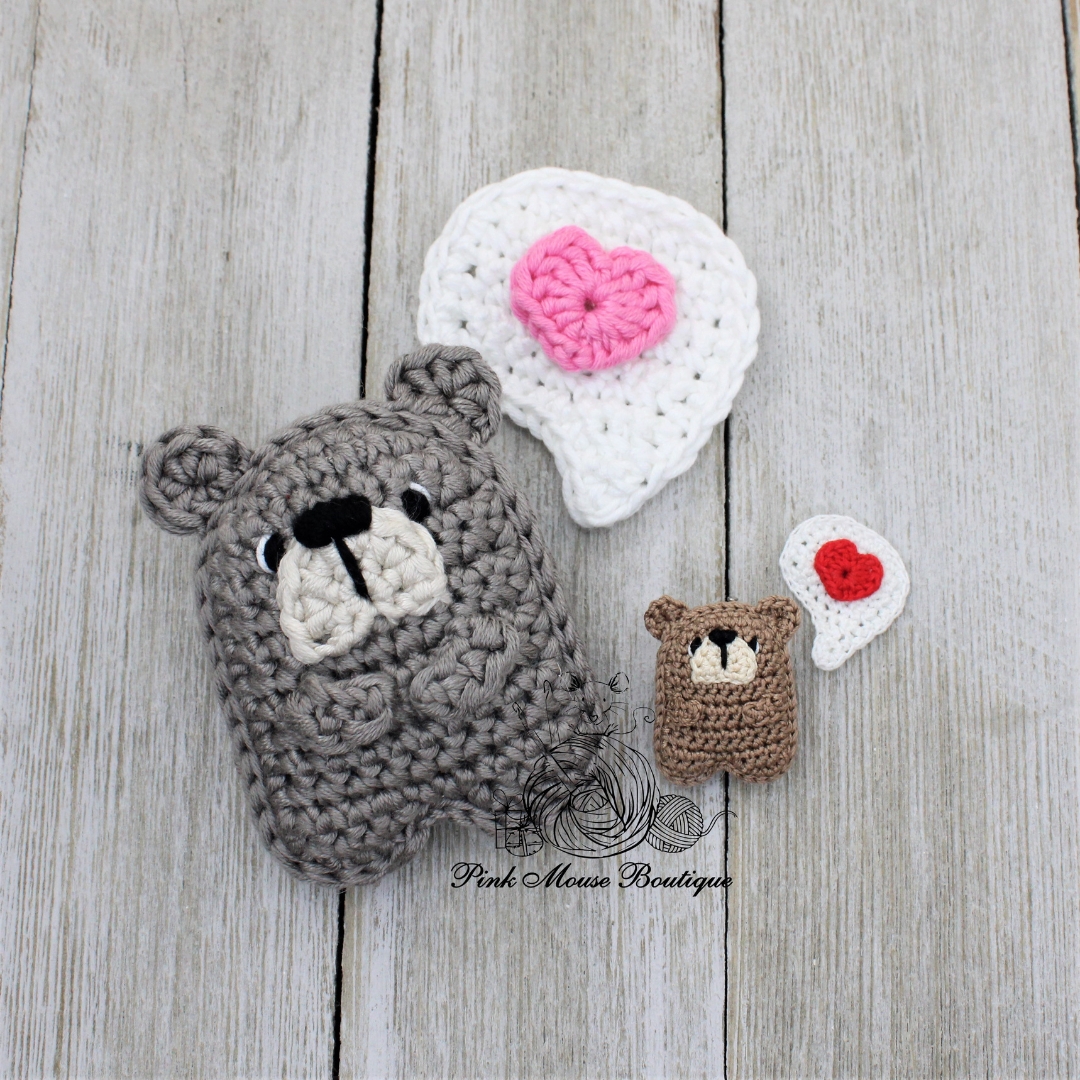
After finishing Part 1 of the Tiny Valentines (the envelope and speech bubble), we are ready to make Bear. I use the same size hook and yarn (or thread, in the case of the smaller version above) throughout the entire pattern and all its parts.
This pattern consists of several parts. You can click on the links below to jump to any of the other parts. Some have not been posted yet but will be added soon.
Part 1: Envelope, Speech Bubble, and Heart
Part 2: Bear
Part 5: Bee
Materials
- Drops Muskat Worsted Weight*: White, Black, Taupe, Pearl
- Crochet Hook, 3.25 mm
- Stuffing
- Heart Button (Optional)
- Others: sewing needle, scissors, small snap button, and hot glue gun
*I used Lizbeth 20 with a 1.25 mm hook to make the smaller bear in the pictures above.
Abbreviations
mr – magic ring
ch – chain
st – stitch
sl st – slip stitch
sc – single crochet
hdc – half double crochet
inc – increase
Helpful Tutorials
Note: Make sure to read through the whole pattern and look at all the step-by-step pictures before crocheting the bear.
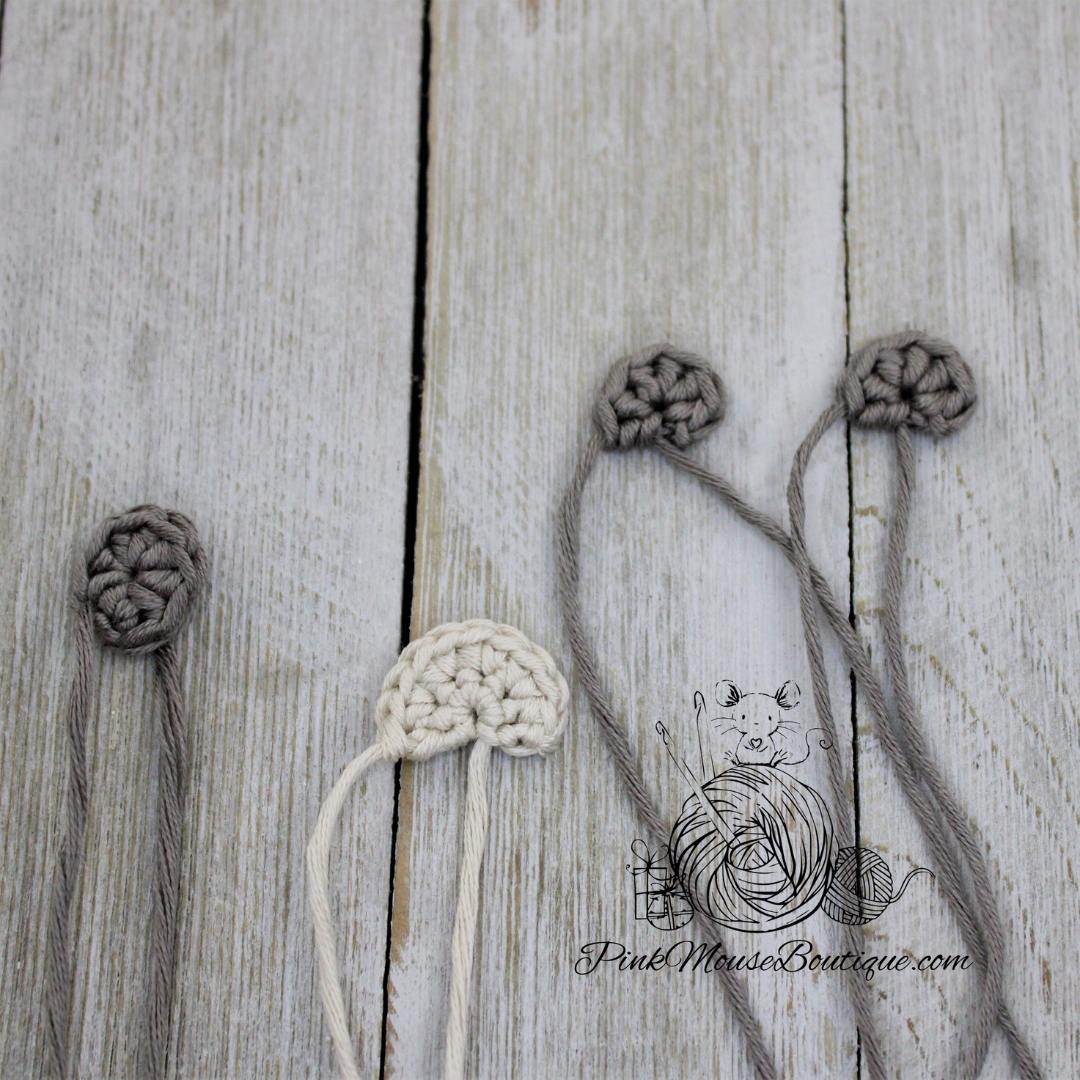
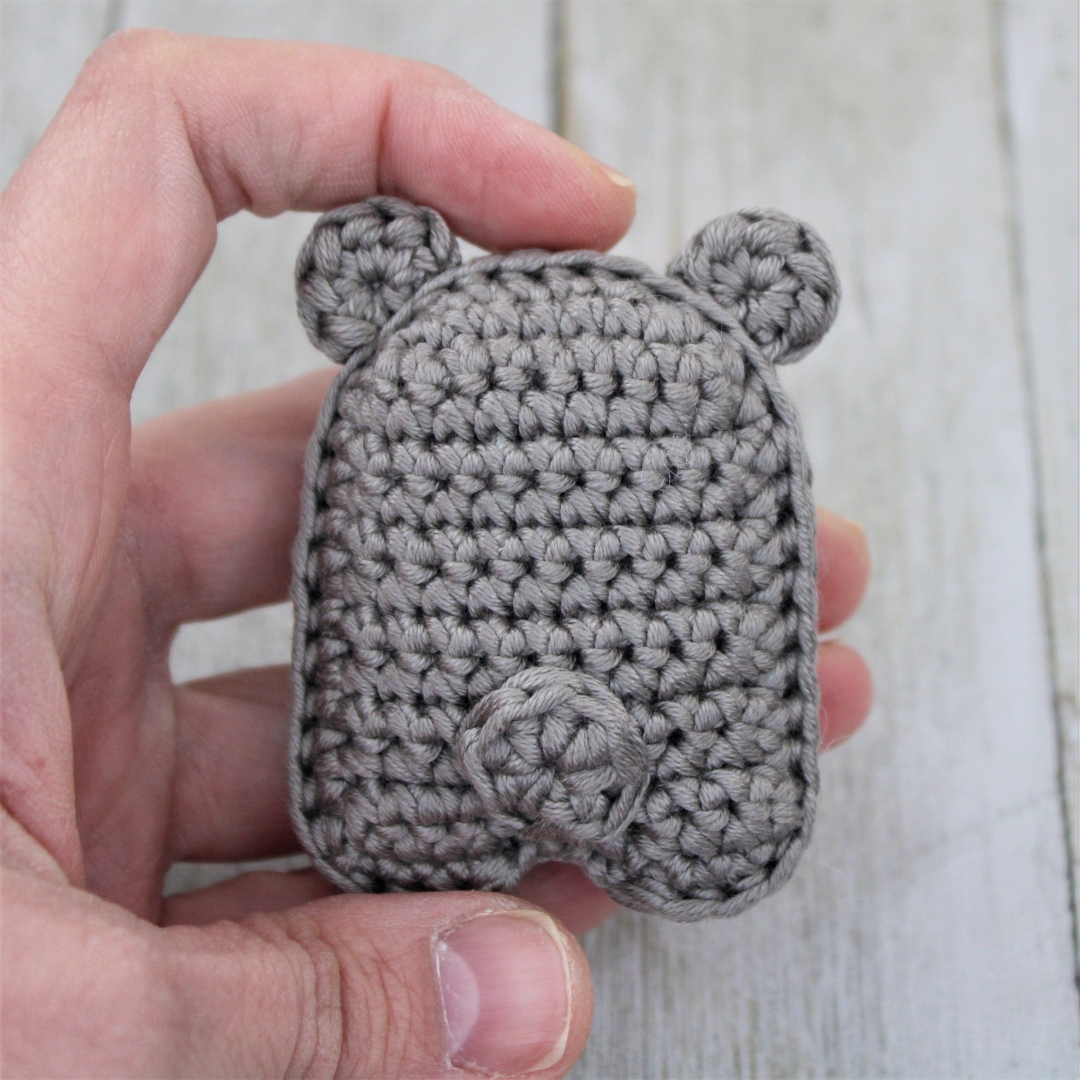
EARS (x 2)
Suggested color – Taupe
Round 1: 6 hdc in a mr
Fasten off leaving a tail for sewing.
MUZZLE
Suggested color – Pearl
Row 1: 6 sc in a mr; ch 1 and turn – 6 sts
Row 2: sc, 4 inc, sc – 10 sts
Fasten off leaving a tail for sewing.
TAIL
Suggested color – Taupe
Round 1: 8 hdc in a mr; sl st to join
Fasten off leaving a tail for sewing.
ARMS (x 2)
Suggested color – Taupe
Ch 4
Row 1: in back bump of ch only sc in 2nd ch from hook, sc in next, hdc in last ch
Fasten off leaving a tail for sewing.

NOTE: I do not weave in the ends. I tie knots and hide them inside since we will make two pieces for the body and then crochet them together to join.
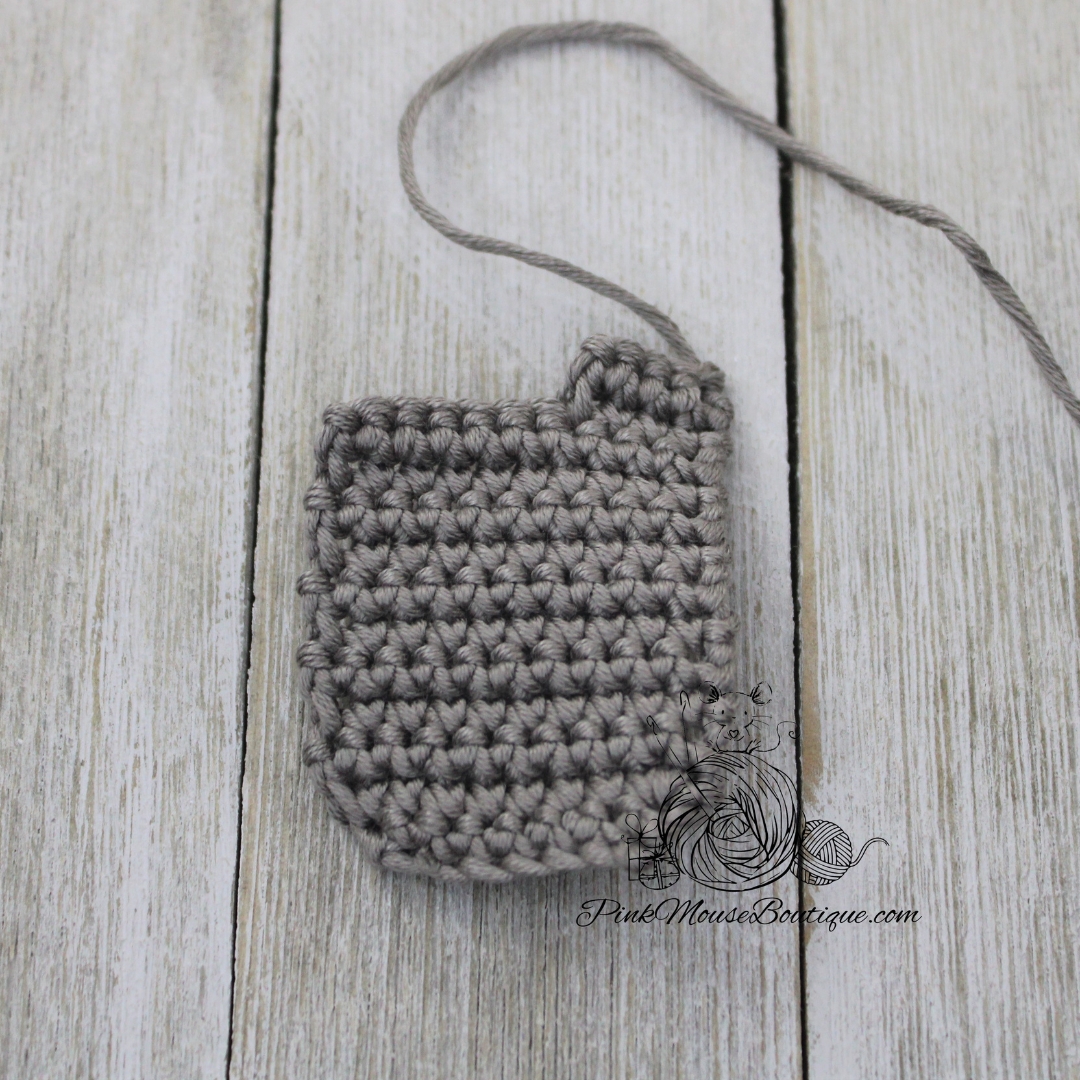
BODY (x 2)
Suggested Color – Taupe
Ch 7
Row 1: in back bump of ch only 2 sc in 2nd ch from hook, 4 sc, 2 sc in last ch; ch 1 and turn – 8 sts
Row 2: inc, 6 sc, inc; ch 1 and turn – 10 sts
Rows 3 – 11: sc in each st; ch 1 and turn – 10 sts (9 rows)
LEG 1
Row 12: sc in 4 sts; ch 1 and turn – 4 sts
Row 13: sc in each st – 4 sts
Fasten off.
LEG 2
Join thread to 7th st of Row 11.

Row 1: sc in 4 sts; ch 1 and turn – 4 sts
Row 2: sc in each st – 4 sts
Sc in each st and row all around the body.
Fasten off the 1st piece. Do not break the thread from the 2nd piece.

ASSEMBLY
- The facial features will be sewn to the piece that has not been fasten off.
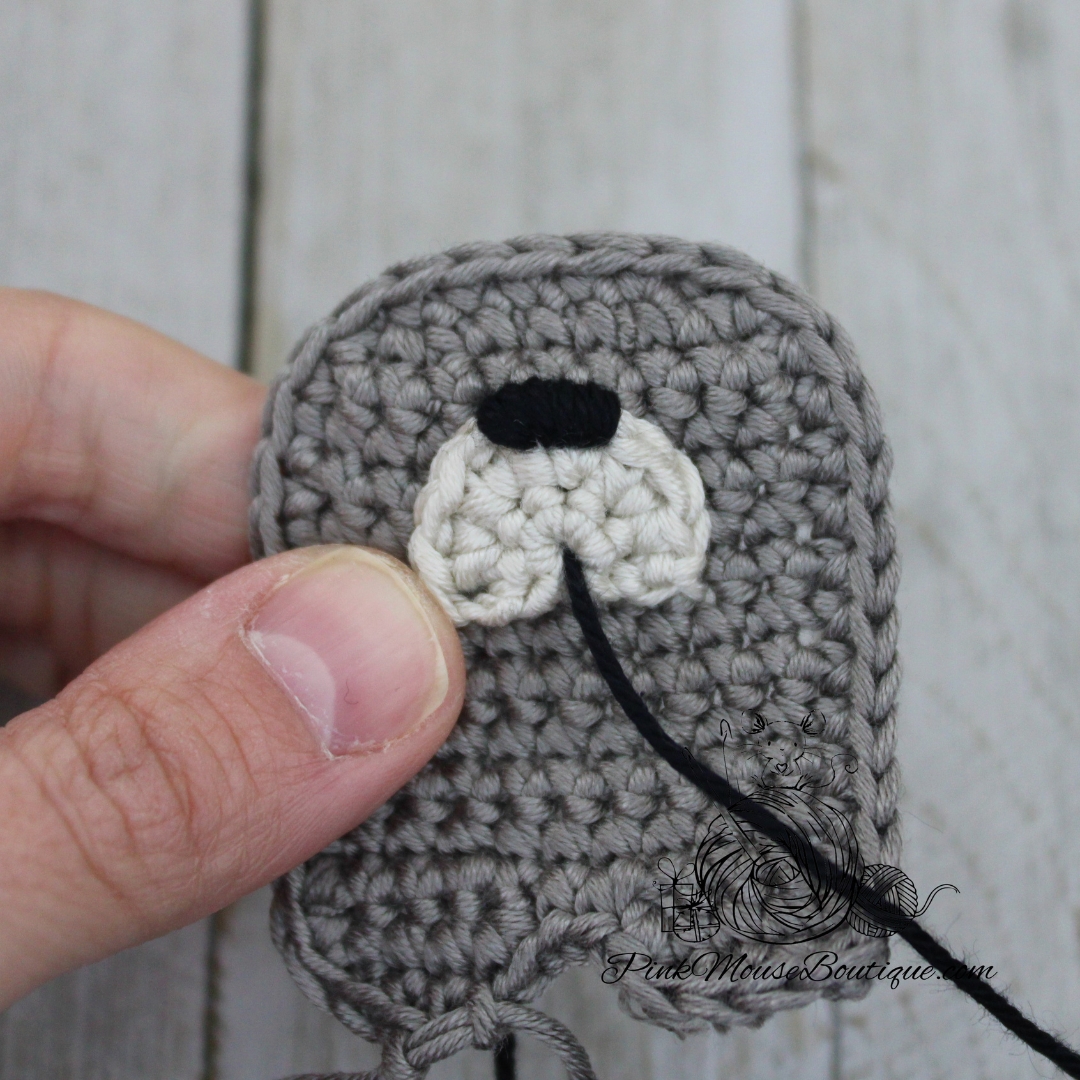
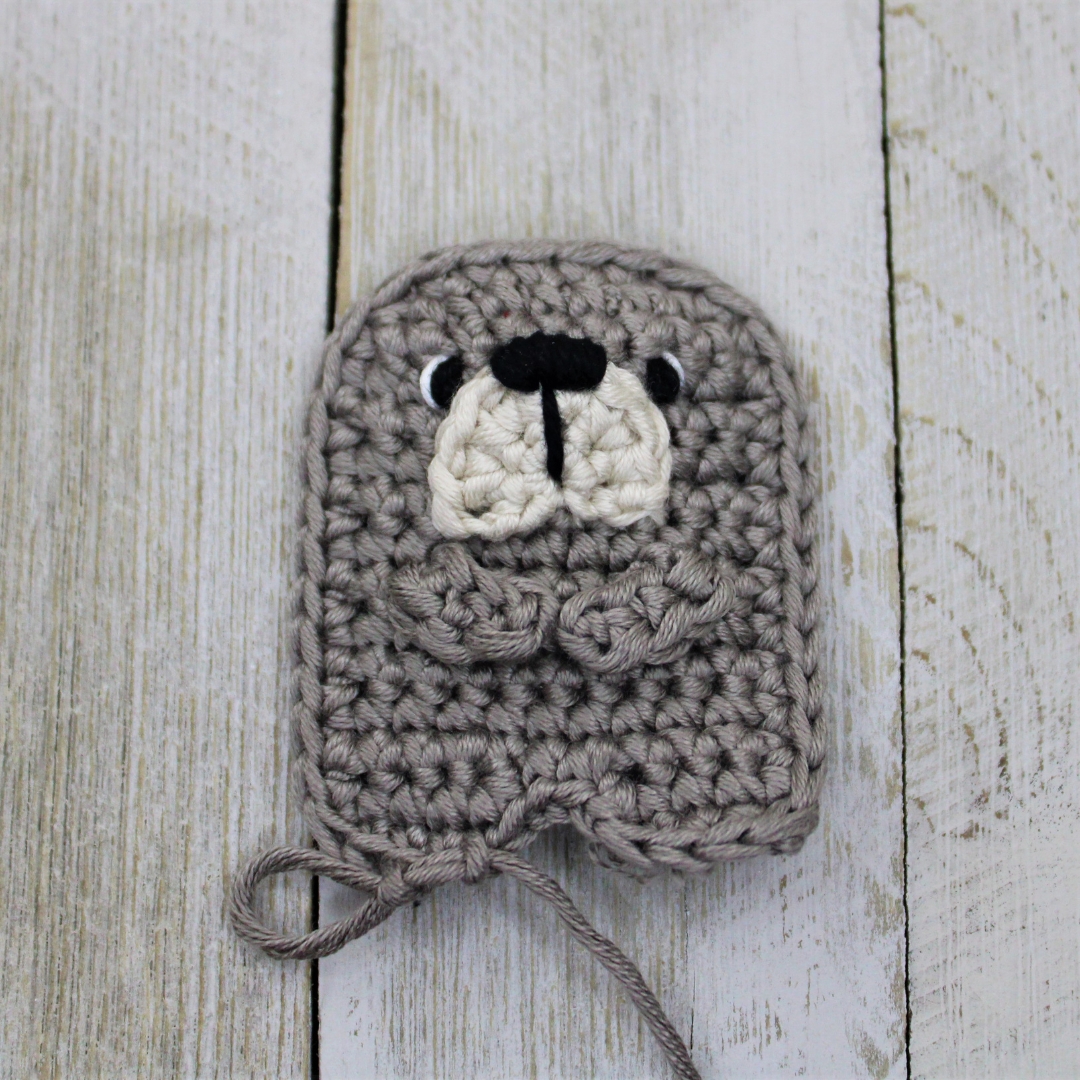
- Sew the muzzle on Rows 4 through 7.
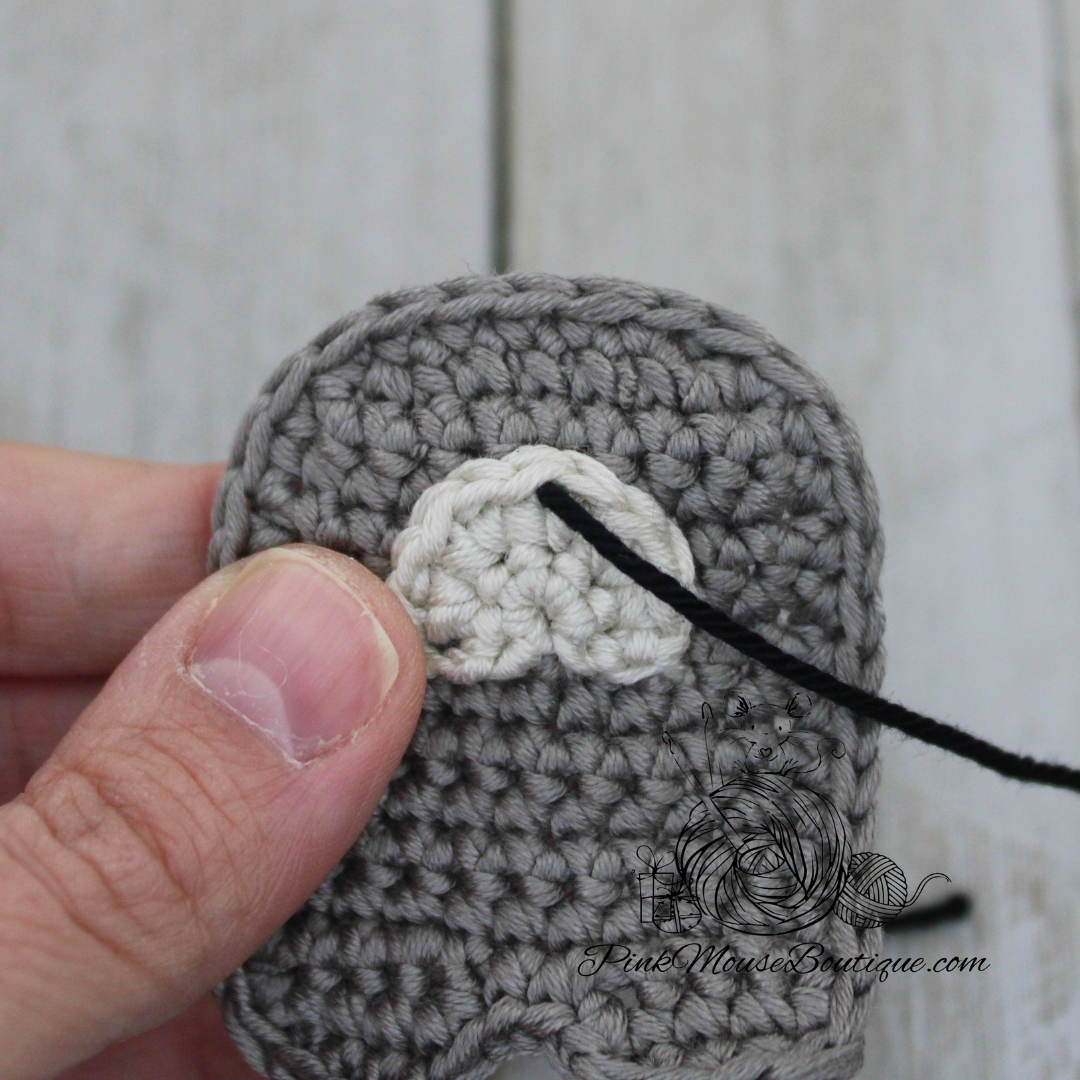
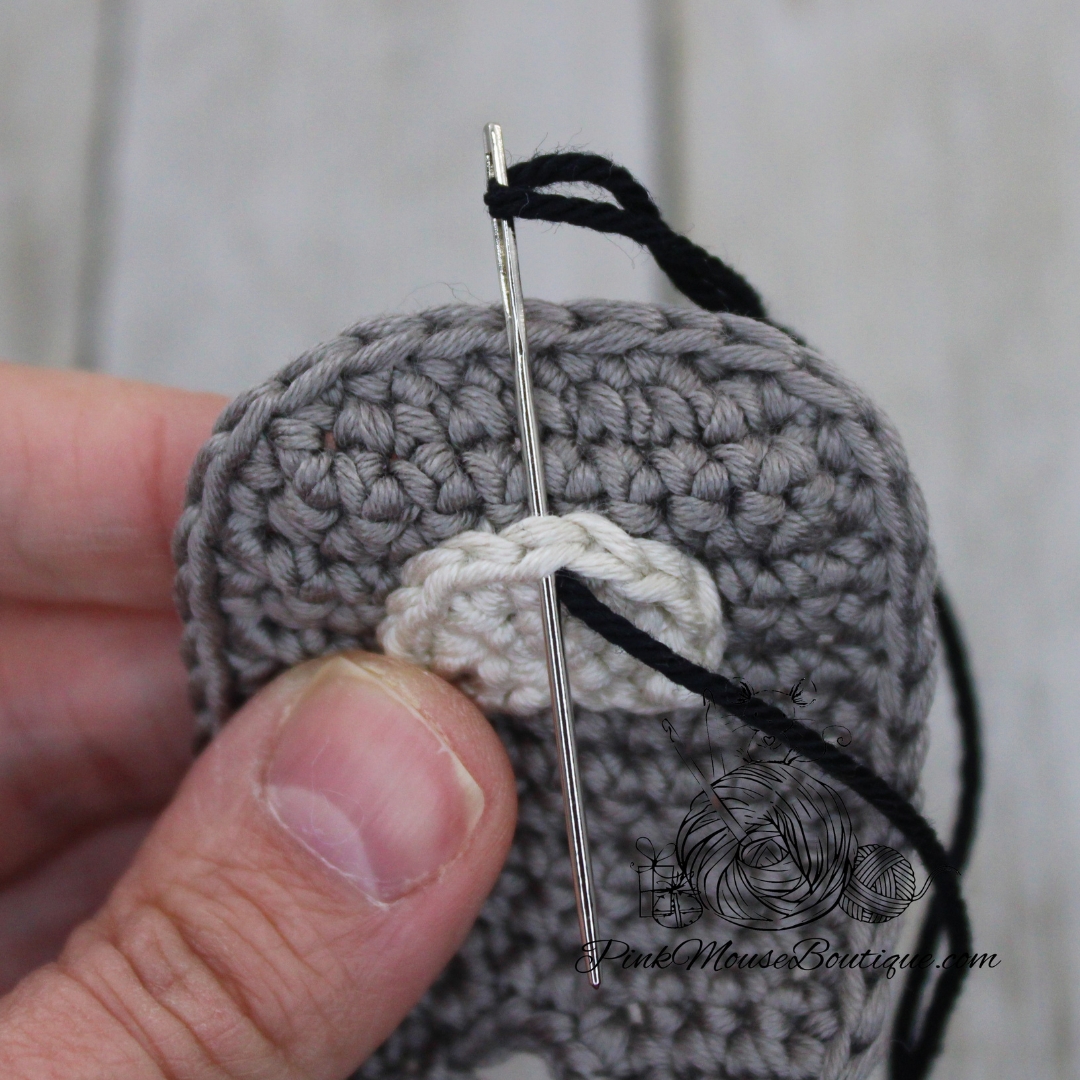
- Sew the nose using Black yarn. Insert the needle only through the two middle stitches of the muzzle that will be used for the nose. Sew several times.
- Once finished with the nose, use the same yarn, and sew a line through the middle of the muzzle. I began the line at the magic ring hole.
- With Black yarn, sew several times on Row 4 on either side of the muzzle to make the eyes. Once finished, use White yarn to sew an eye detail.
- Sew the arms at an angle a row below the muzzle.
- Sew the tail to the back piece.
- Put both pieces, back and front, together making sure they align. Sl st through both pieces.
- When you are almost finished closing the piece, insert stuffing. Do not stuff too much. You only need to stuff a little to make sure the bear is not completely flat. Finish closing the piece. Weave in the ends or secure the ends by tying knots and hiding them inside the body.
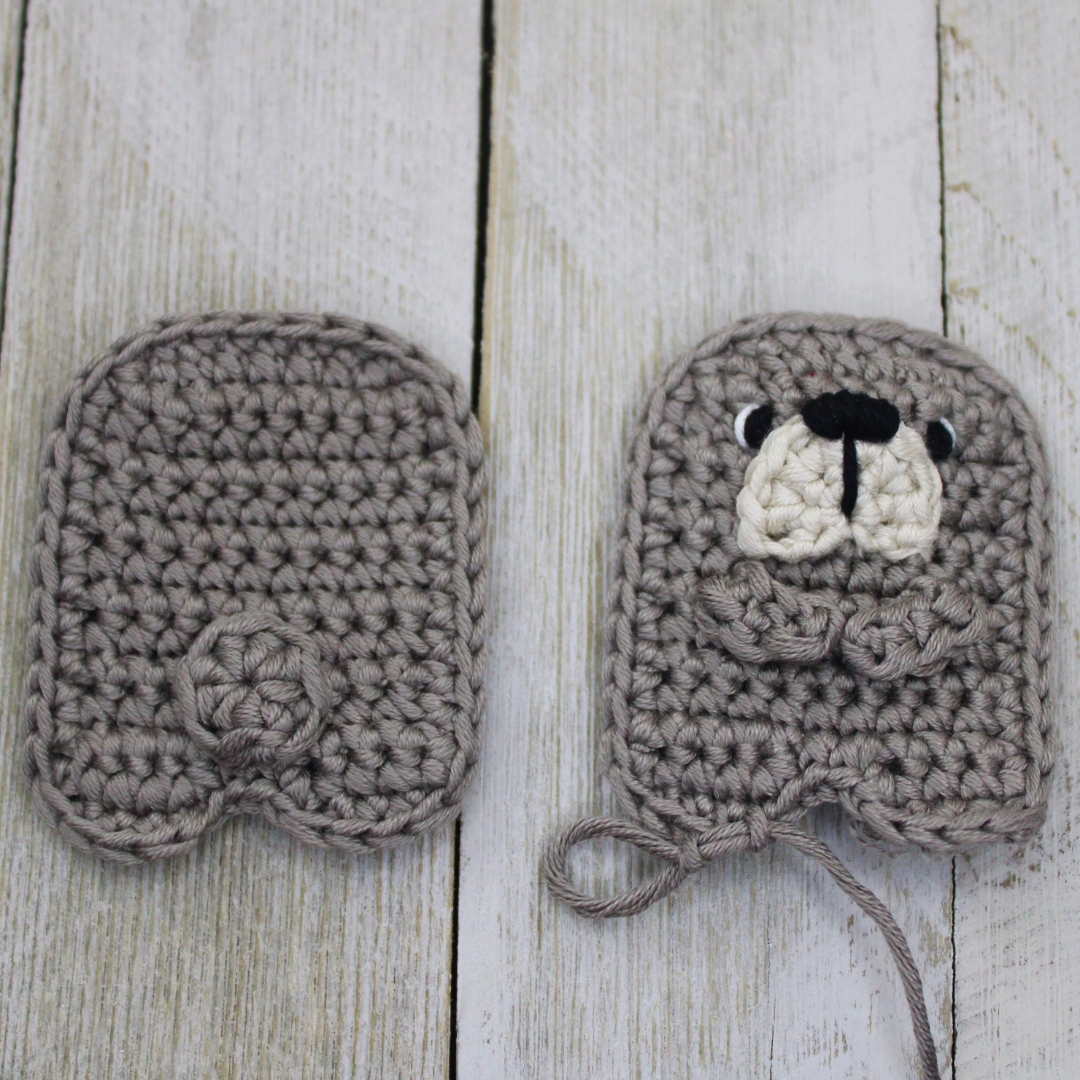
10. Using the whip stitch, sew the ears in place using the BLO of the front piece and the FLO of the back piece.

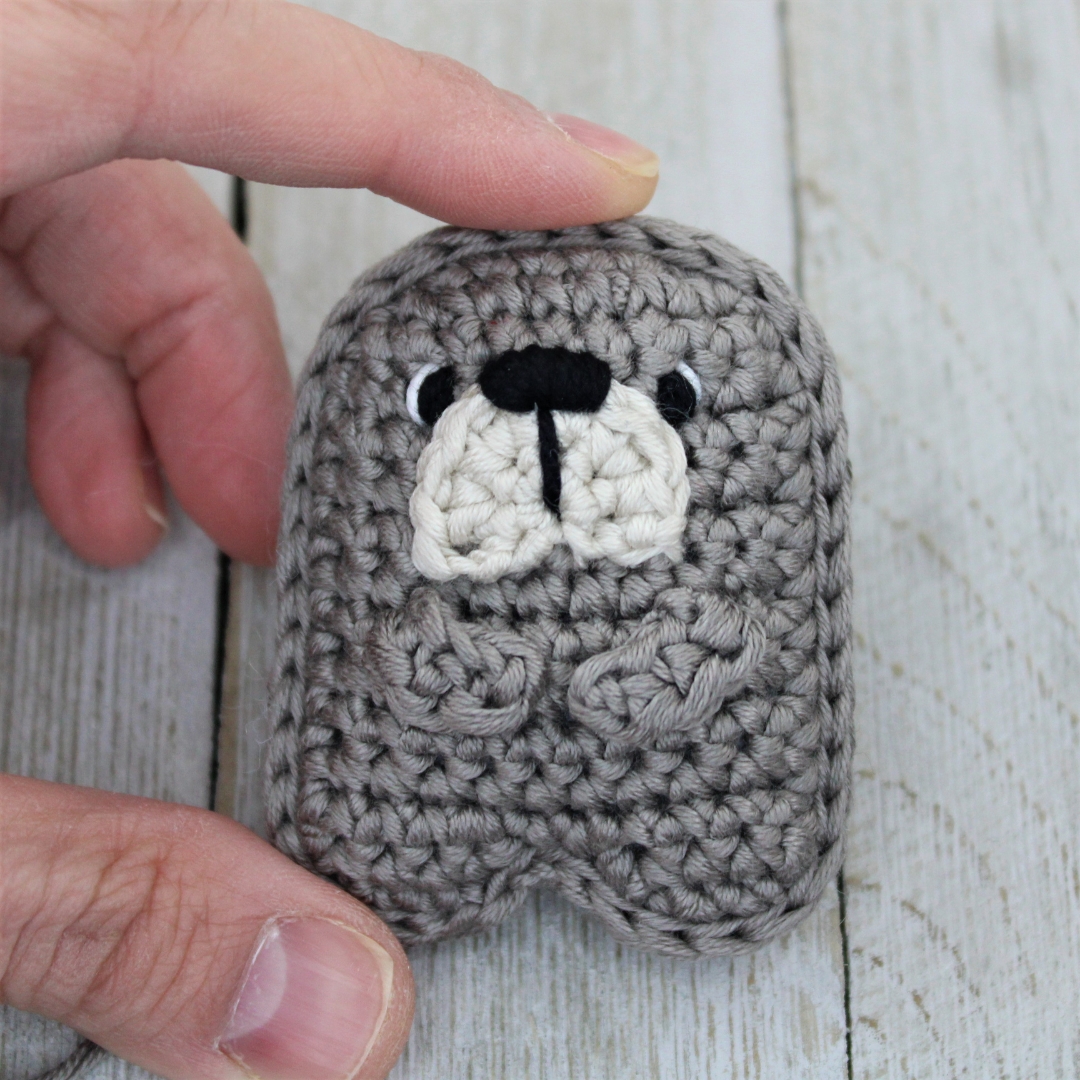


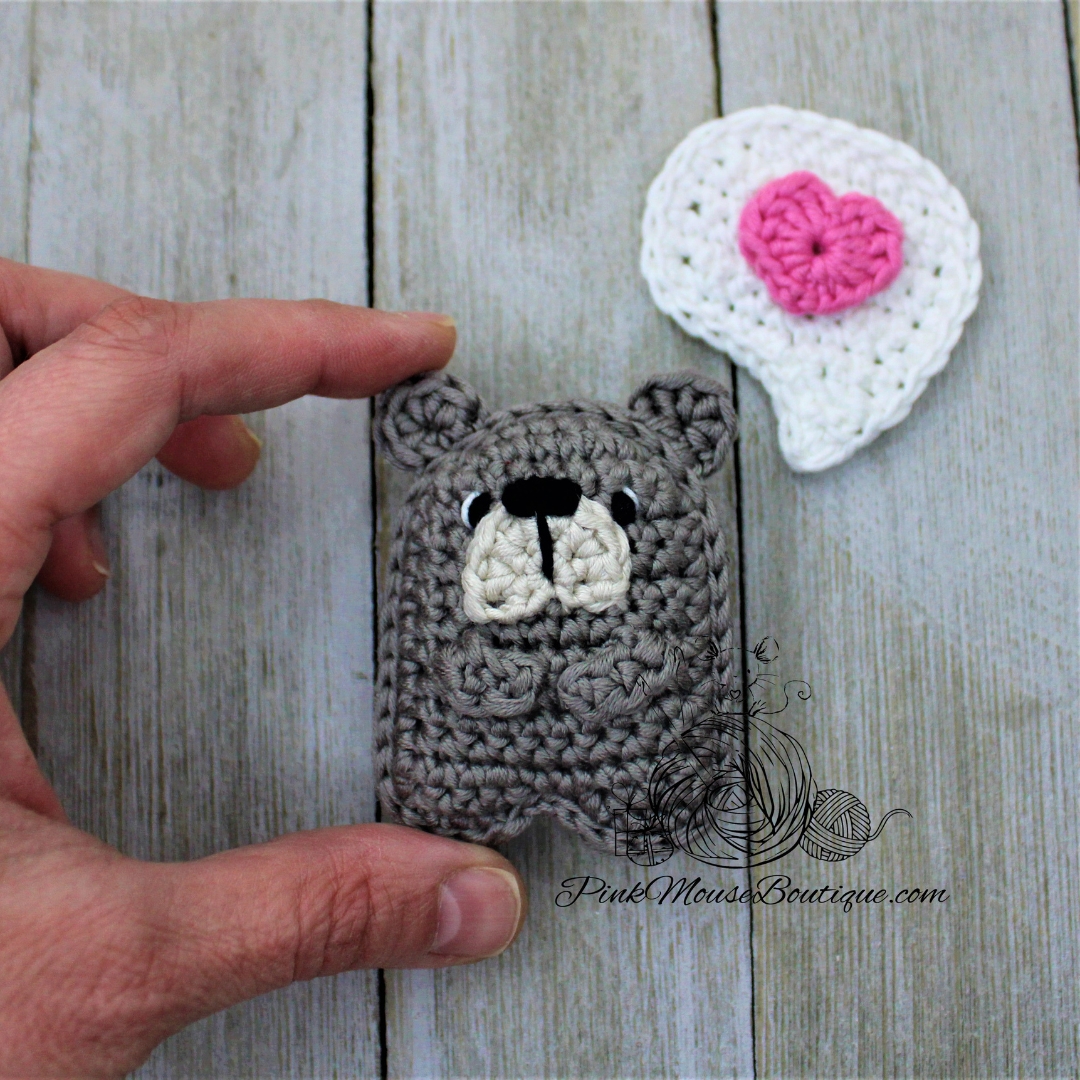
If you have used Drops Muskat wosrted weight, your bear will be about 2.5 inches tall. If you have used Lizbeth 20 with a 1.25 mm hook (for the smaller bear in the pictures at the beginning of the post), your bear will be about an inch tall. Please note that the finished size depends not only on the materials used, but also on your tension.
Happy Crochet!

Thanks again
LikeLike