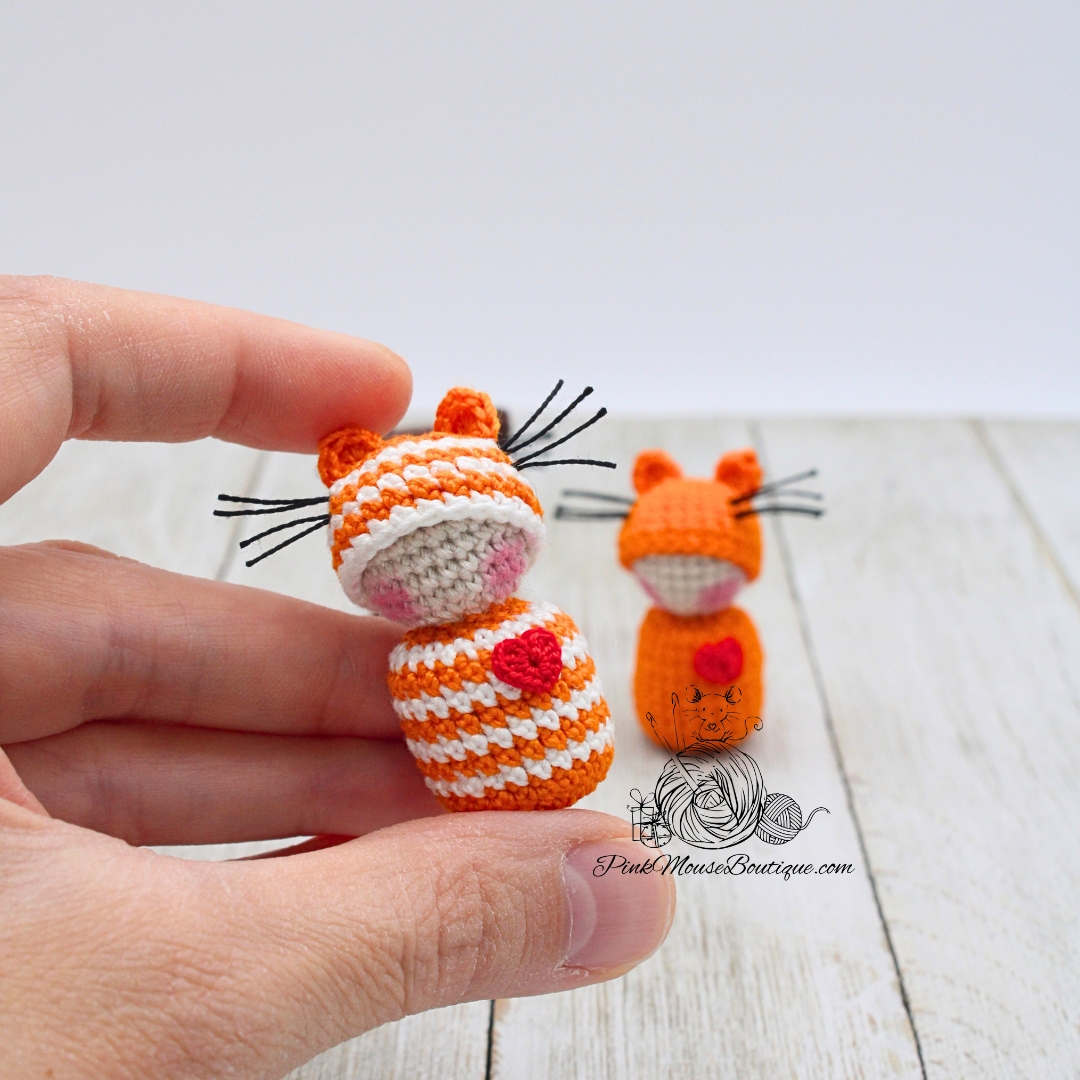
The pattern for the Peg Cats is not new. It used to be on my old blog years ago, but it somehow got misplaced. Someone reminded me of it, and I just had to recreate it again. I hope you like it.
MATERIALS
- Aunt Lydia’s size 10 thread
- Orange – Body, Hat, and Ears
- White – Body
- Ecru – Head
- Orem Bayan cotton perle 12 (or DMC embroidery floss, single strand)
- Black – Whiskers
- Red – Heart
- Crochet Hook, 1.5 mm for cat and 1 mm for heart
- Stuffing
- Hot Glue Gun or clear Tacky glue
- Scissors, sewing needle, cotton swab, and blush
ABBREVIATIONS
mr – magic ring
sl st – slip stitch
ch – chain
sc – single crochet
hdc – half double crochet
dc – double crochet
trbl – treble crochet
esc – extended single crochet
inc – increase
dec – decrease (invisible)
inv join – invisible join
BLO – back loops only
FLO – front loops only
FO – fasten off
NOTES
- The cat is crocheted from the bottom up.
- The doll is crocheted with the right side out.
- Invisible join tutorial: https://pinkmouseboutique.com/2023/07/18/invisible-joint-crochet/
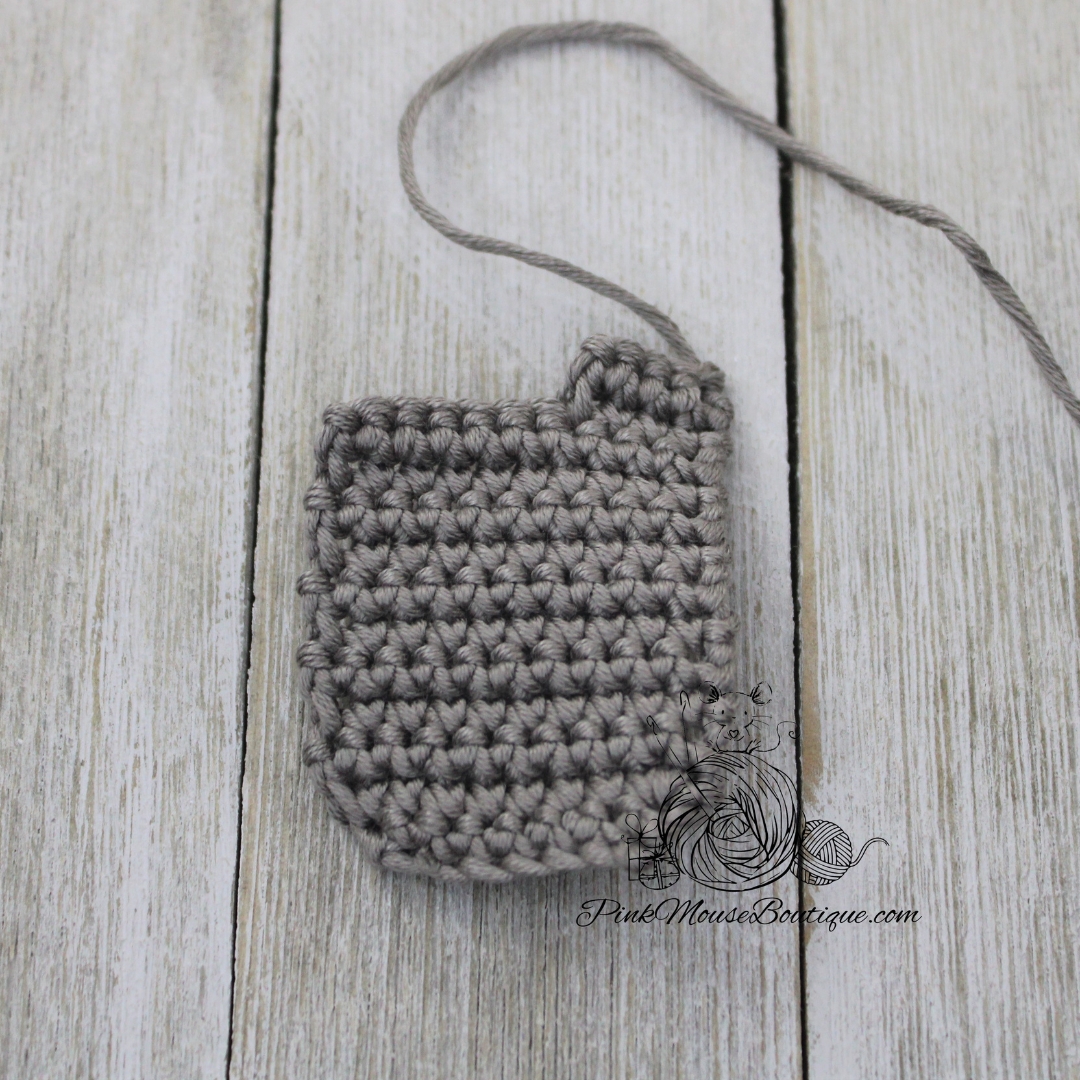
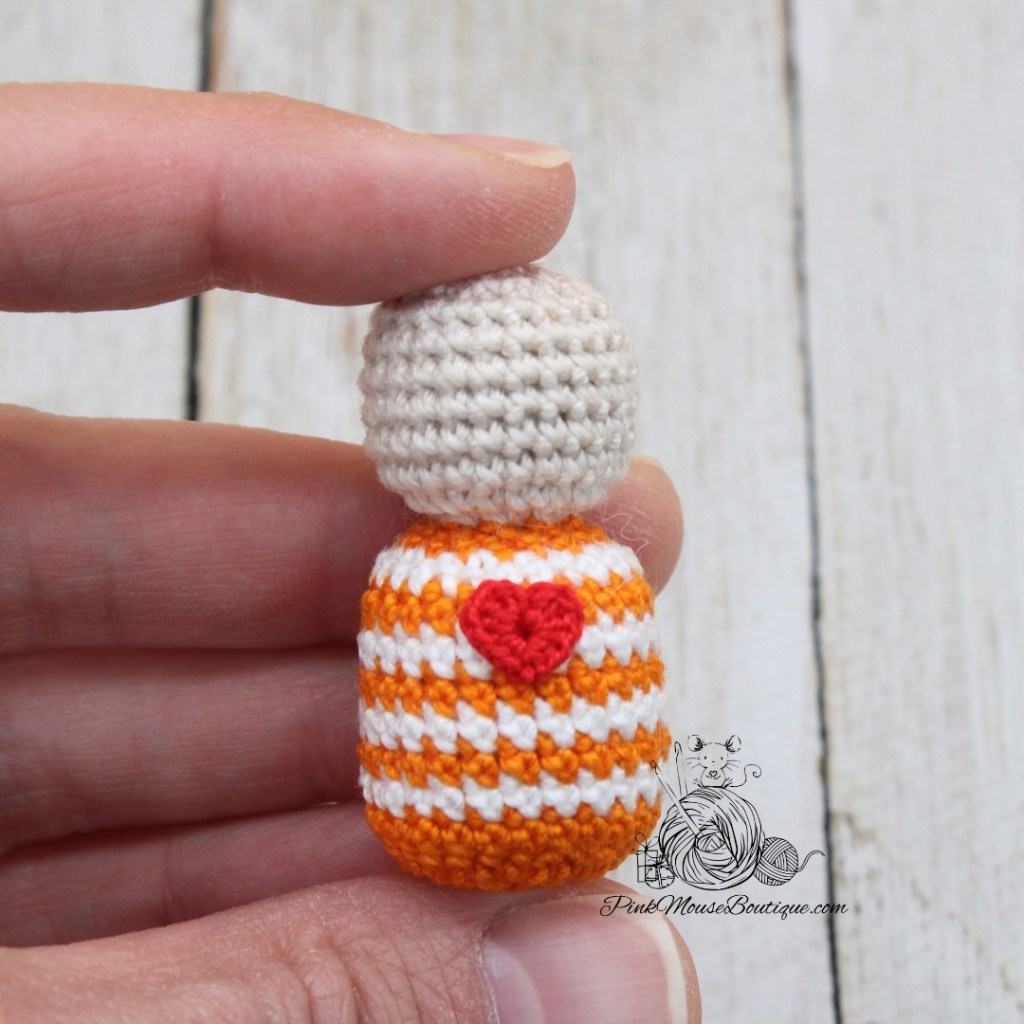
BODY AND HEAD
Suggested Colors – Orange, White, Ecru
Suggested Hook – Clover Amour, 1.5 mm
Round 1: with Orange 8 esc in a mr; inv join – 8 sts
Round 2: (8 esc inc) x 8; inv join – 16 sts
Round 3: (esc, esc inc) x 8 – 24 sts
Sl st in both loops to join. Chain 1 and turn.
Round 4: esc around; inv join – 24 sts
Change Color – White
Round 5: esc around; inv join – 24 sts
Alternate Rounds 4 and 5 three more times.
Round 12: with Orange (esc, esc dec) x 8; inv join – 16 sts
Stuff the body well.
Round 13: 8 esc dec; inv join – 8 sts
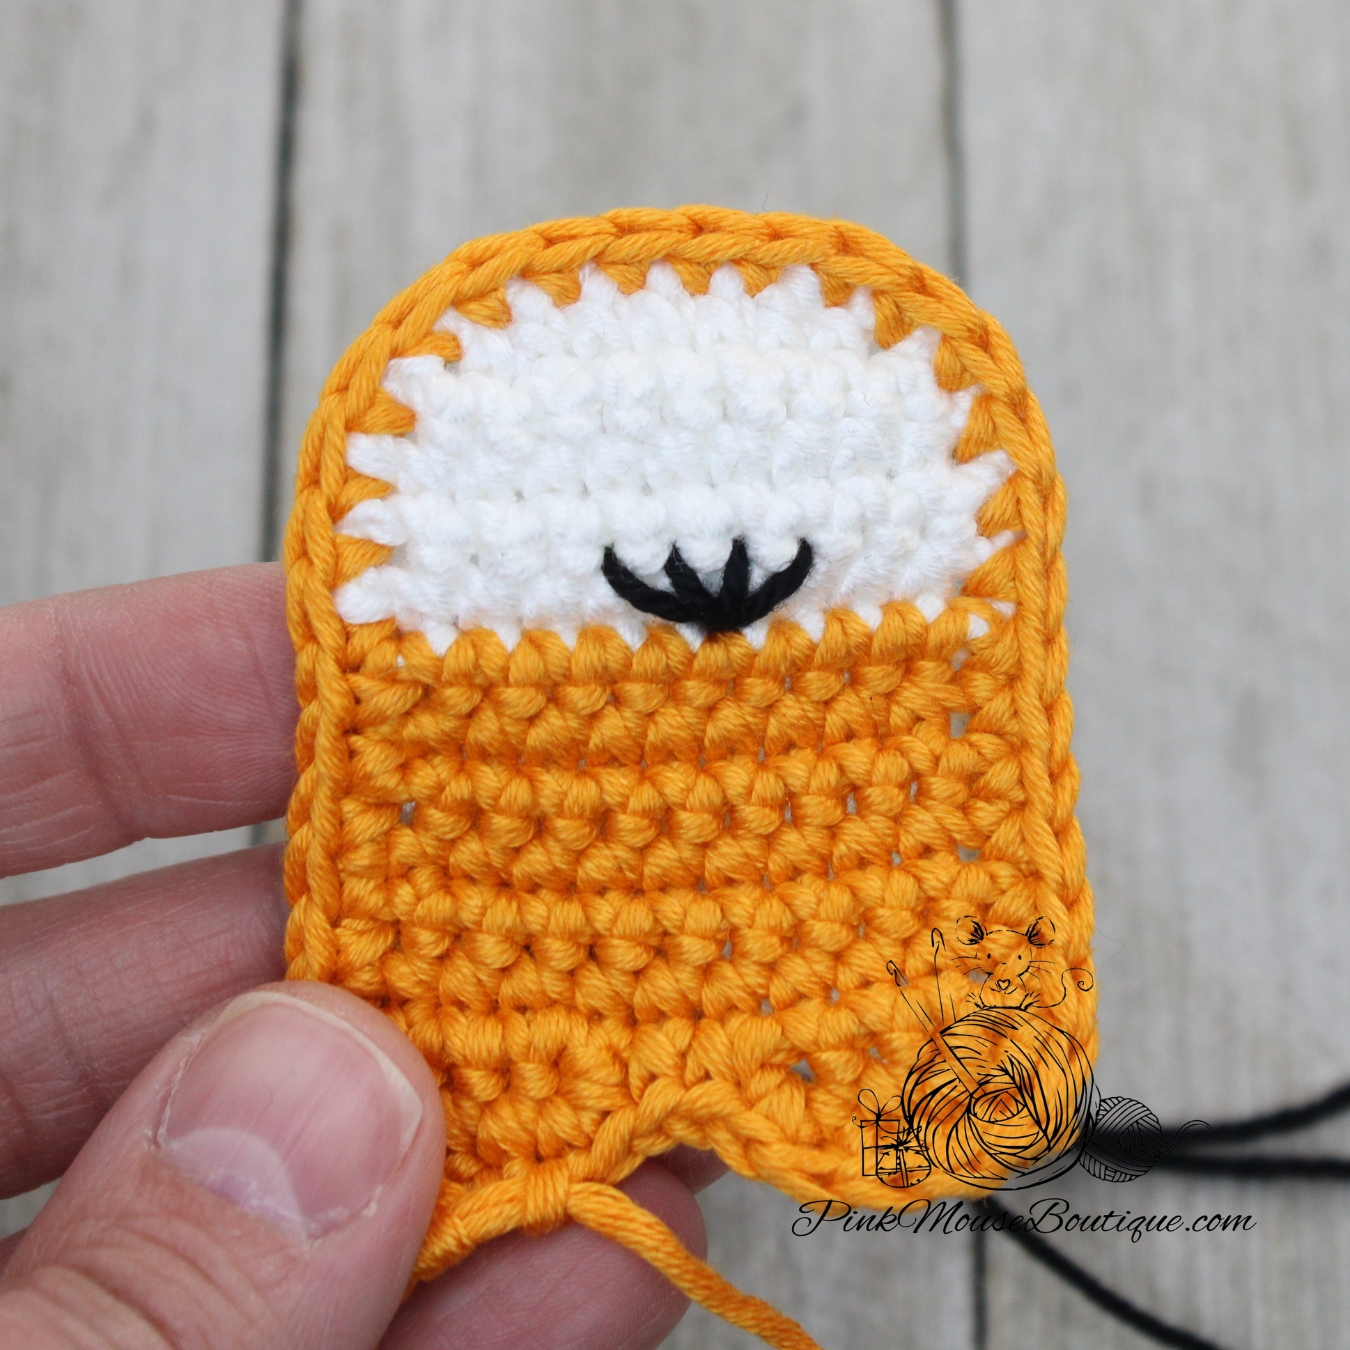
Change Color – Ecru
Round 14: 8 sc inc; inv join – 16 sts
Round 15: (sc, sc inc) x 8; inv join – 24 sts
Rounds 16 – 21: sc around; inv join – 24 sts (6 rounds)
Round 22: (sc, sc dec) x 8; inv join – 16 sts
Stuff the head well.
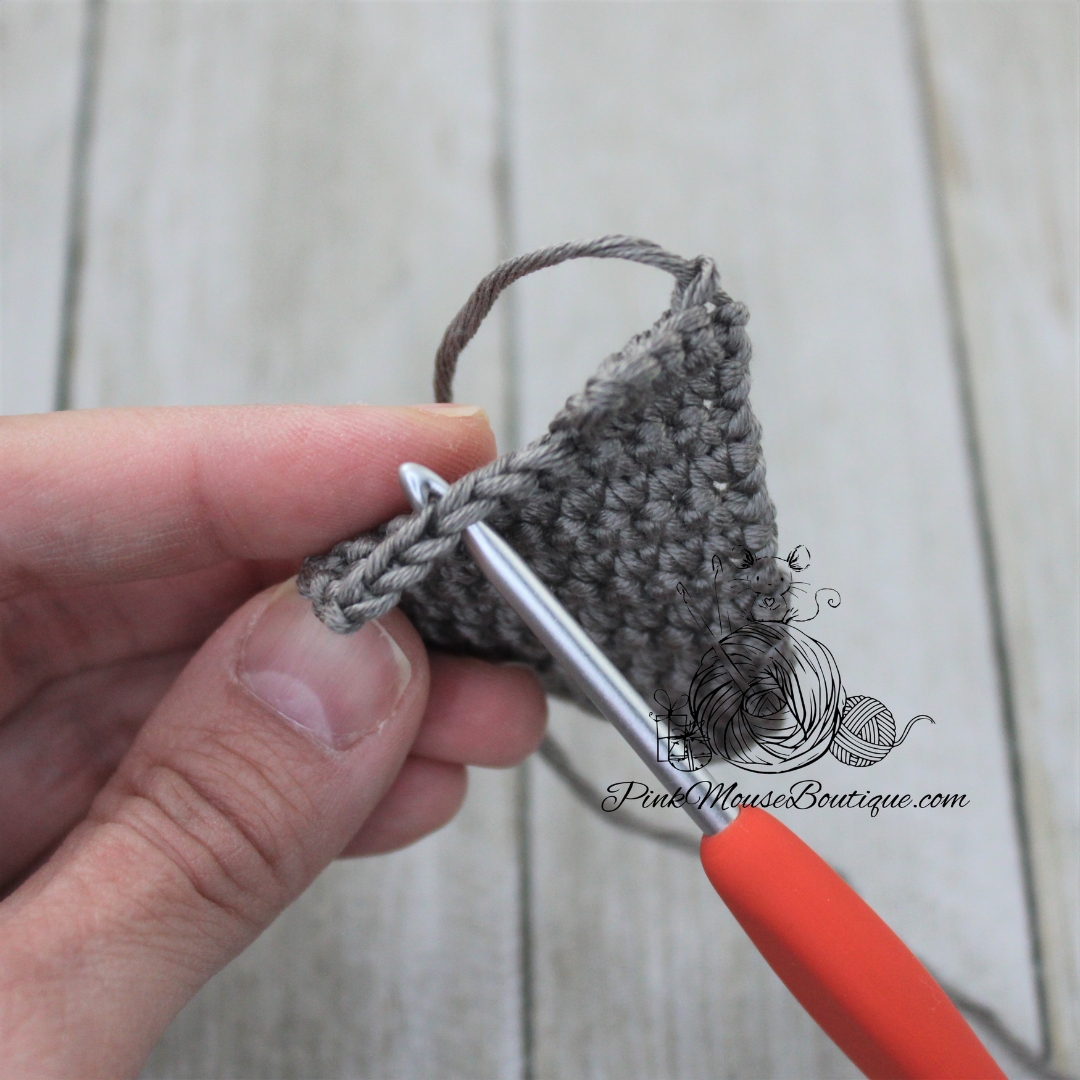
Round 23: 8 sc dec; sl st in both loops to join – 8 sts
FO. Finish off and secure the beginning and end tails by inserting them through the same space, tying a knot, and stuffing the excess inside the body.
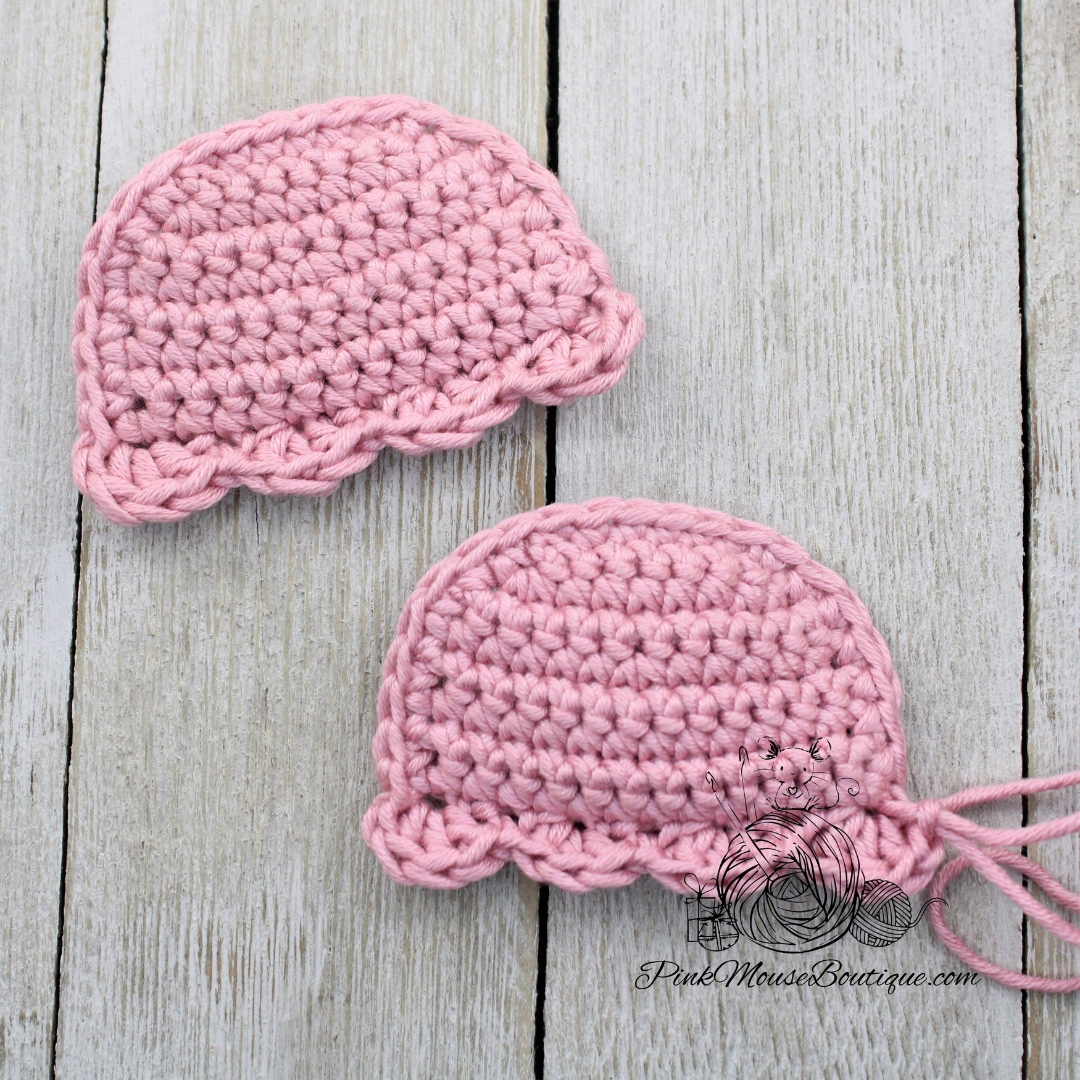
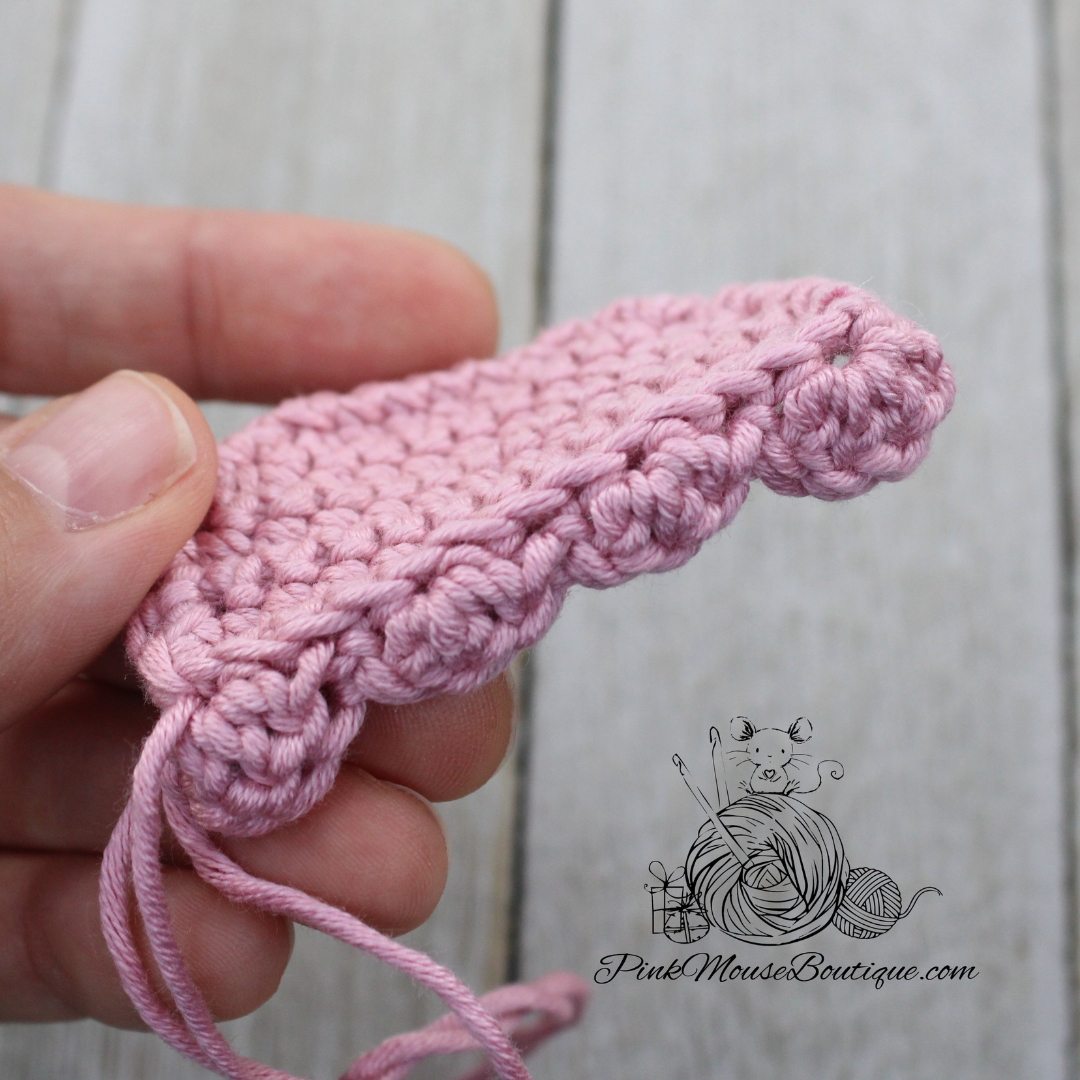
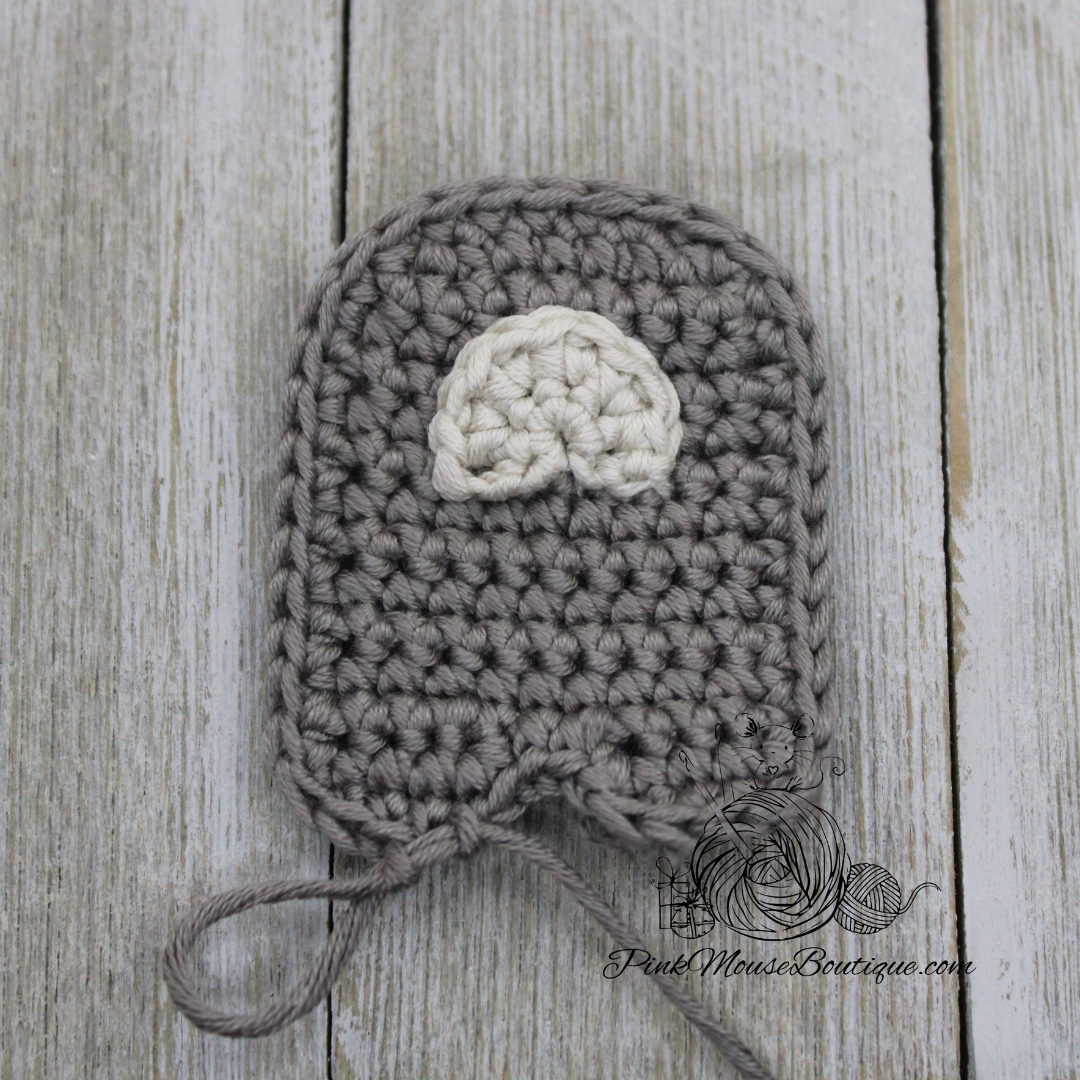
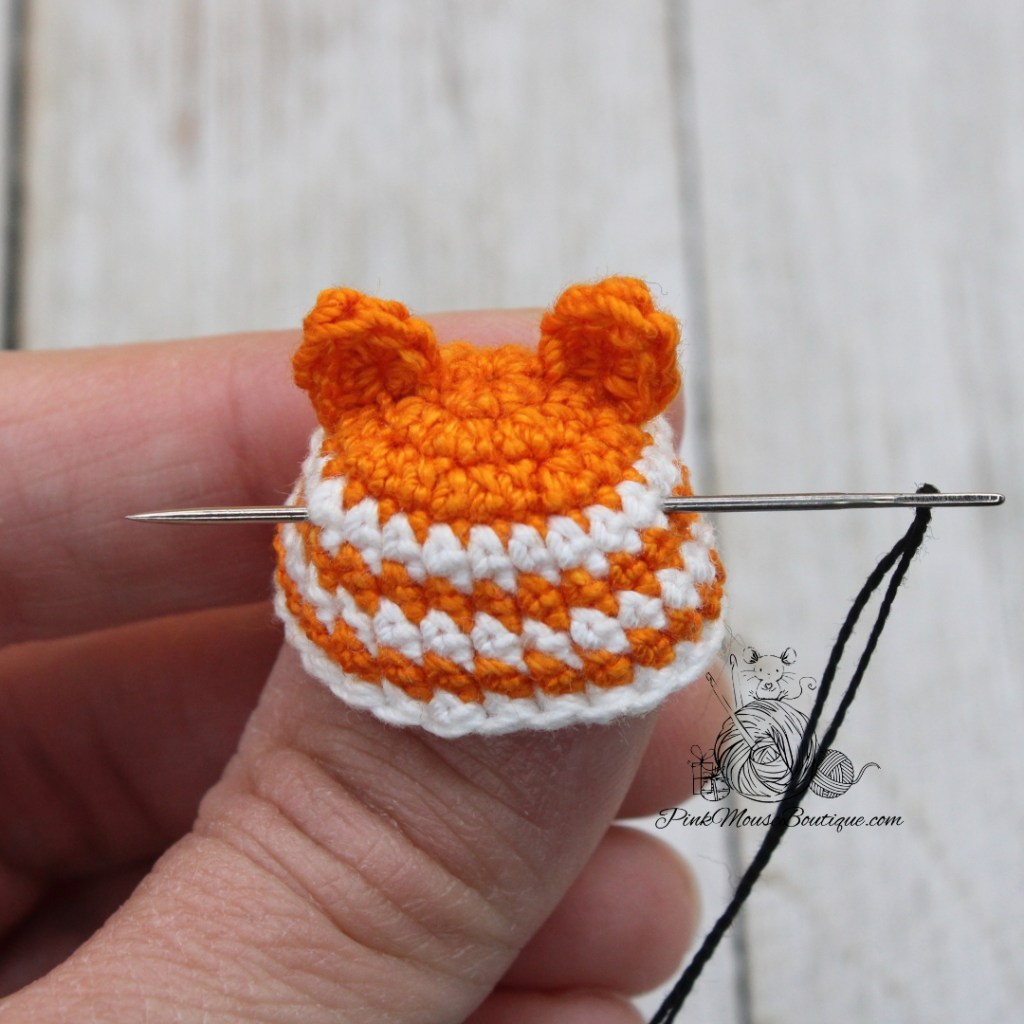
HAT
Suggested Colors – Orange and White
Suggested Hook – Clover Amour, 1.5 mm
Round 1: with Orange 8 esc in a mr; inv join – 8 sts
Round 2: (8 esc inc) x 8; inv join – 16 sts
Change Color – White
Round 3: (esc, esc inc) x 8; inv join – 24 sts
Change Color – Orange
Round 4: esc around; inv join – 24 sts
Change Color – White
Round 5: esc around; inv join – 24 sts
Change Color – Orange
Round 6: esc around; inv join – 24 sts
Change Color – White
Round 7: esc around; inv join – 24 sts
Change Color – Orange
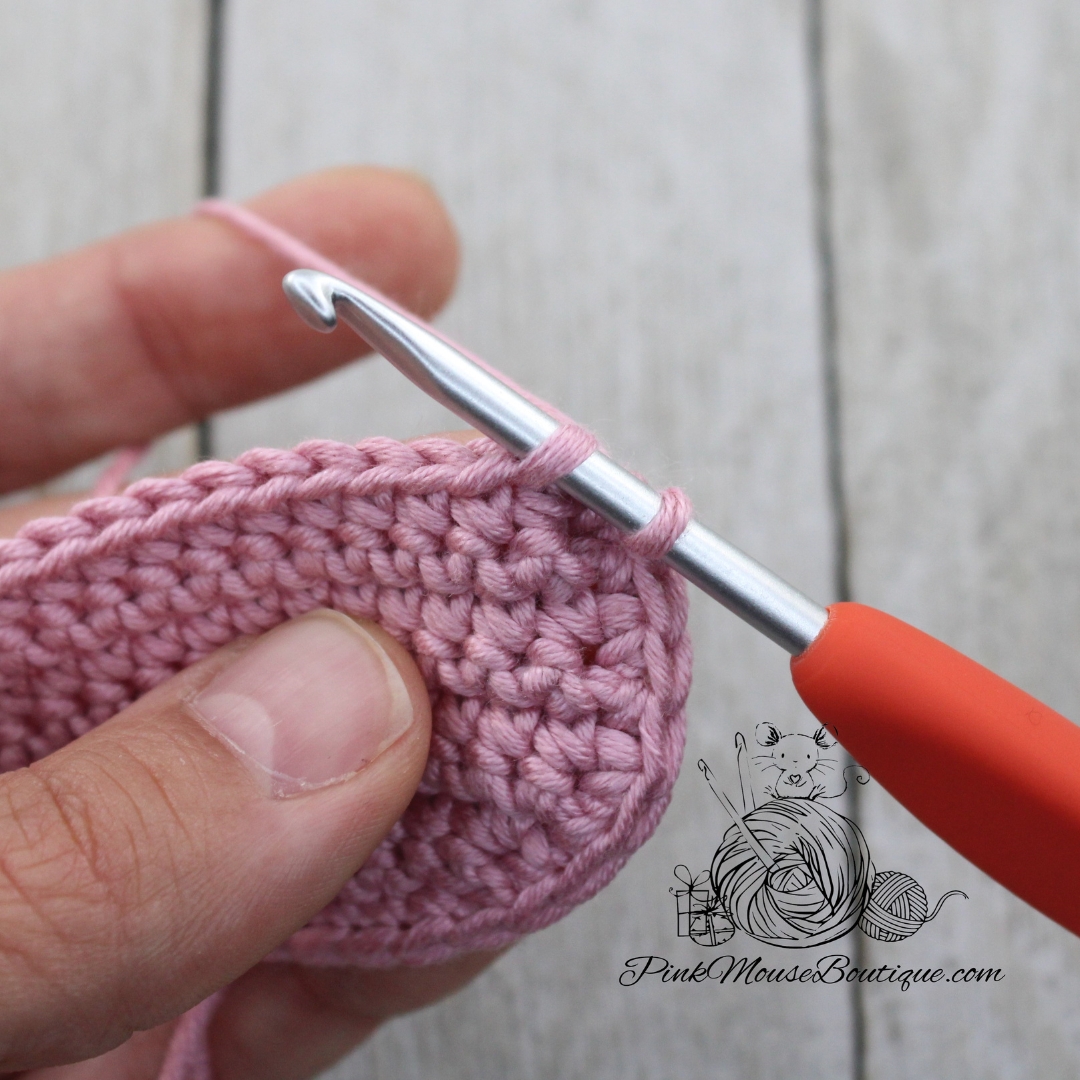
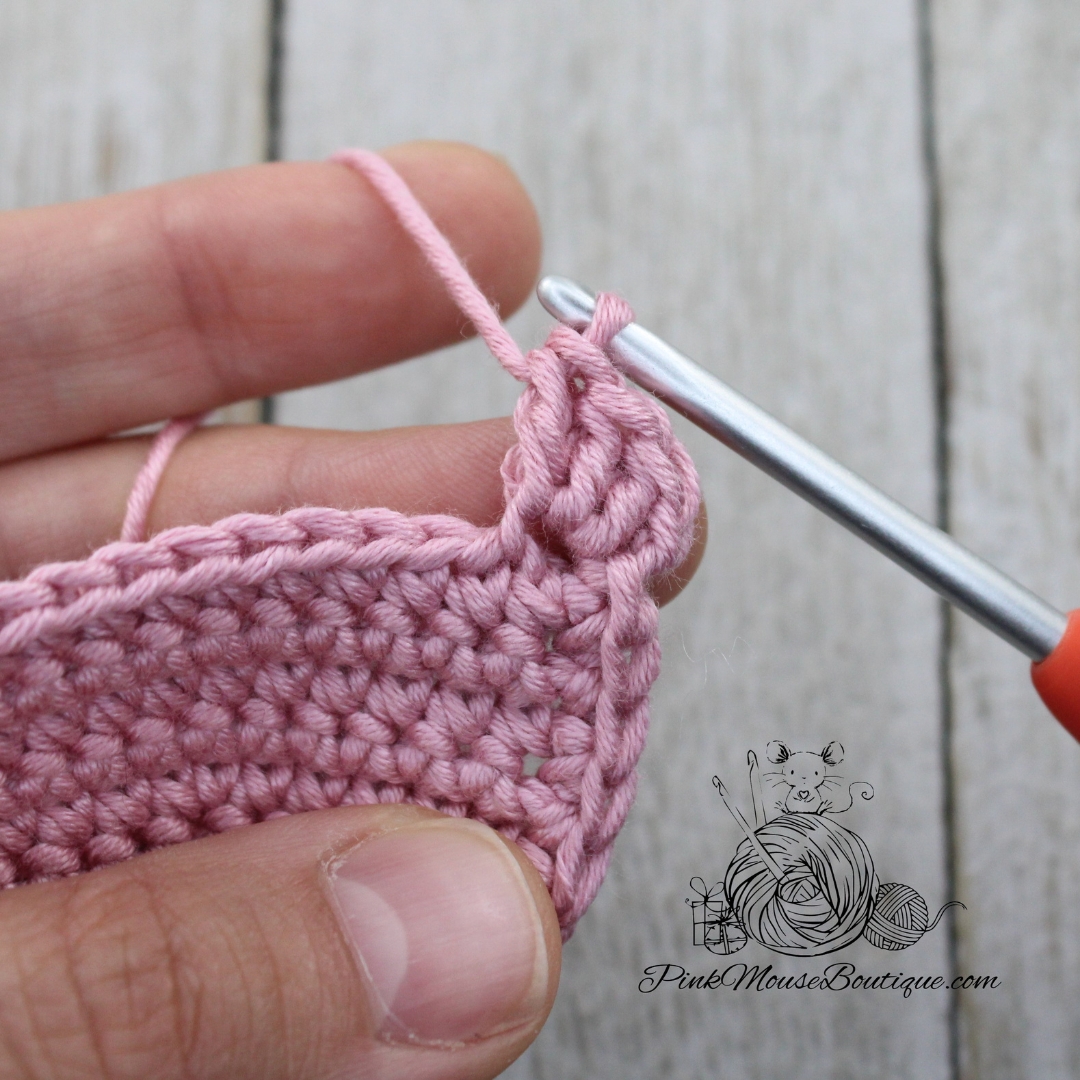
Round 8: esc around; sl st in both loops to join
FO and weave in the ends.
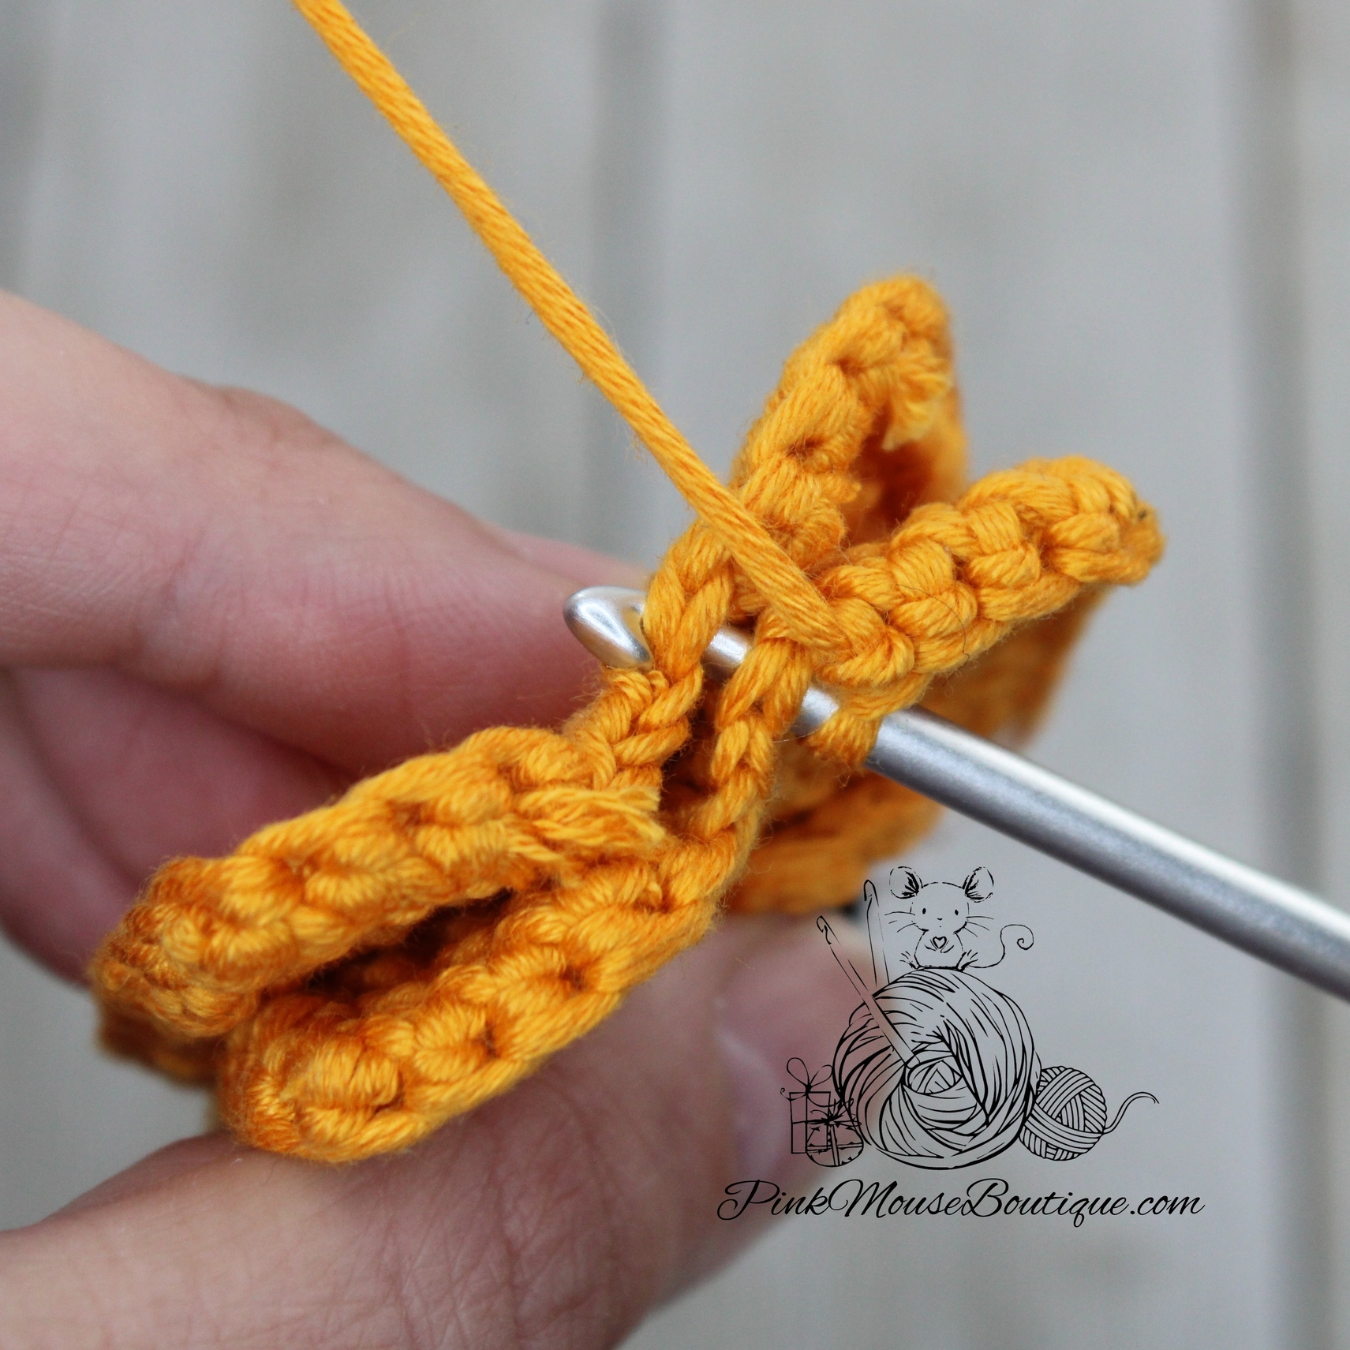
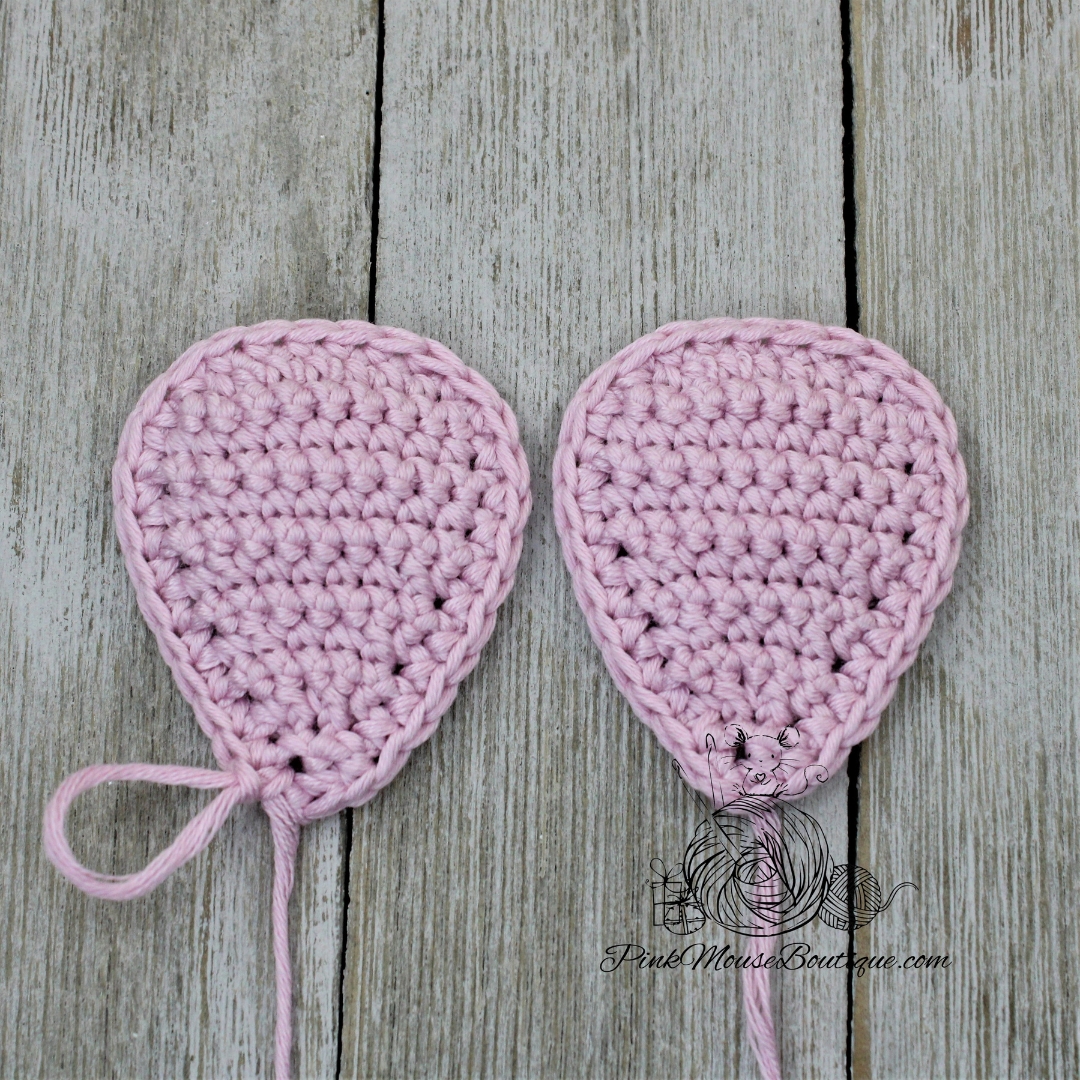
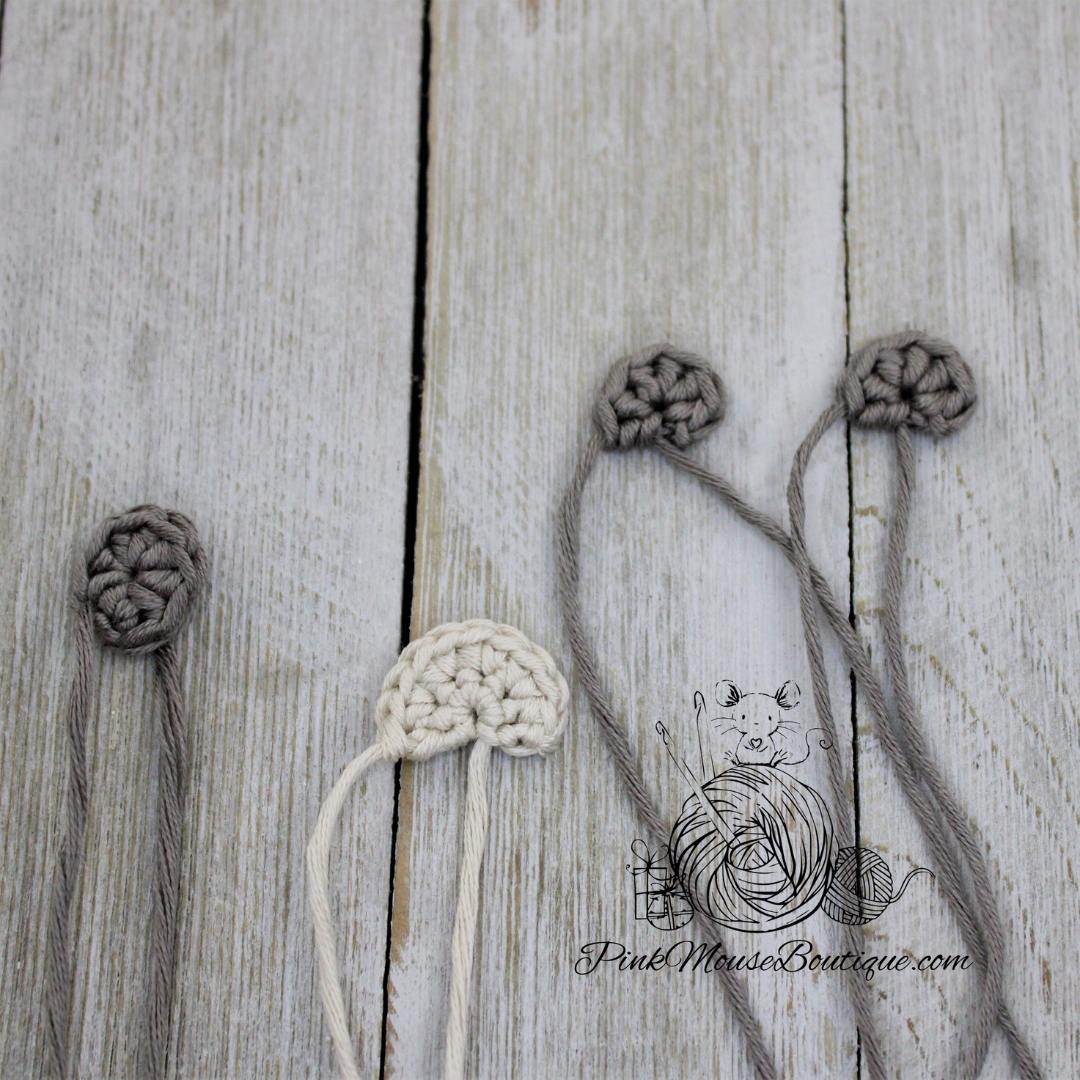
CAT EARS (x 2)
Suggested Color – Orange
Suggested Hook – Clover Amour, 1.5 mm
Round 1: in a mr 1 sc, 1 hdc, 1 dc, 1 trbl, 1 dc, 1 hdc, 1 sc – 7 sts
FO leaving a tail for sewing.
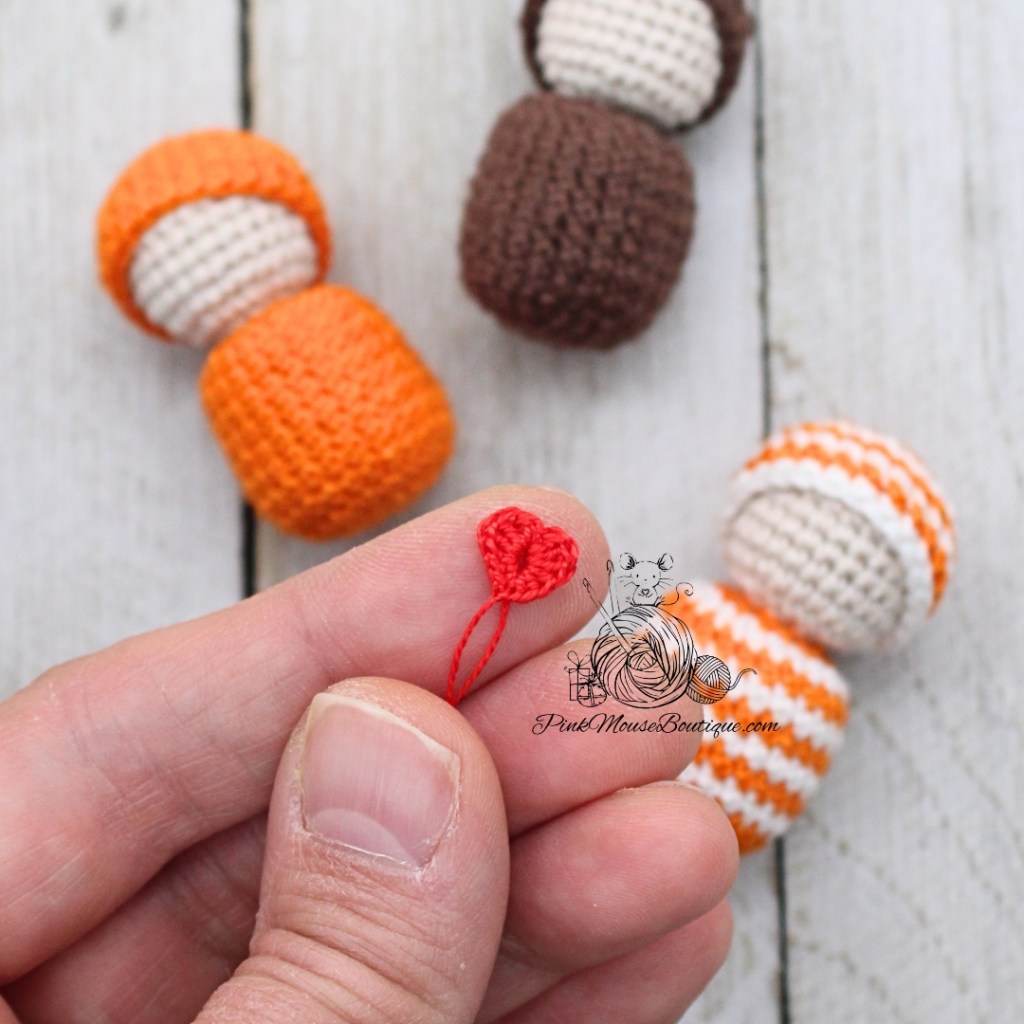
HEART
Suggested Color – Red (DMC cotton perle size 12)
Suggested Hook – 1.00 mm (Clover Amour)
Round 1: in a mr 1 sc, 2 hdc, 3 dc, sl st, 3 dc, 2 hdc, 1 sc, ch 1, sl st to 1st sc of round – 13 sts
FO leaving a tail for sewing.
Pull the beginning tail to close the hole of the mr. Set aside.
ASSEMPLY
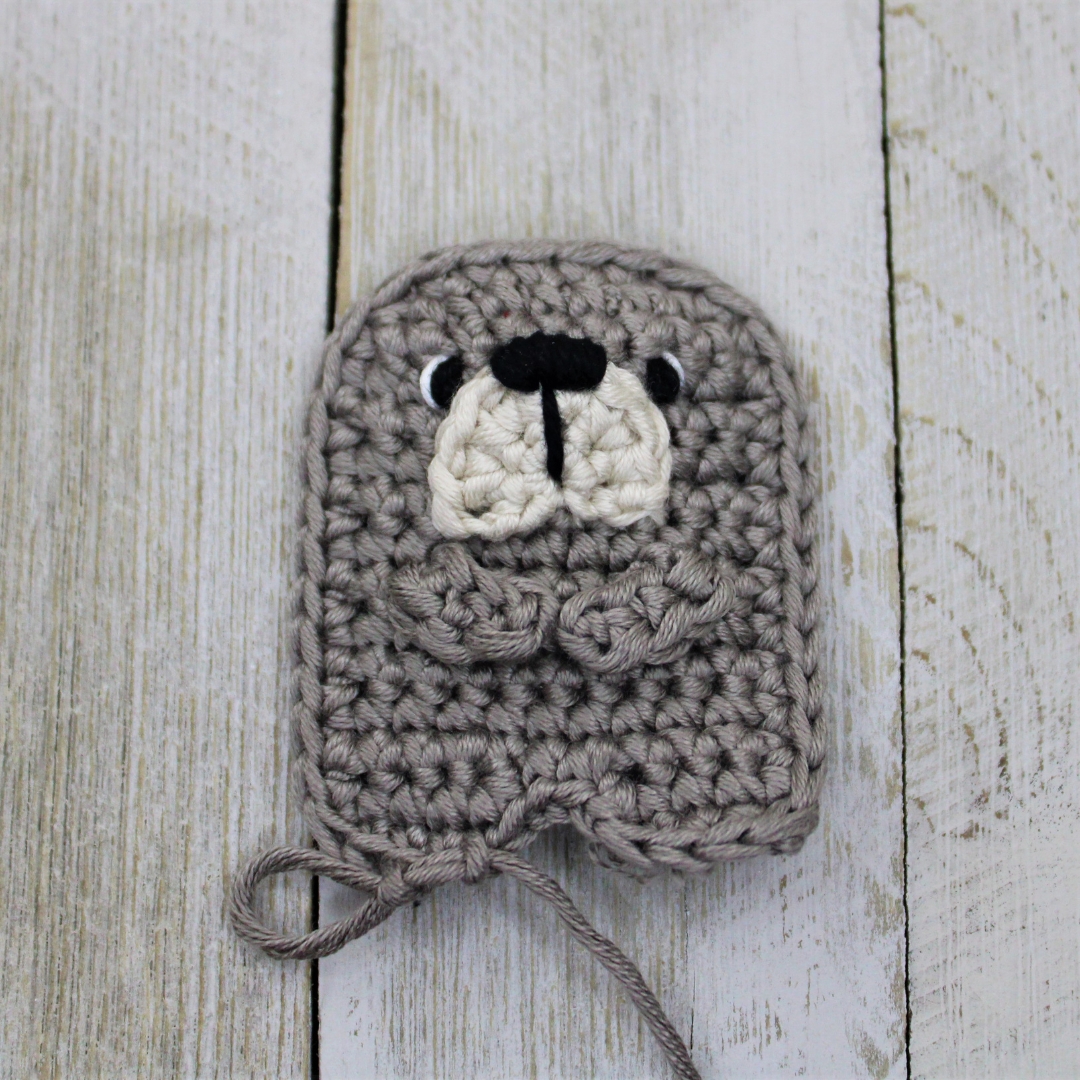
- Sew or glue the heart on the body, 2 rounds below the head.
- Sew the ears on Rounds 2 and 3 of the cap.
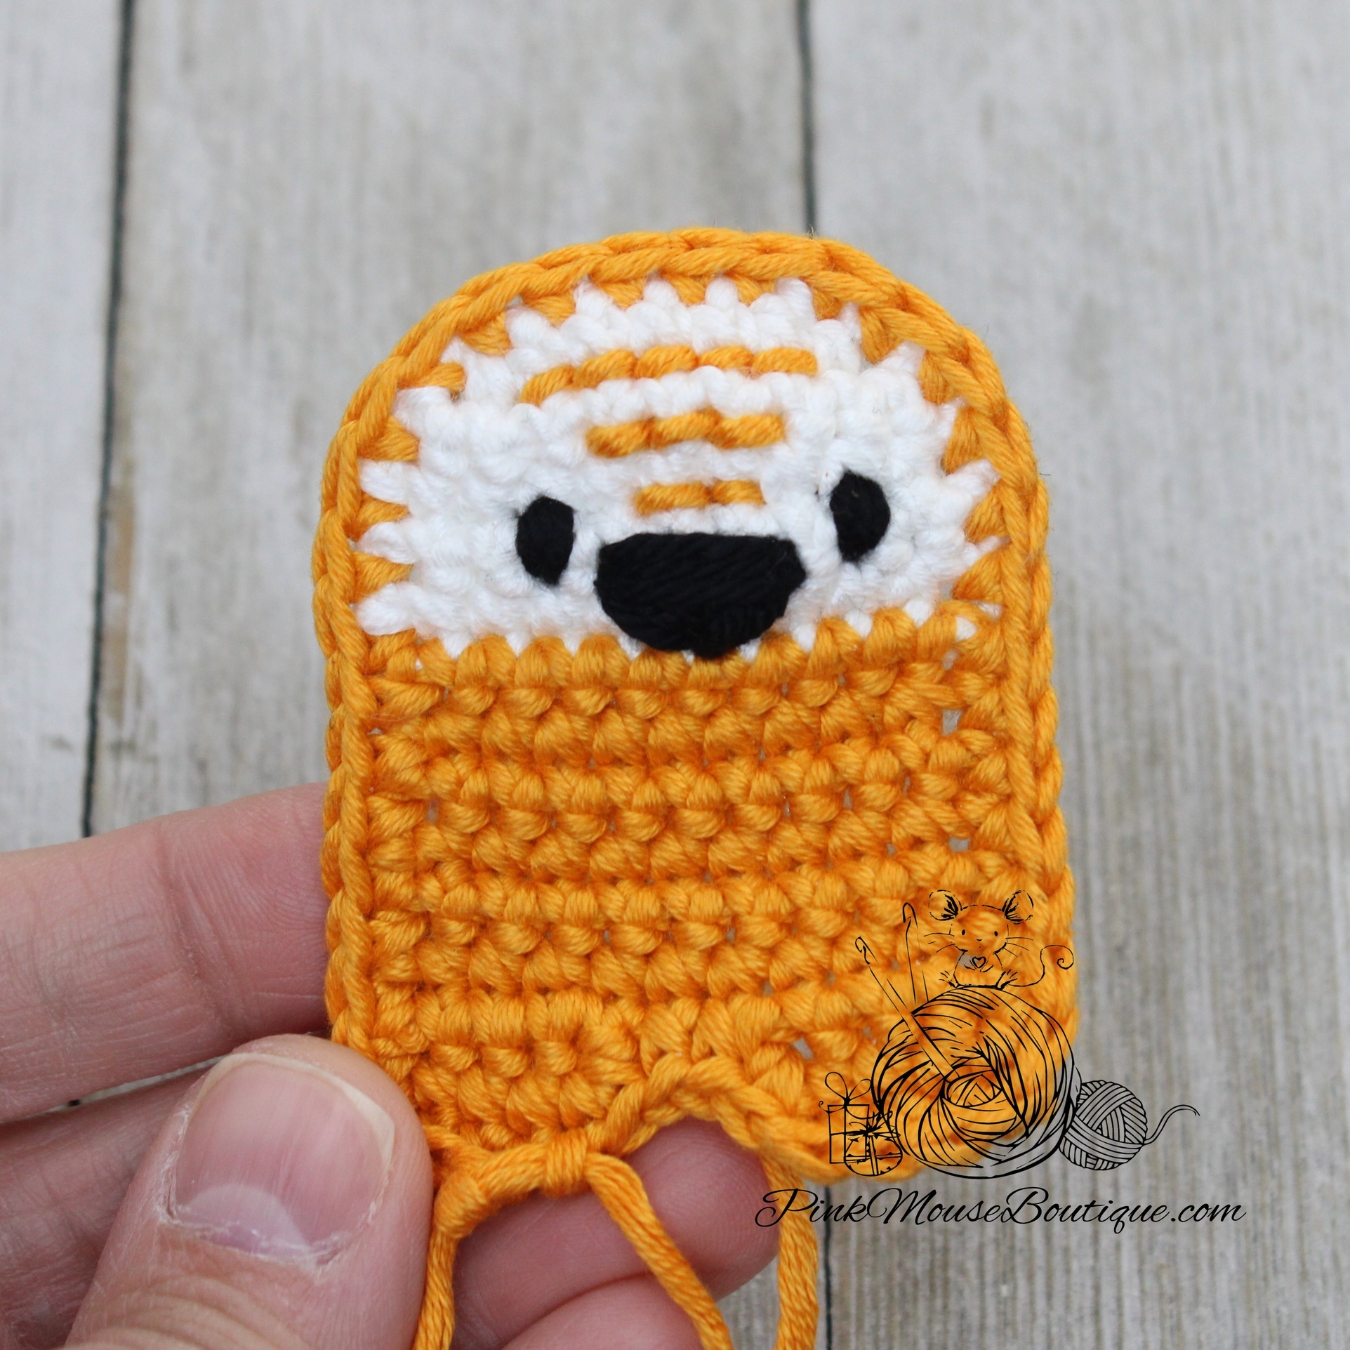
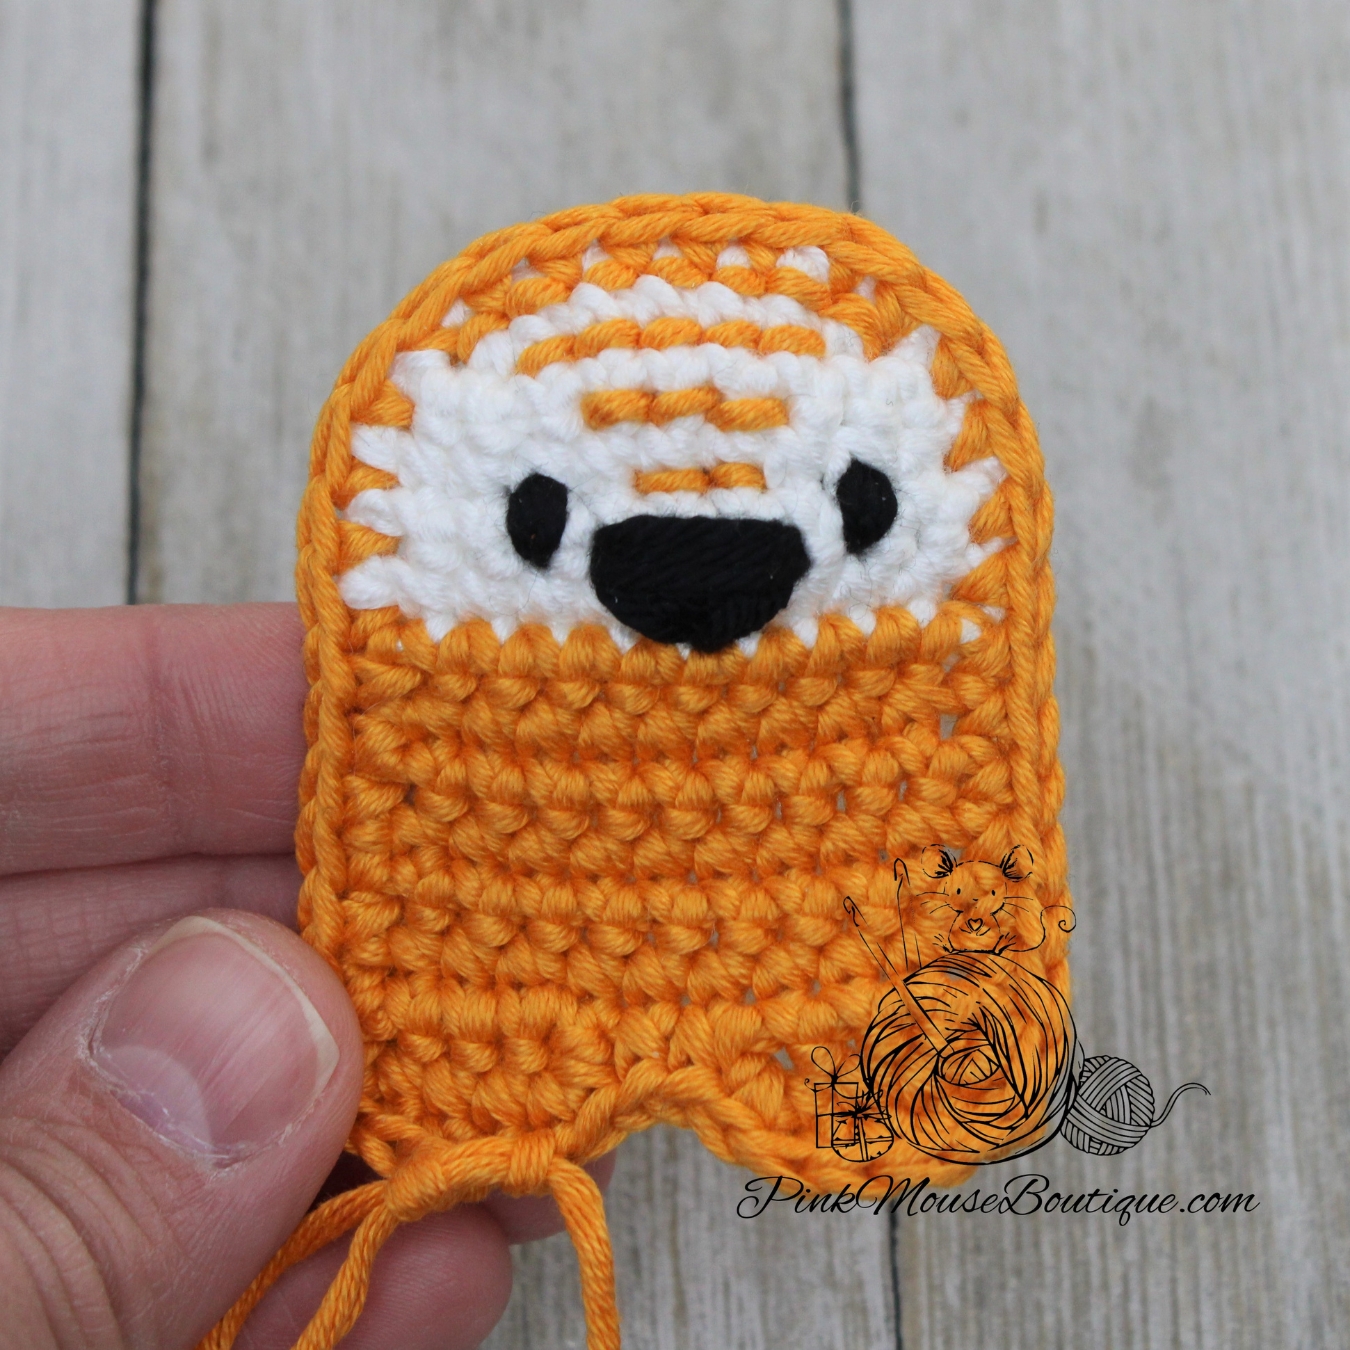
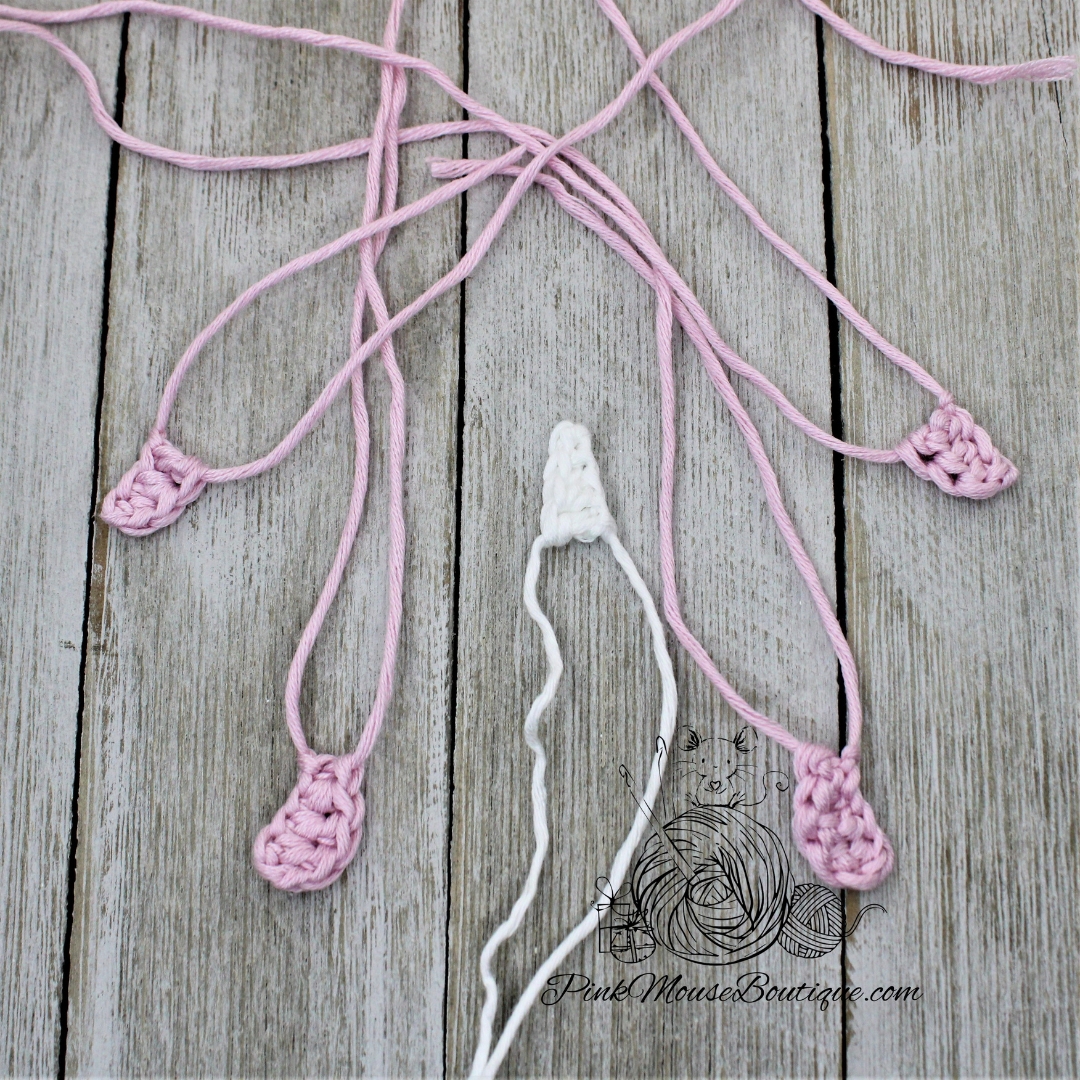
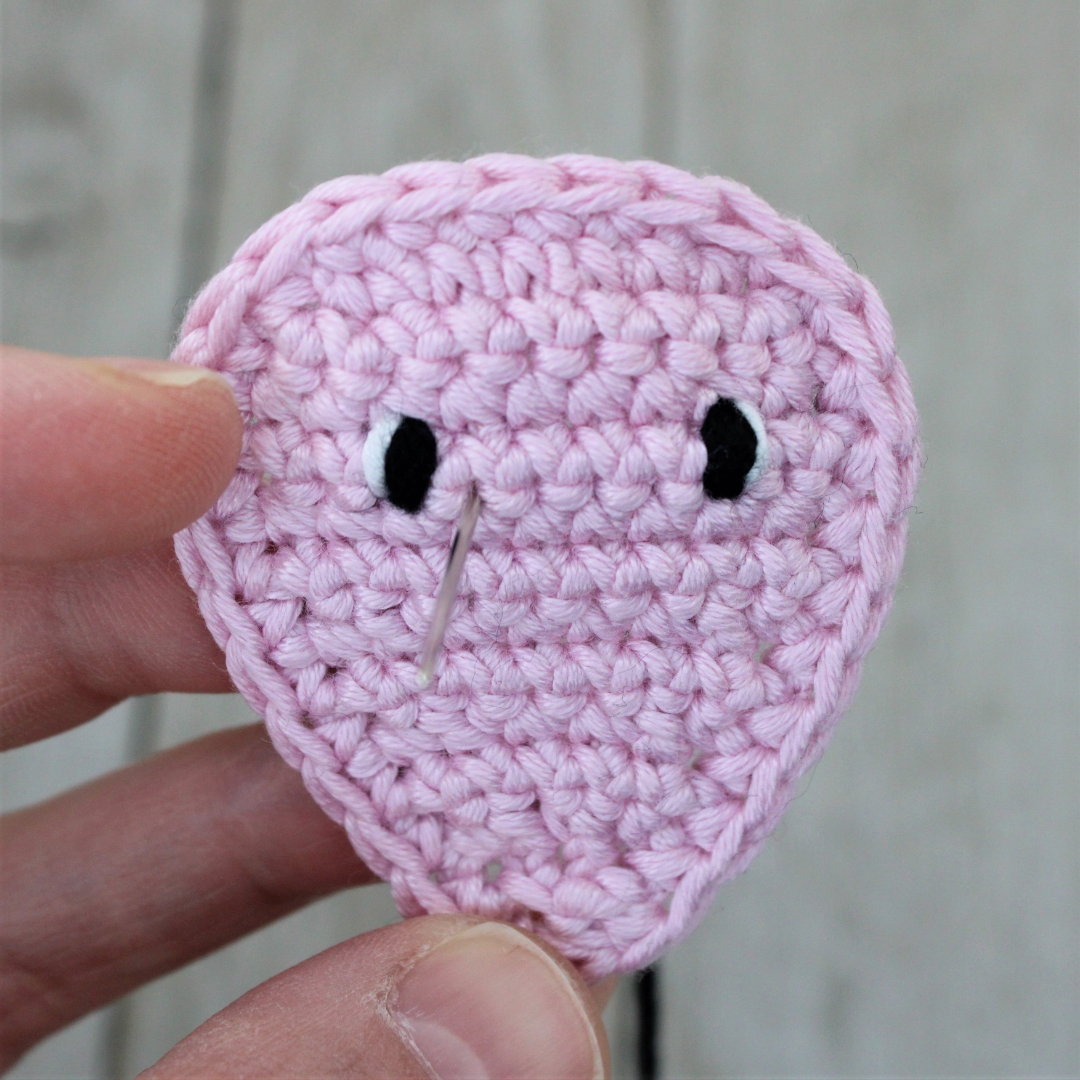
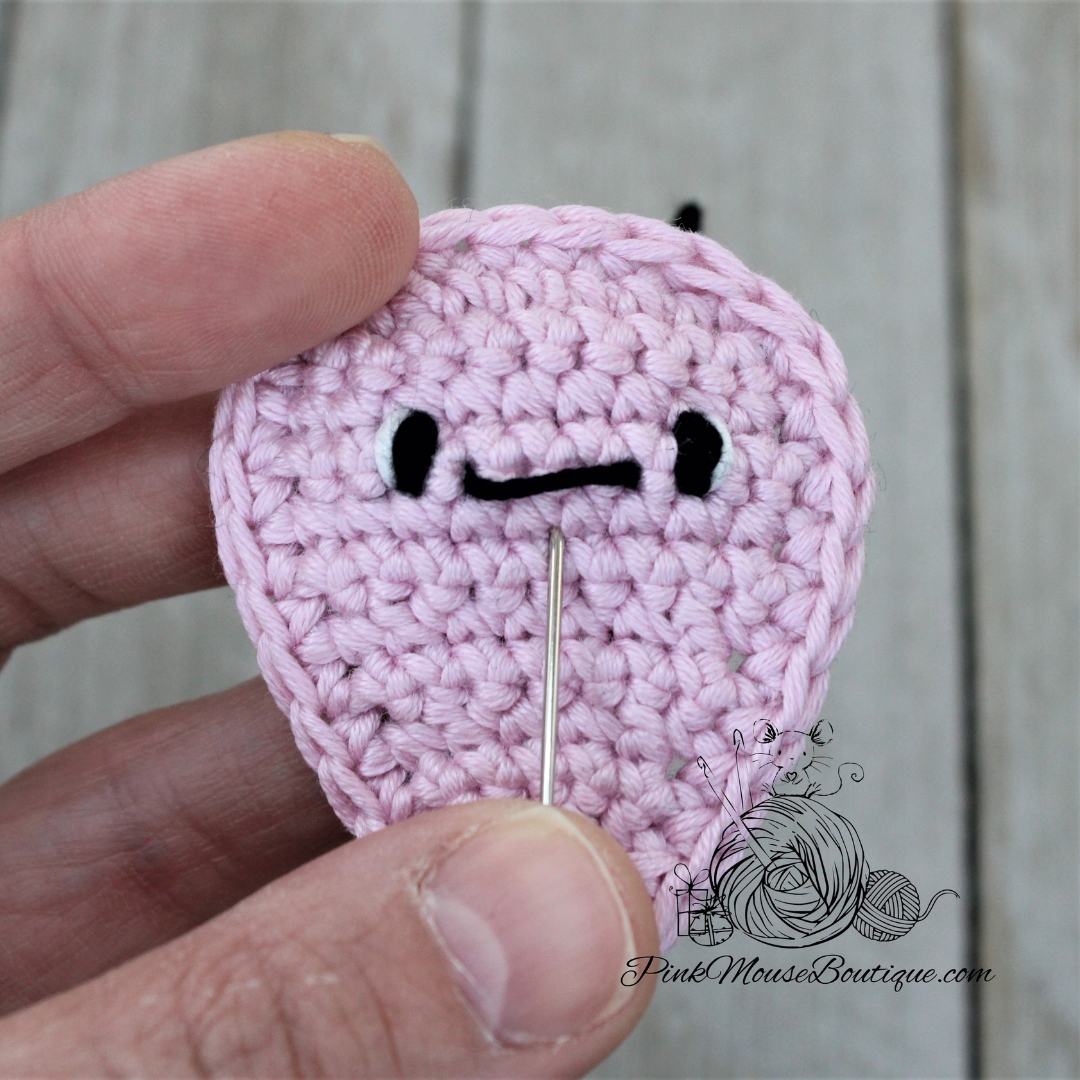
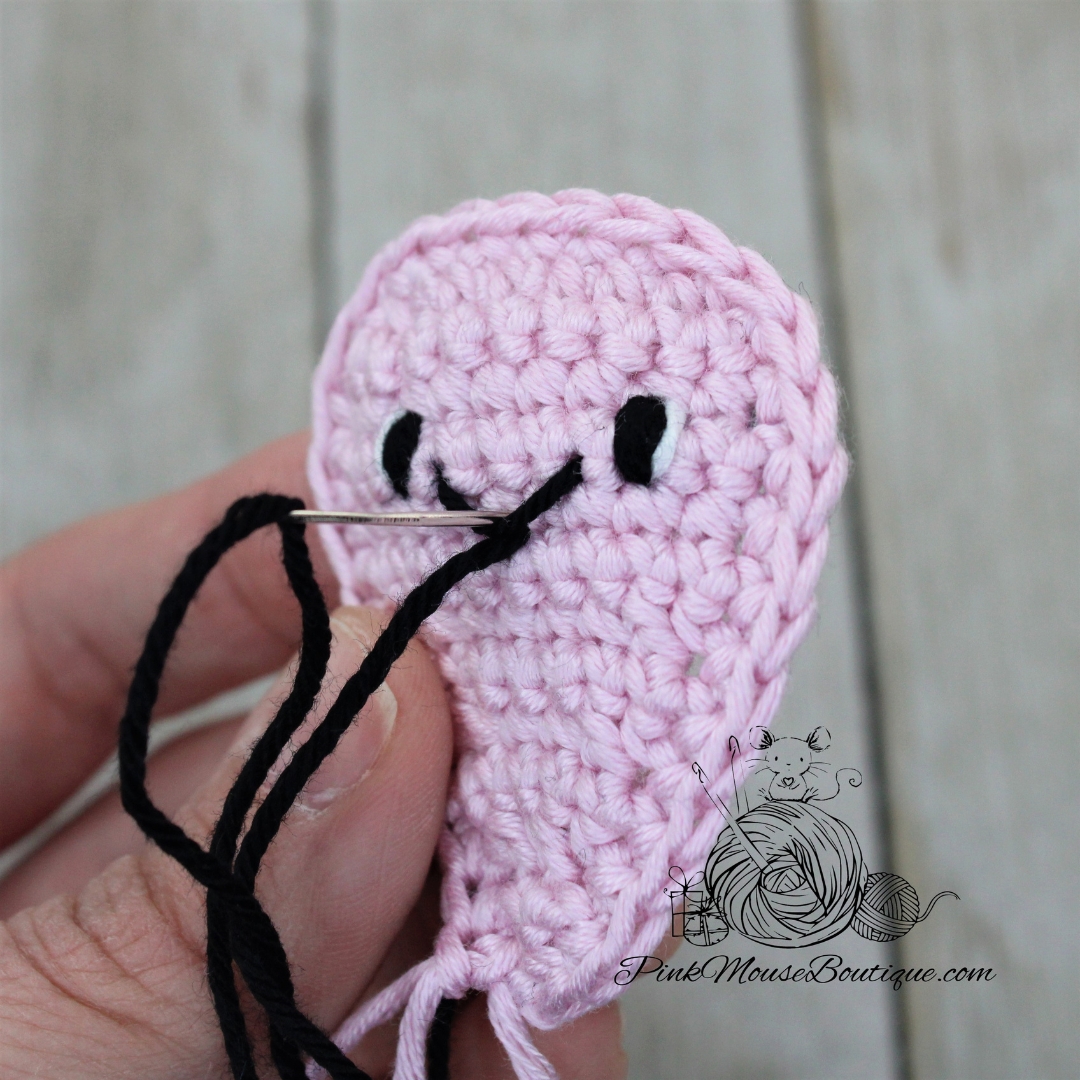
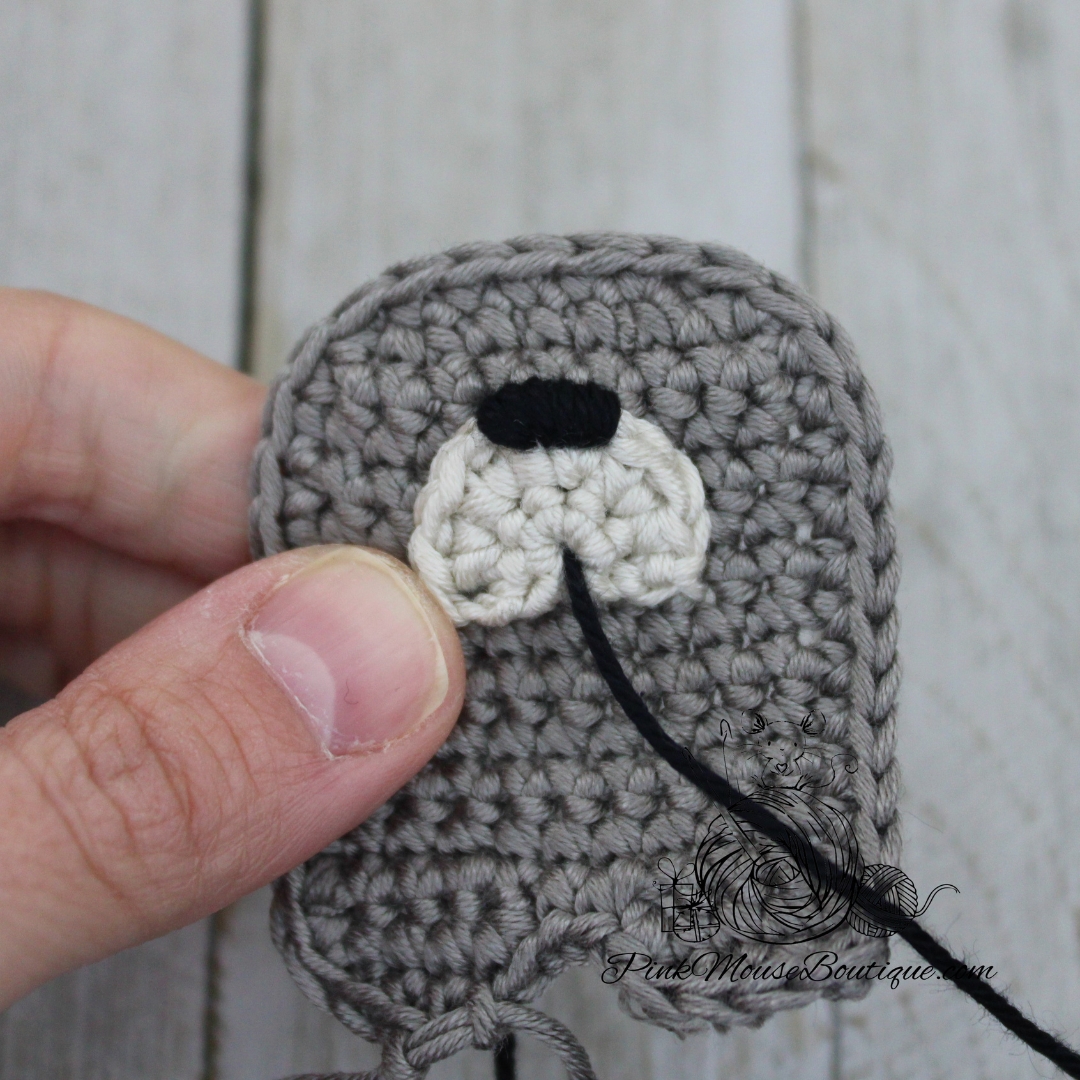
- Insert the first set of whiskers a round below the ears. The second set of whiskers is inserted a round below the first. Trim them to the desired length. No need to secure the whiskers. Gluing the cap in the next step, will take care of that.
- Glue the cap onto the head using clear Tacky glue or a hot glue gun. Keep in mind that the heart needs to be at the front and a little bit to the right.
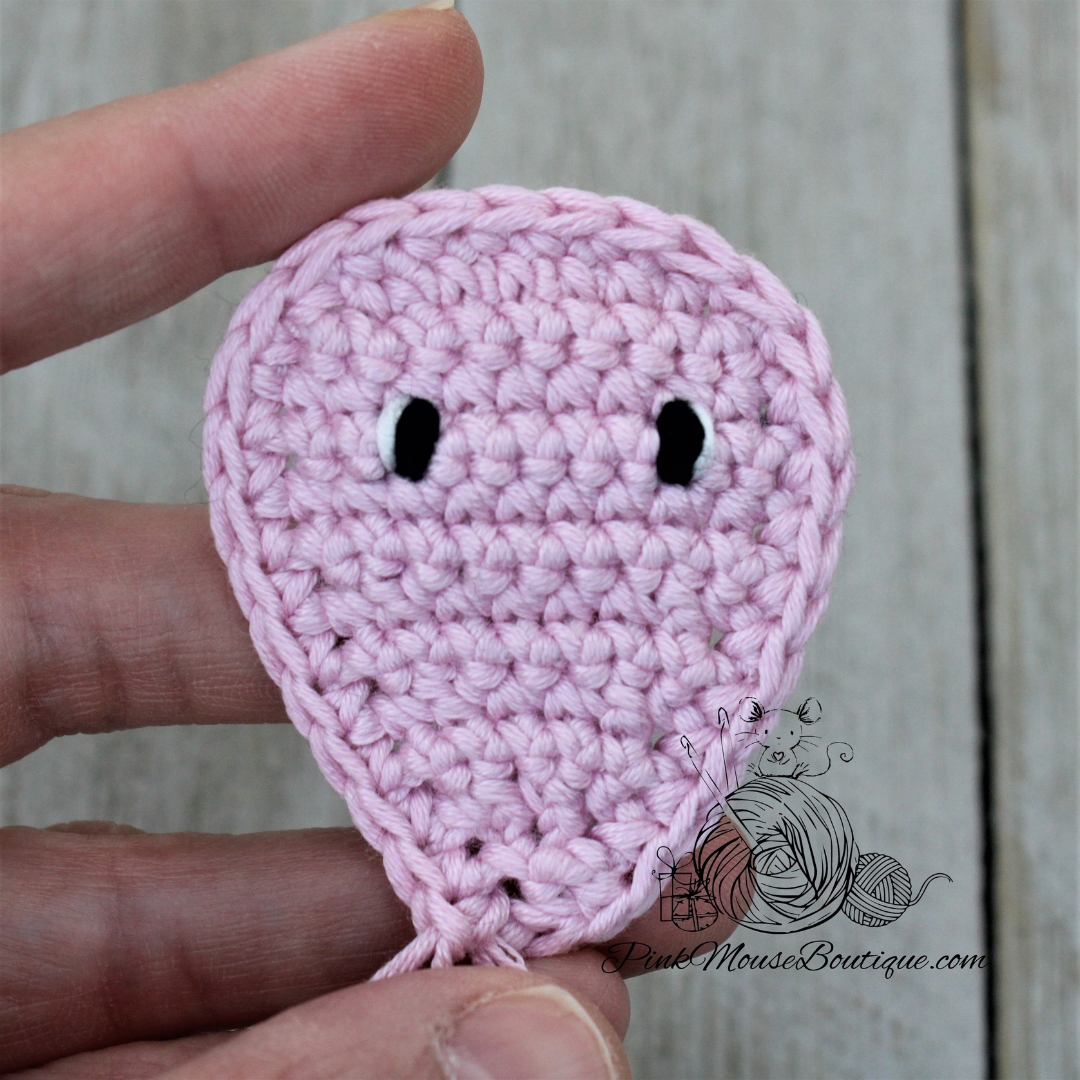
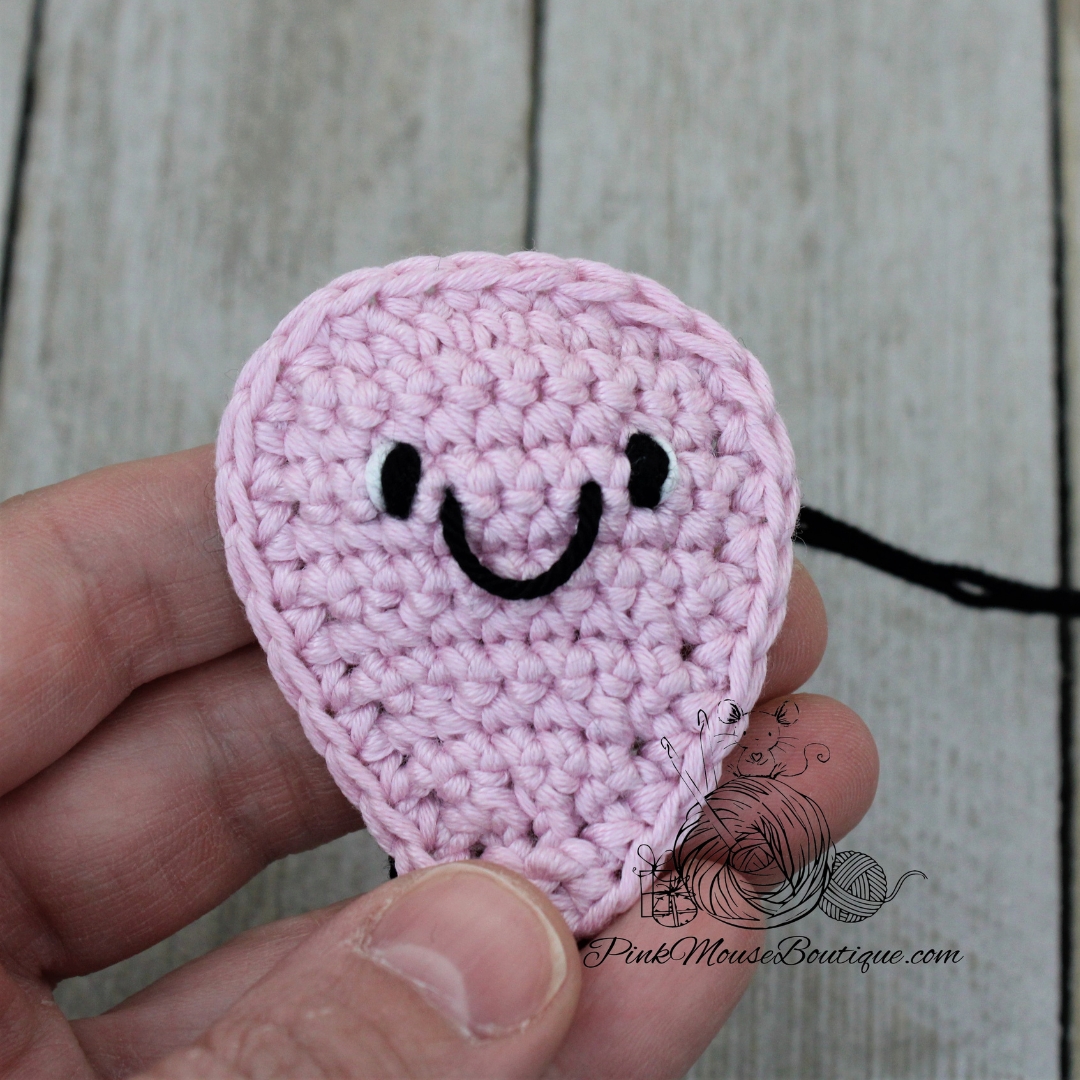
- OPTIONAL: Add pink cheeks with a cotton swab and blush.

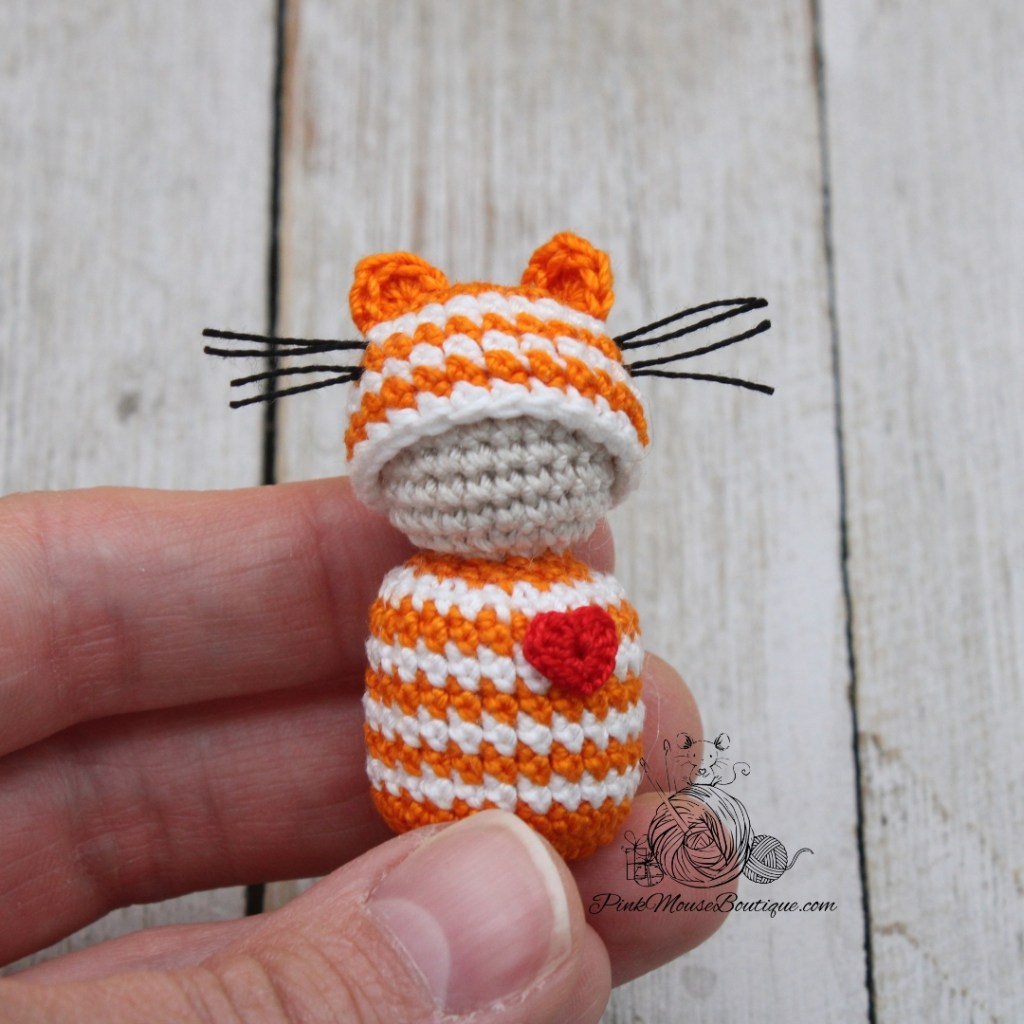
And your little peg cat is finished!
HAPPY CROCHET!