

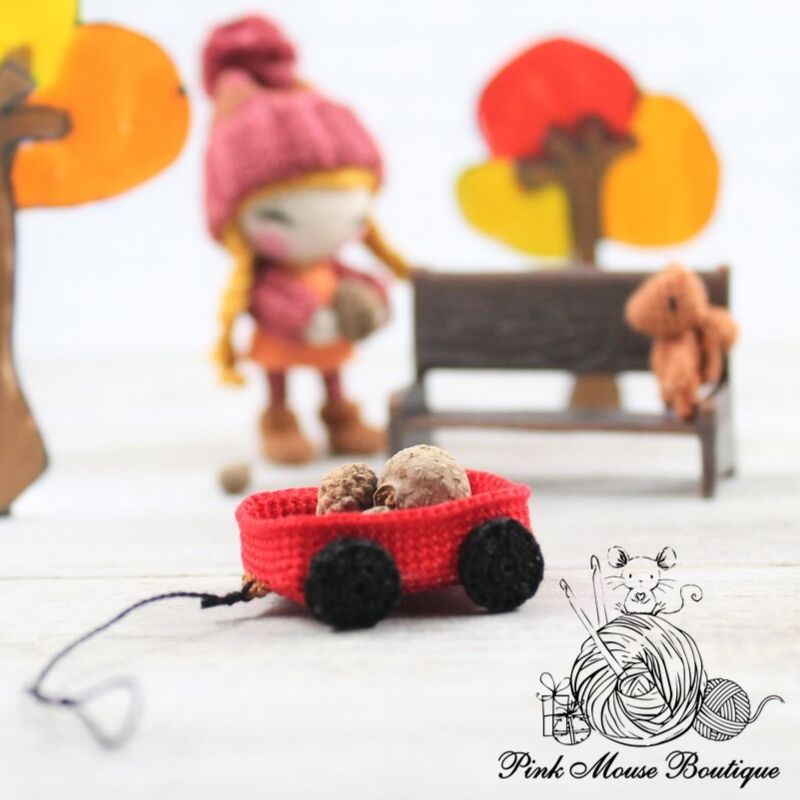
A while ago I had this idea to create an autumn elf pattern. Once I made the doll, however, I started adding to it – a dress, a shrug, a hat, hair… Then came the wagon. Of course, the little doll needed a wagon. How else would she gather acorns and leaves?
The entire pattern set which also includes an adorable squirrel friend (Mr. Chatters) will be available in my shops tomorrow.
But today, I wanted to share with you the pattern of the little red wagon. I hope you like it.
MATERIALS:
Thread: red, black, and dark brown (very small piece of the the handle of the wagon
I used Oren Bayan cotton perle 12 but you can use any size thread or yarn that you like. The size should be the same size that you used to make the doll. A good substitute for Oren Bayan thread is Lizbeth 40.
Crochet hook – 1 mm
A piece of plastic or cardboard
Hot glue gun
Wire (optional)
Sewing needle
ABBREVIATIONS:
MR – magic ring
Sc – single crochet
Ch – chain
BLO – back loop only
Hdc – half double crochet
Inc – increase
Sl st – slip stitch
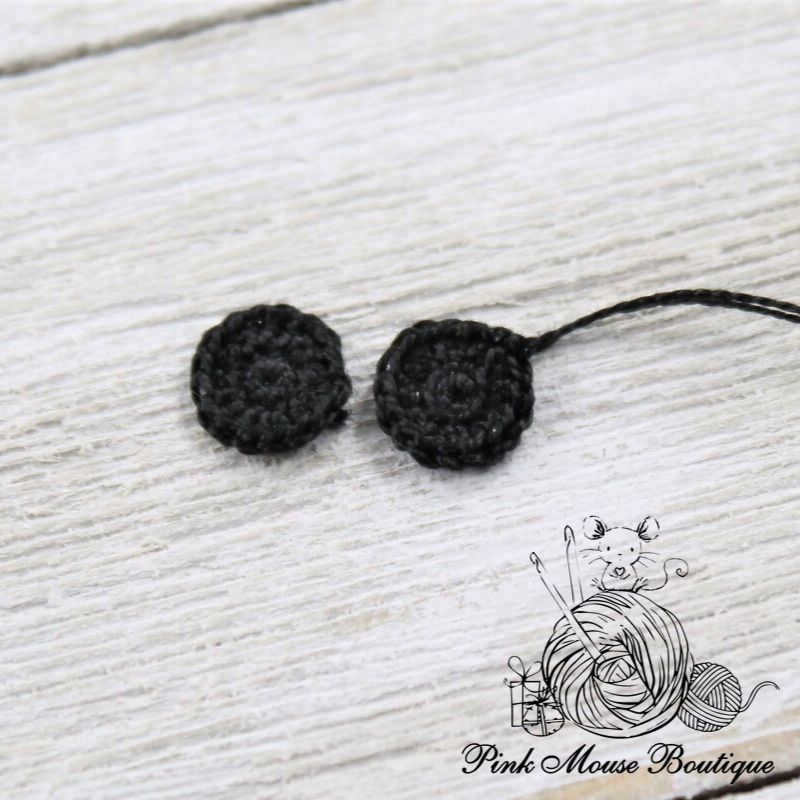
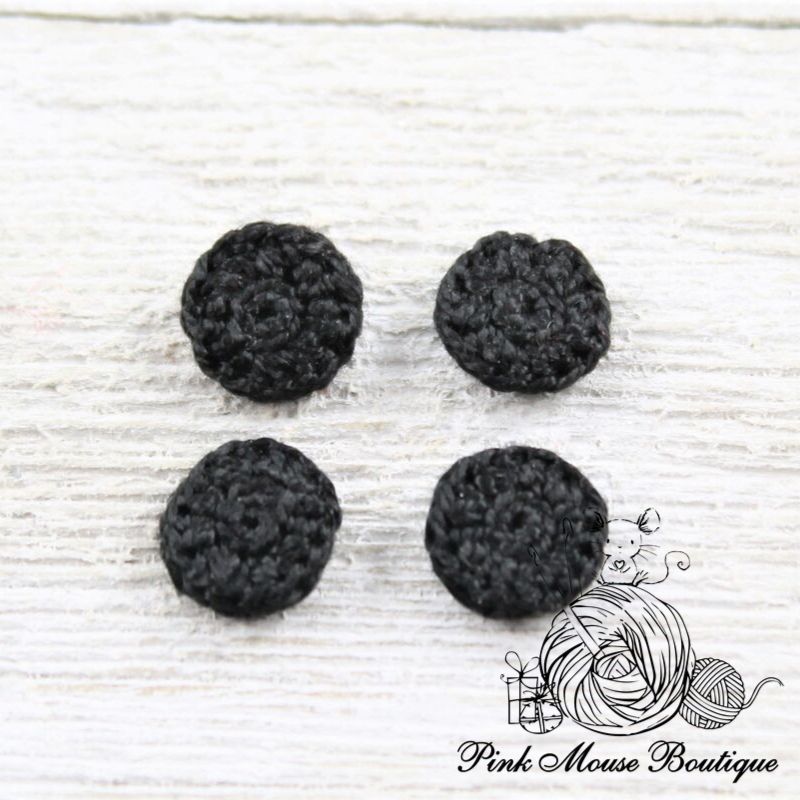
Wheels (x 8):
Round 1: with black thread, mr, ch 1, 8 sc in the ring;
sl st to join and ch 2 – 8 sts
Round 2: in the BLO 2 hdc in each st; sl st to join – 16 sts
Fasten off.
With the right side out, sew the wheels two by two to make them thicker.
Weave in the ends and set aside.
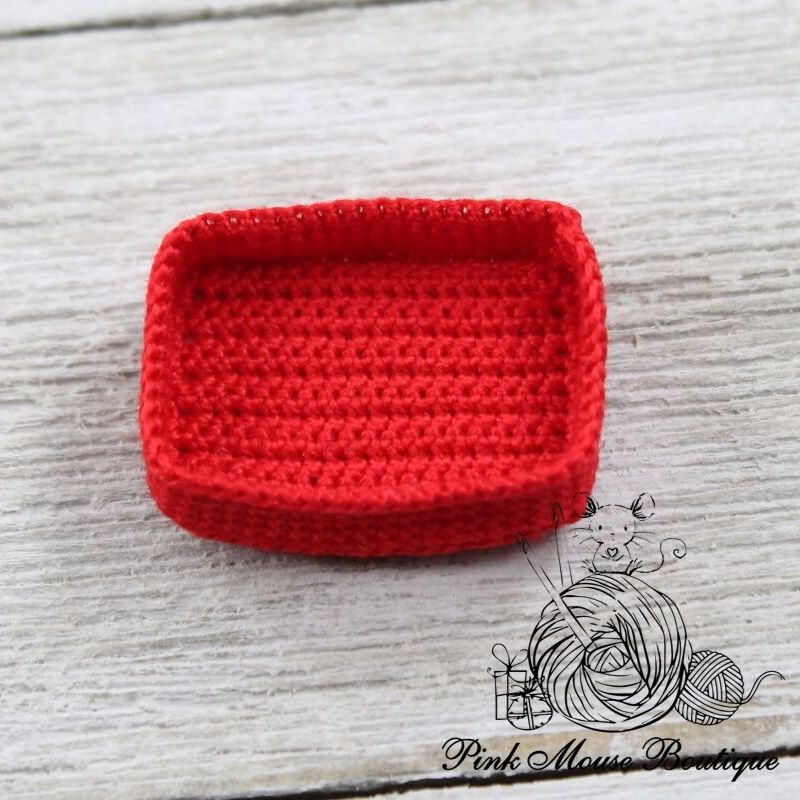
Wagon:
With the red thread, make two bottom pieces. When you finish the first one, fasten off and weave in the ends. Then begin the second piece.
Ch 19
Row 1: 1 sc in 2nd ch from hook, 1 sc until end of row; ch 1 and turn – 18 sts
Rows 2 – 11: 1 sc in each st; ch 1 and turn – 18 sts
Row 12: 1 sc until the end of row – 18 sts
Finish off the first piece.
Make the second piece but do not fasten off.
Trace the piece on a piece of plastic or cardboard and cut out the piece. Trim so it will fit between the two crocheted pieces of the wagon we just made.

Put the two crocheted pieces together. Chain 1 without turning. Continue crocheting going down on the side. 1 sc in each space. When you get to the corner, ch 1 and continue crocheting along the bottom of both pieces.

When you get to the next corner, ch 1 again and go up the side of the two pieces.
When you get to the corner (you will have 3 of the sides crocheted together), insert the plastic piece inside.

Ch 1 and continue crocheting in each stitch to close.

When you get to the last corner, sl st to join the round and ch 1.
That’s the end of Round 1. In this round, you should have 64 stitches (this includes the 4 chains you made at each corner of the bottom of the wagon.
Round 2: in BLO 1 sc in each stitch and chain; sl st to join and ch 1 – 64 sts
Rounds 2 – 4: in both loops 1 sc in each stitch; sl st to join and ch 1 – 64 sts
Round 5: 1 sc in each stitch; sl st to join – 64 sts
Fasten off and weave in the ends.

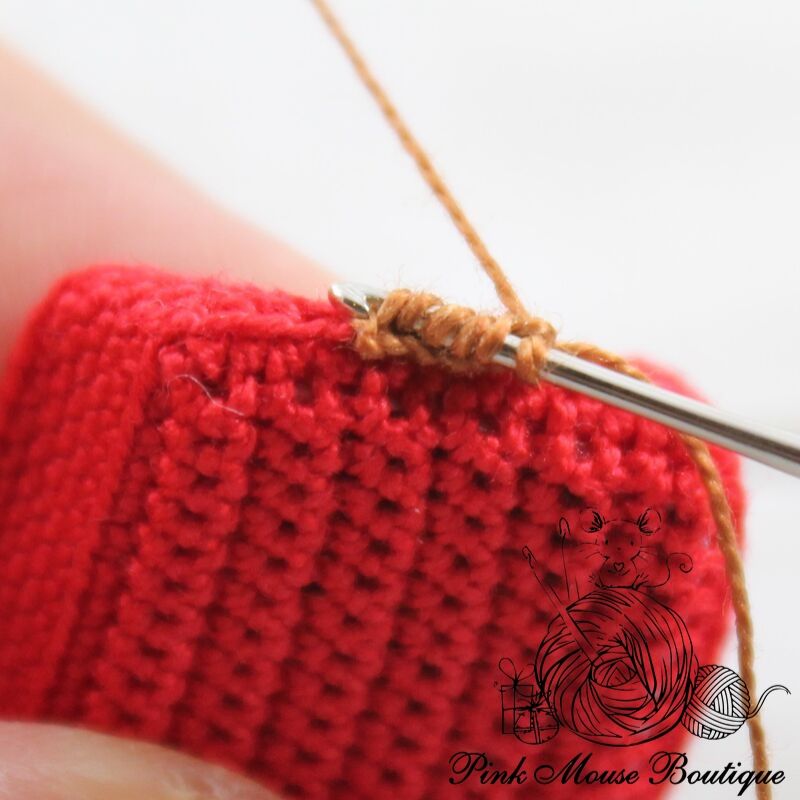
In the 5 middle front loops of the wagon (either one of the shorter sides), we will create a little part to which a piece of thread will be attached to pull the wagon. Insert the hook in one of the loops and 1 sc.

1 sc in the next 4 loops; ch 1 and turn
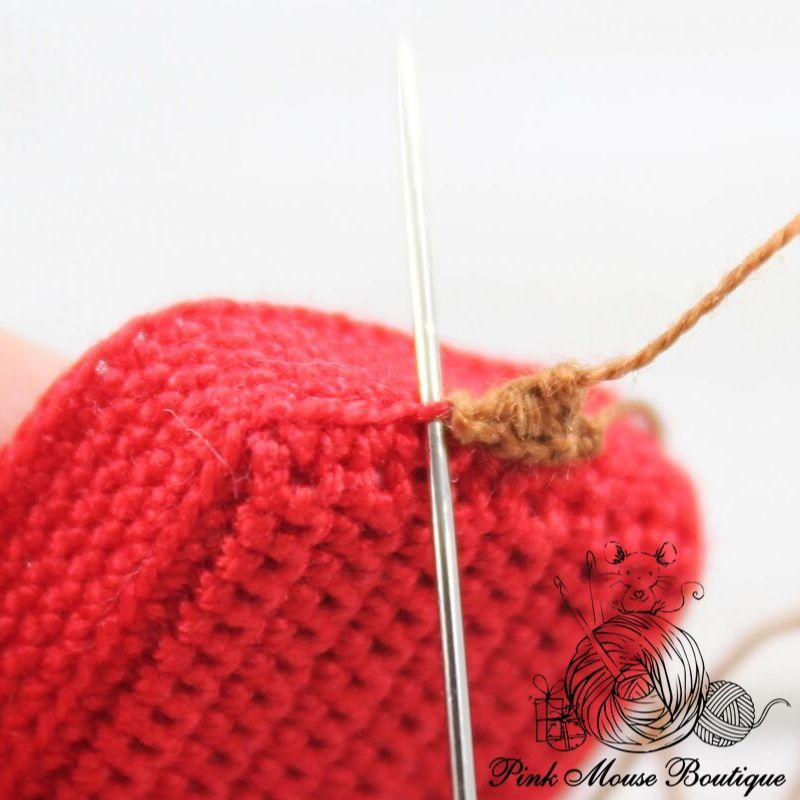
With a sewing needle, insert the tail through the front loop (here you made the 1st sc of the first row). Secure the stitches.
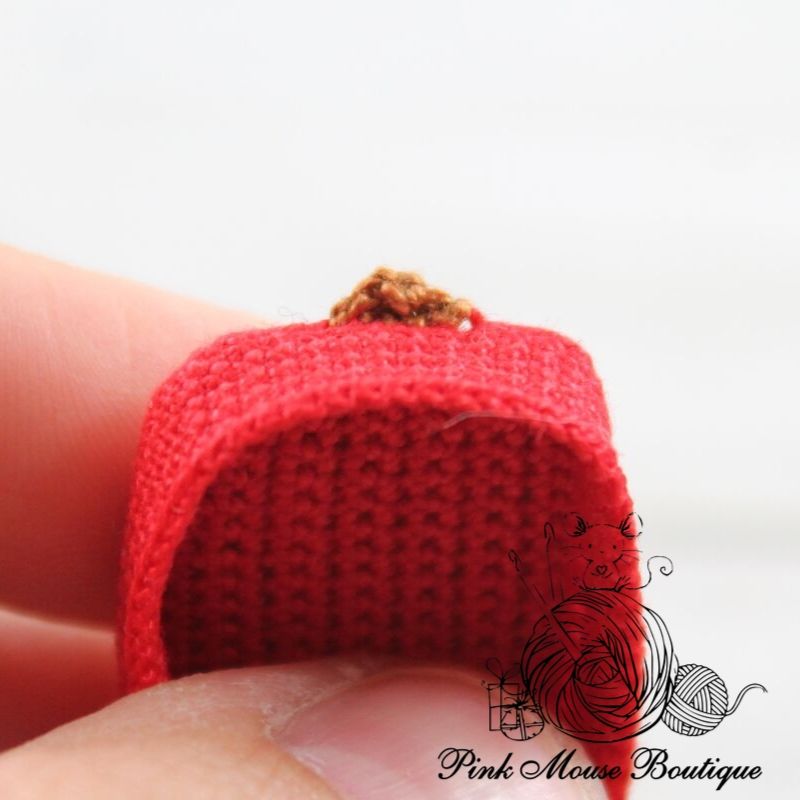
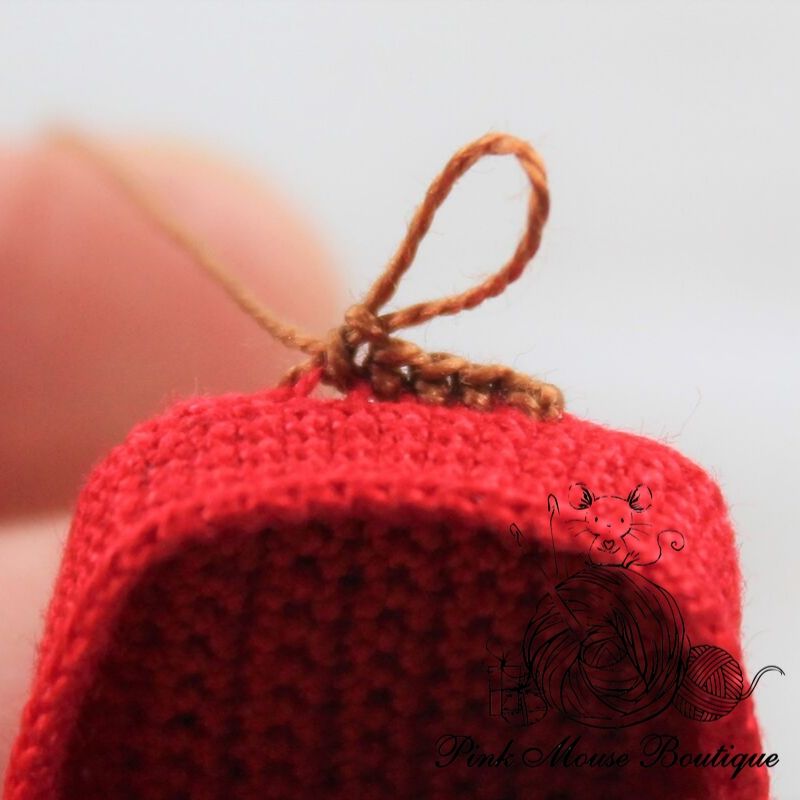
Insert thread through the brown part and tie a knot. Tie the other end too to create a loop so the doll can “hold” the end of the wagon’s handle.
Then with the glue gun, glue the wheels to the sides of the wagon.

And voila! The little red wagon is finished!
