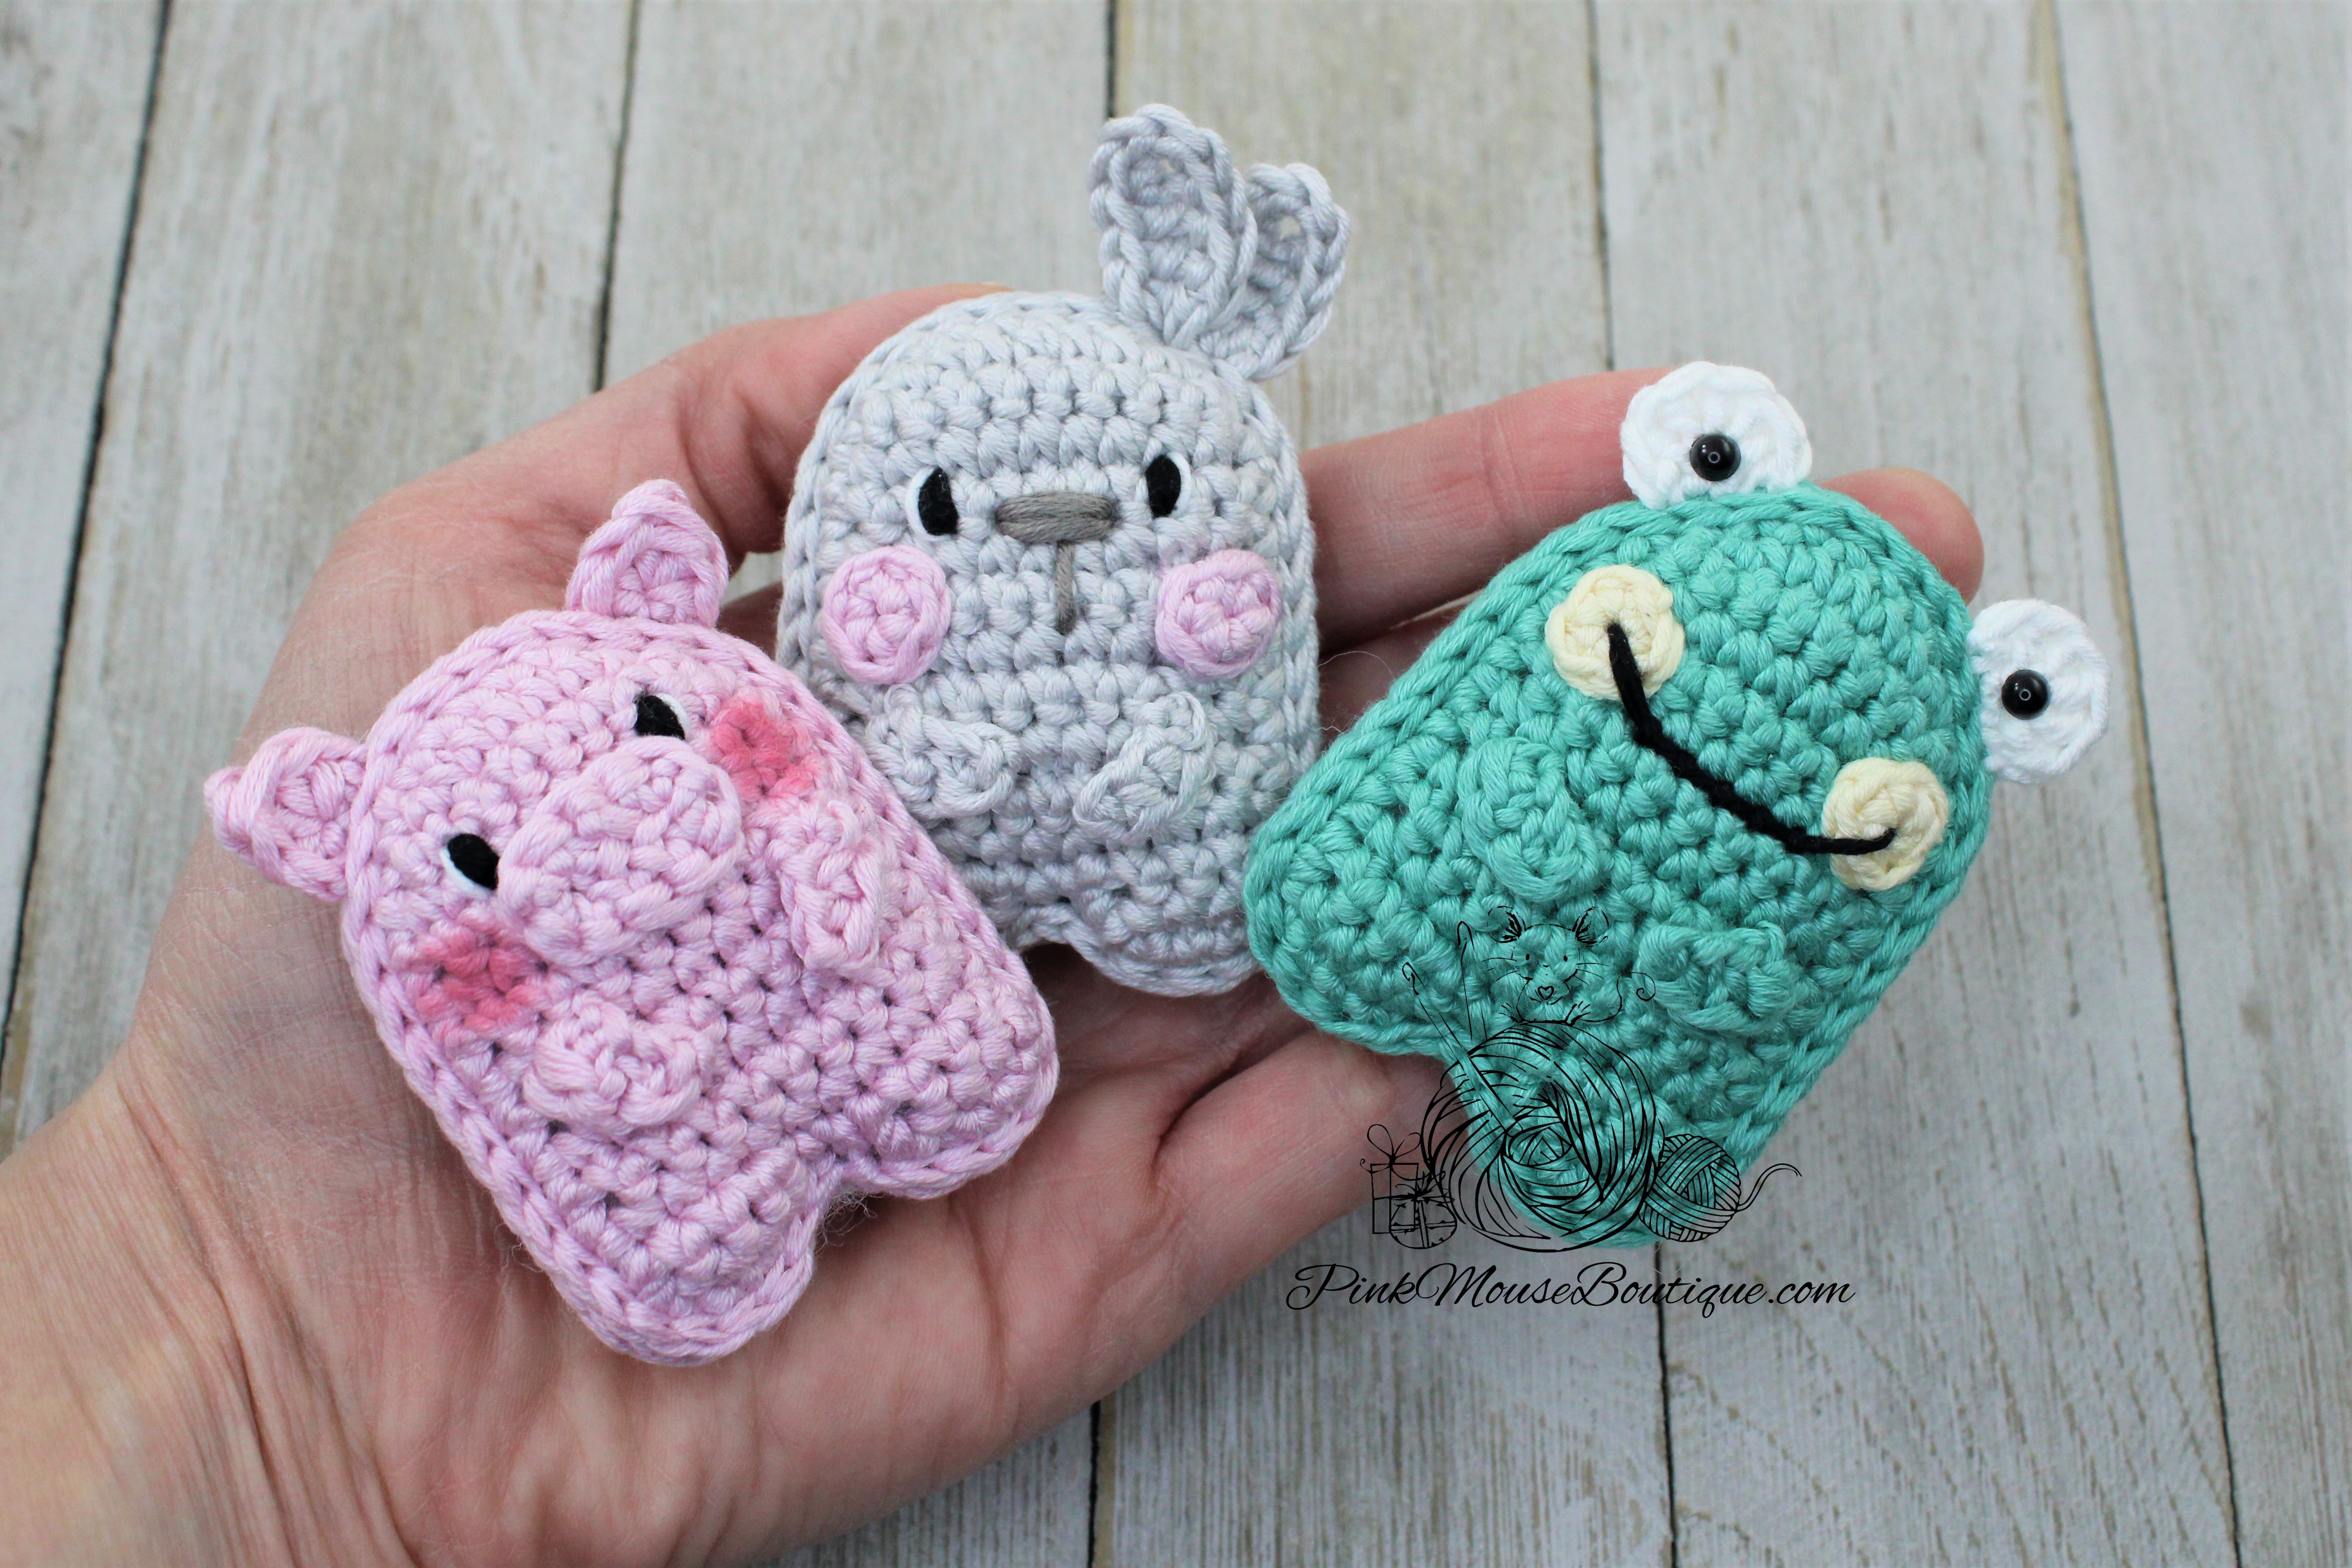
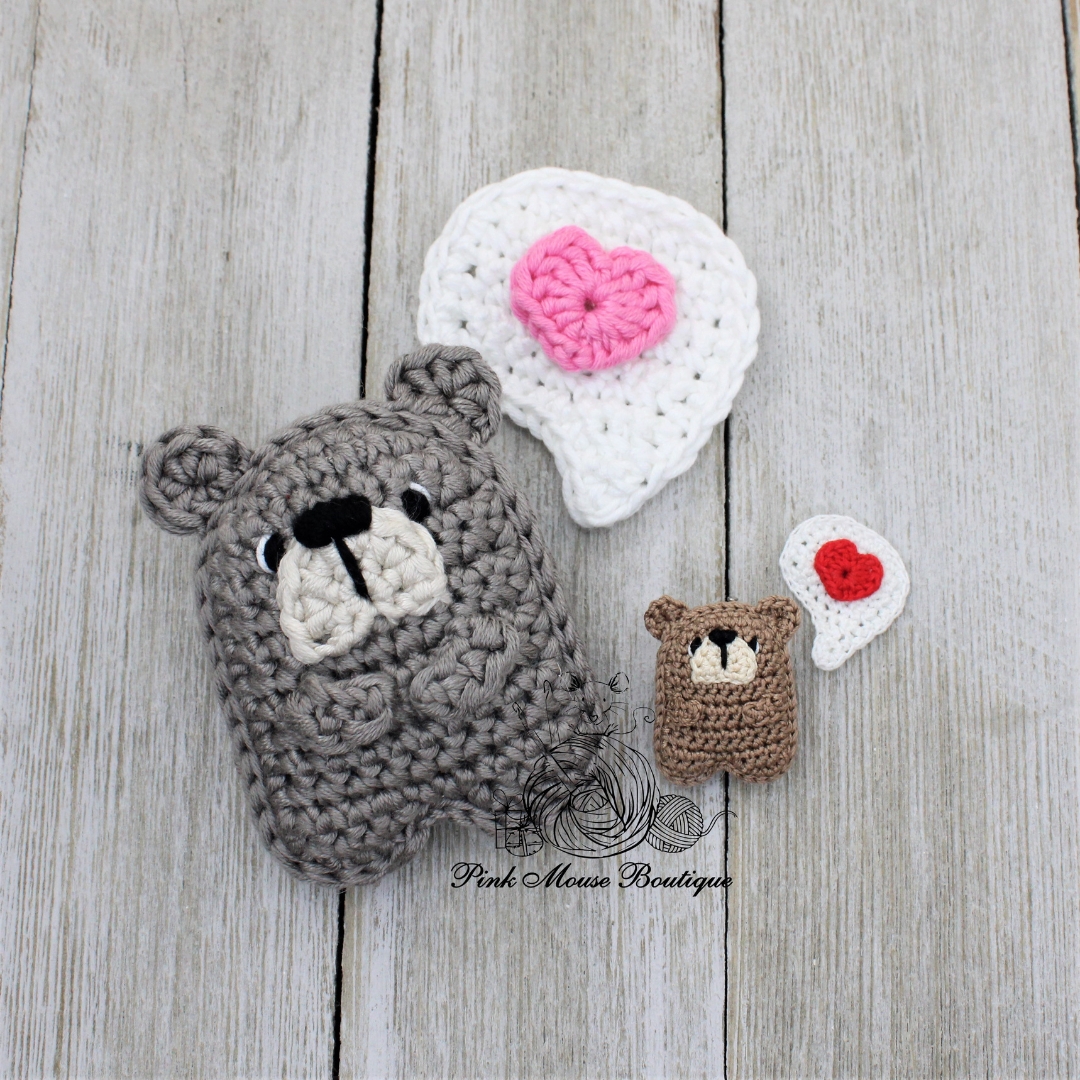
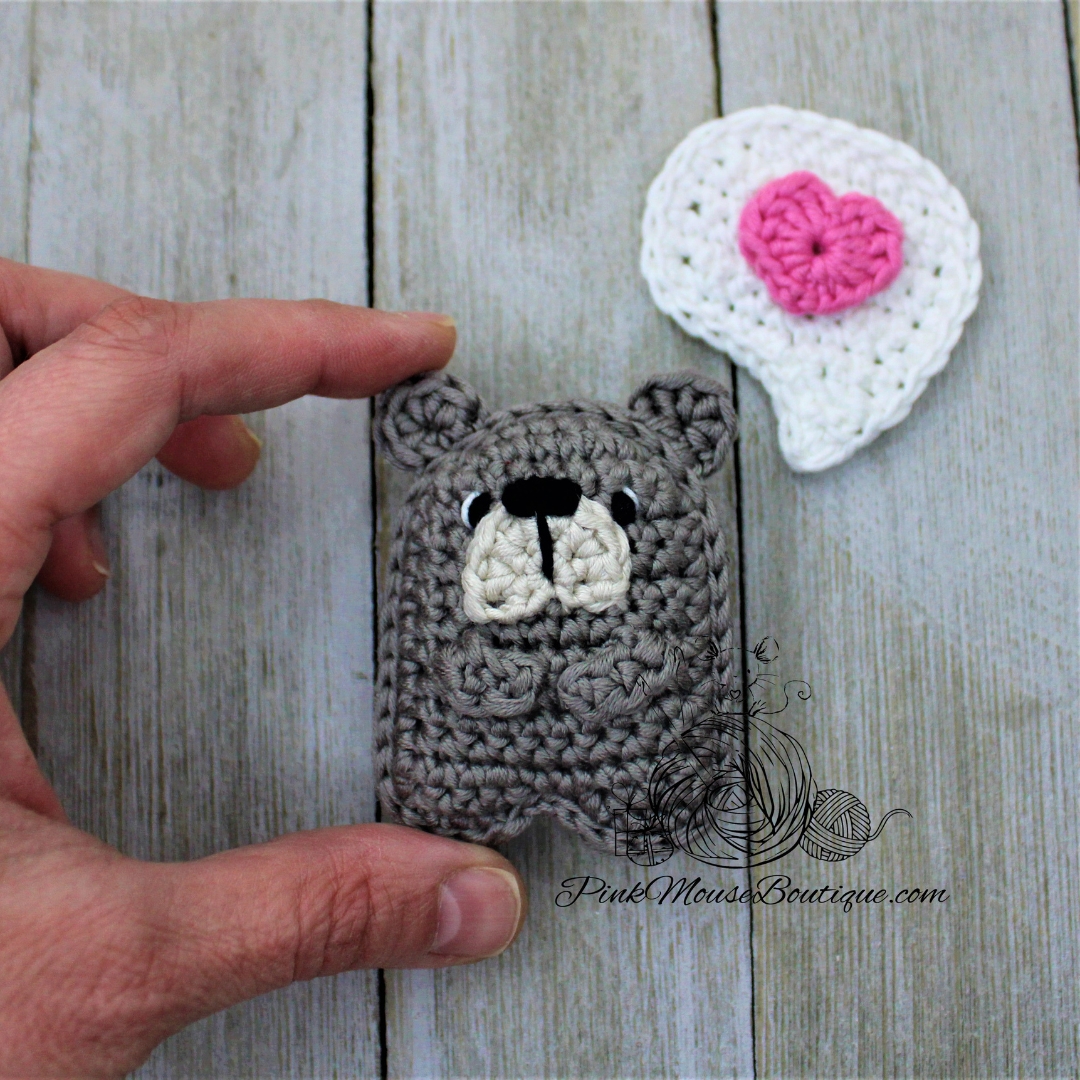
Originally, I only planned for five Pocket Valentines – Bear, Frog, Bee, Narwhal, and Bunny. But the more critters I made, the more I wanted to make. And here we are, at Part 8.
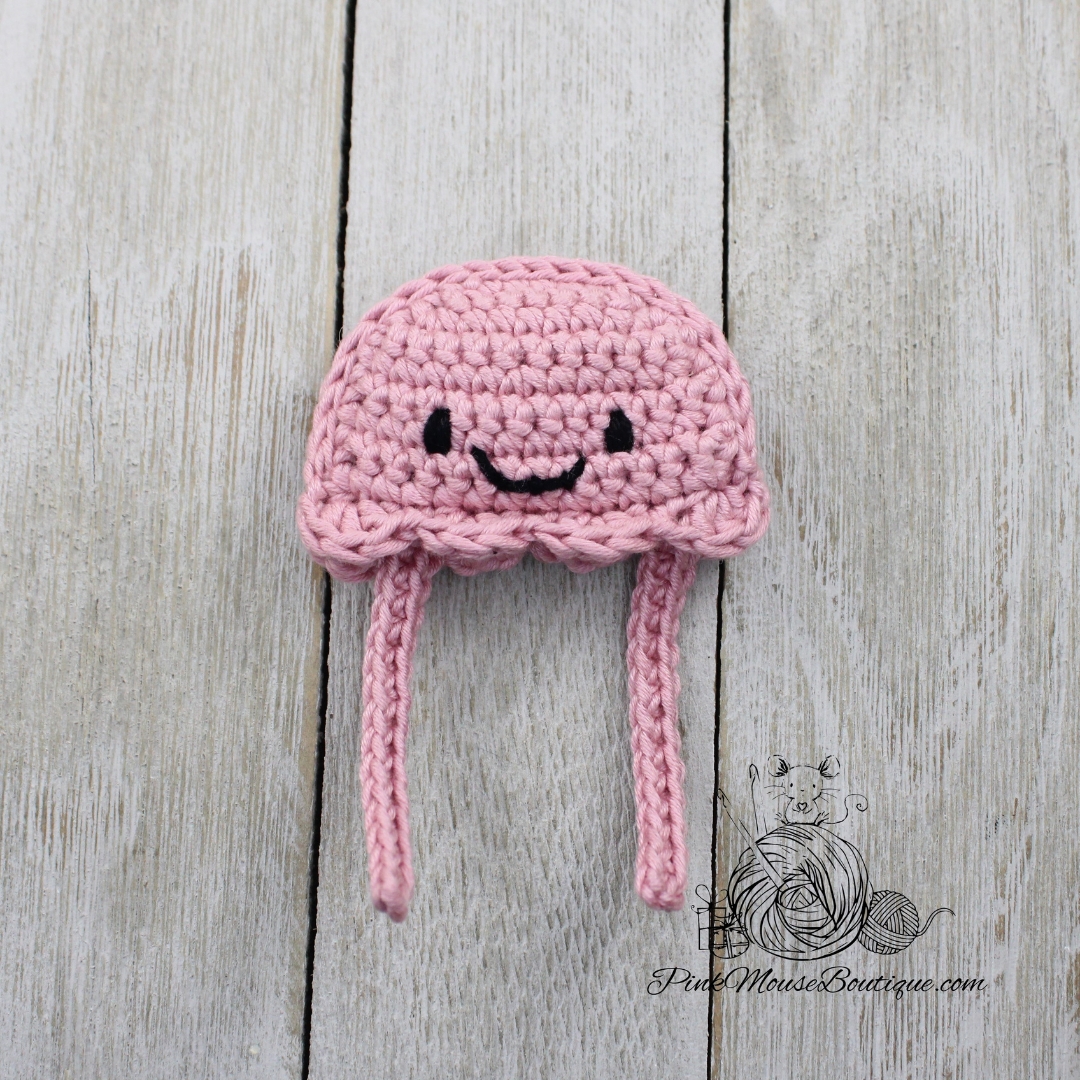
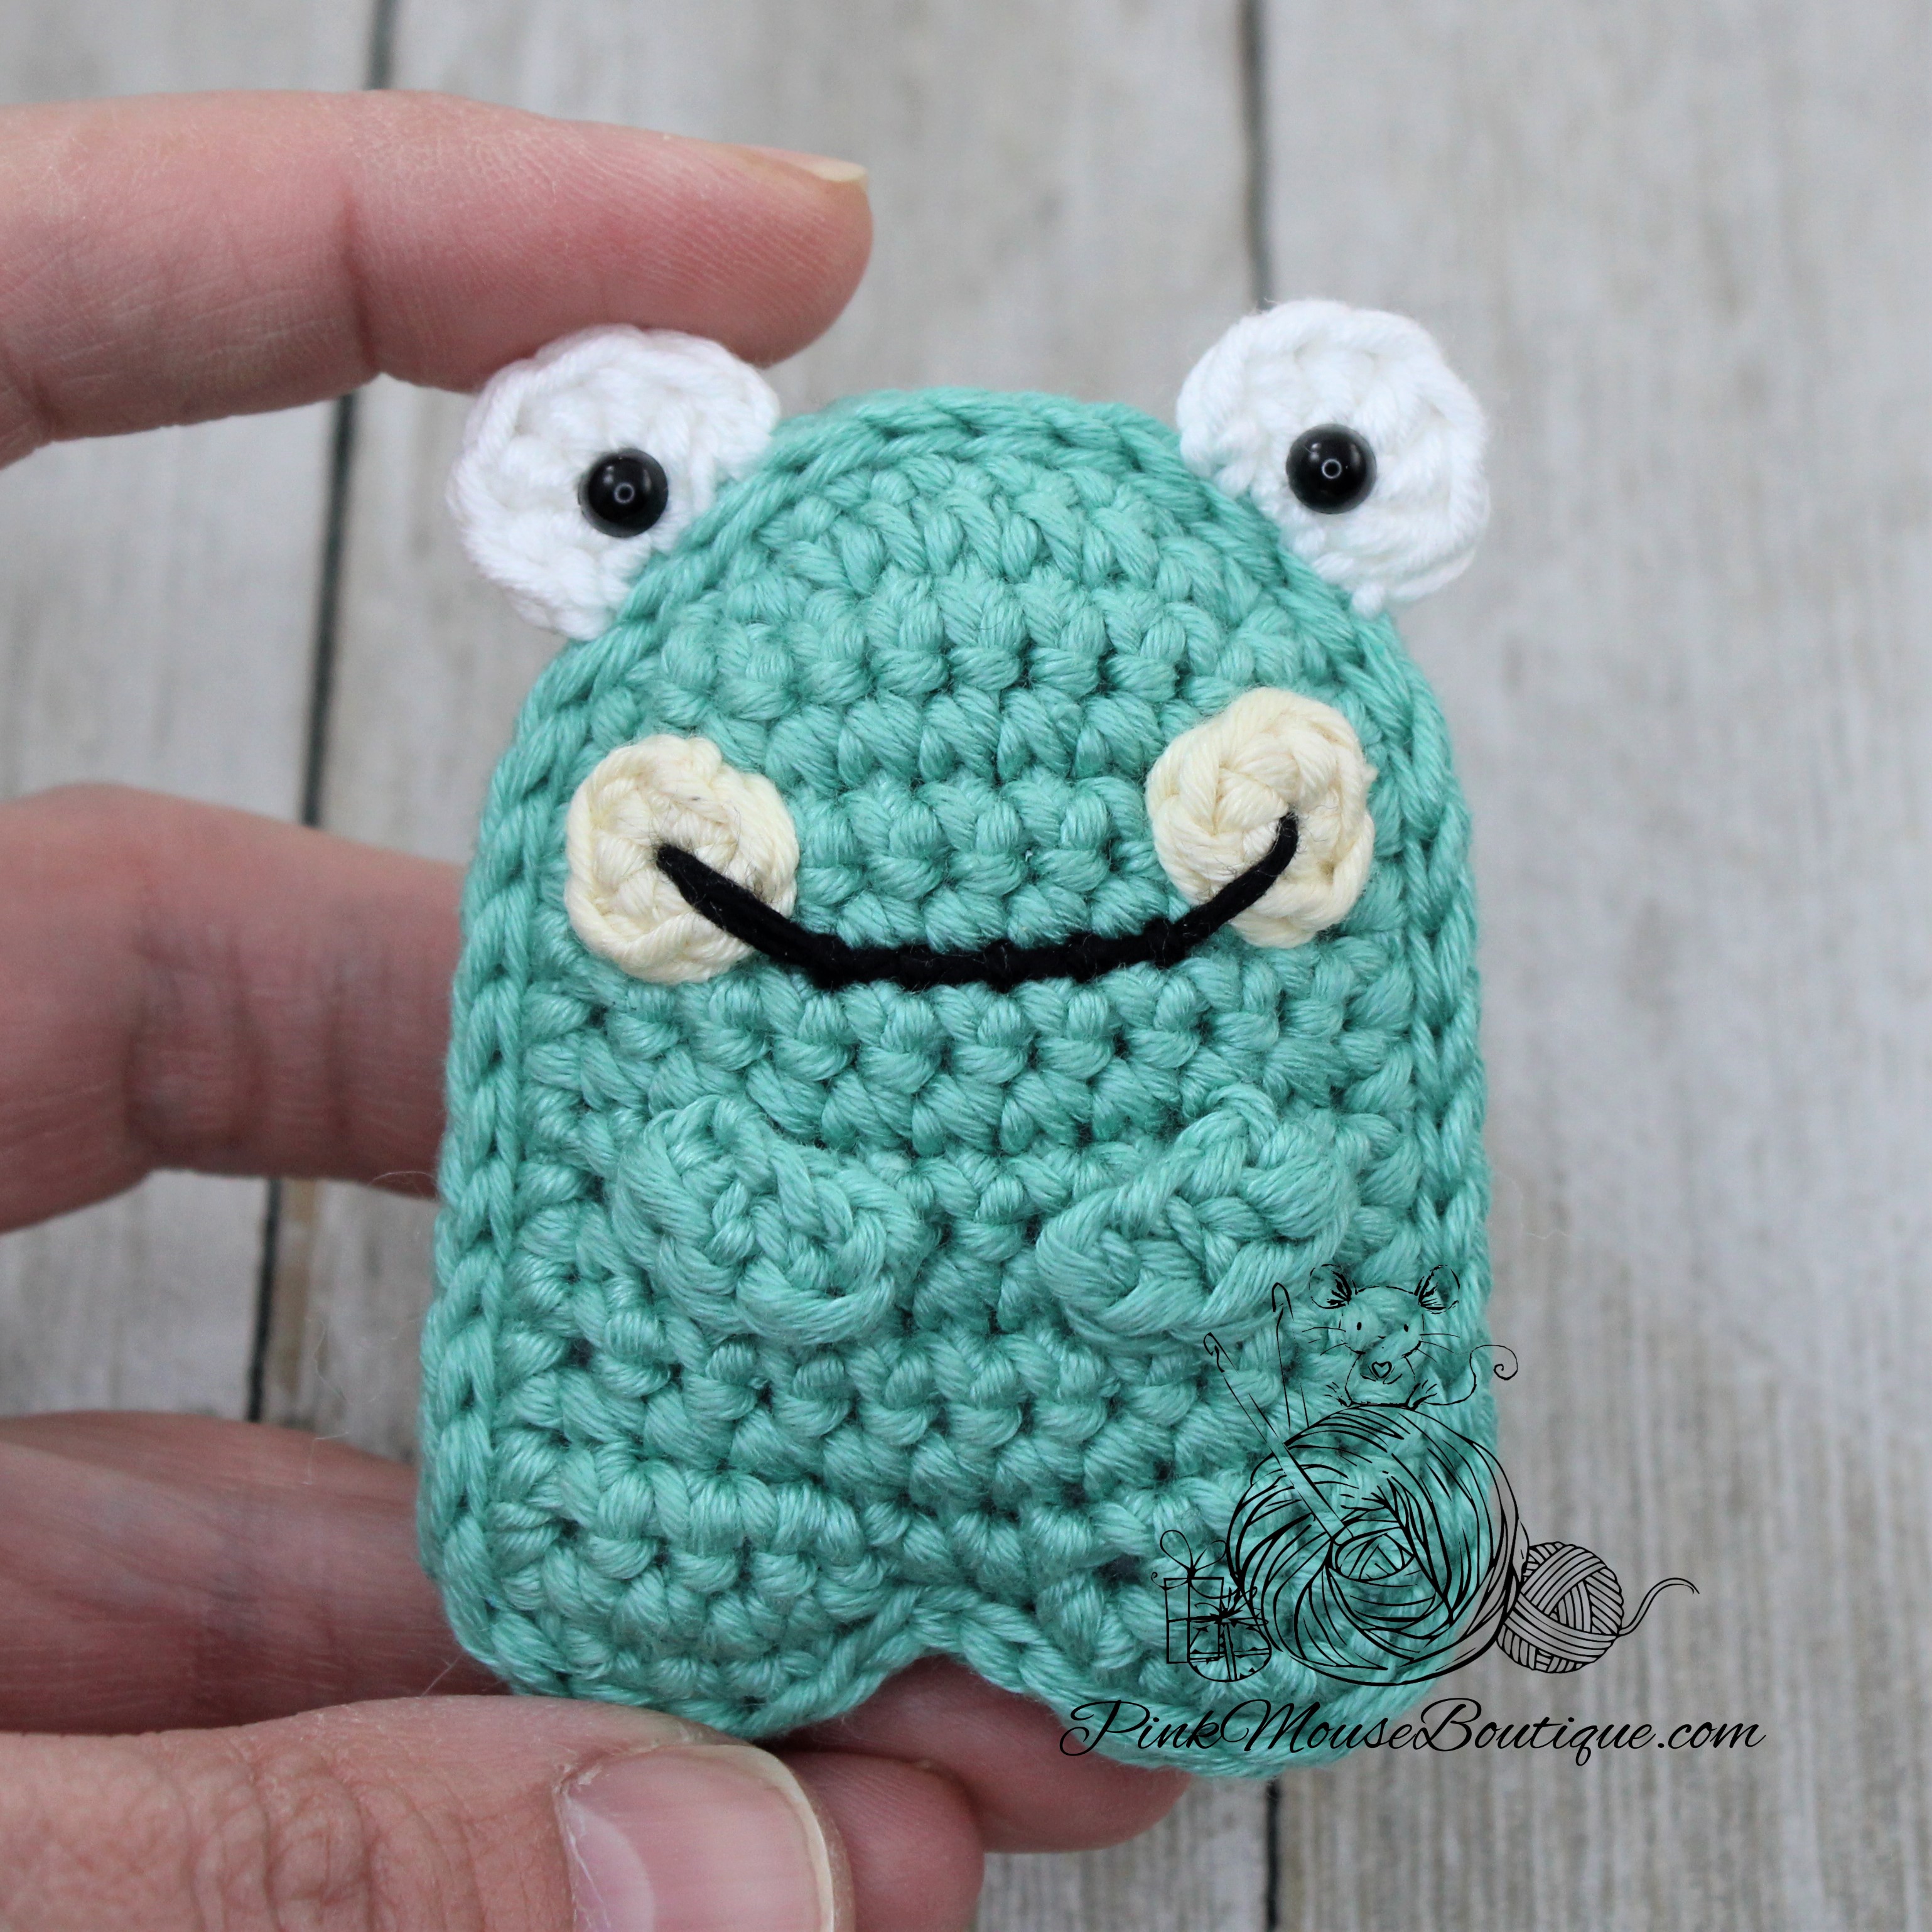
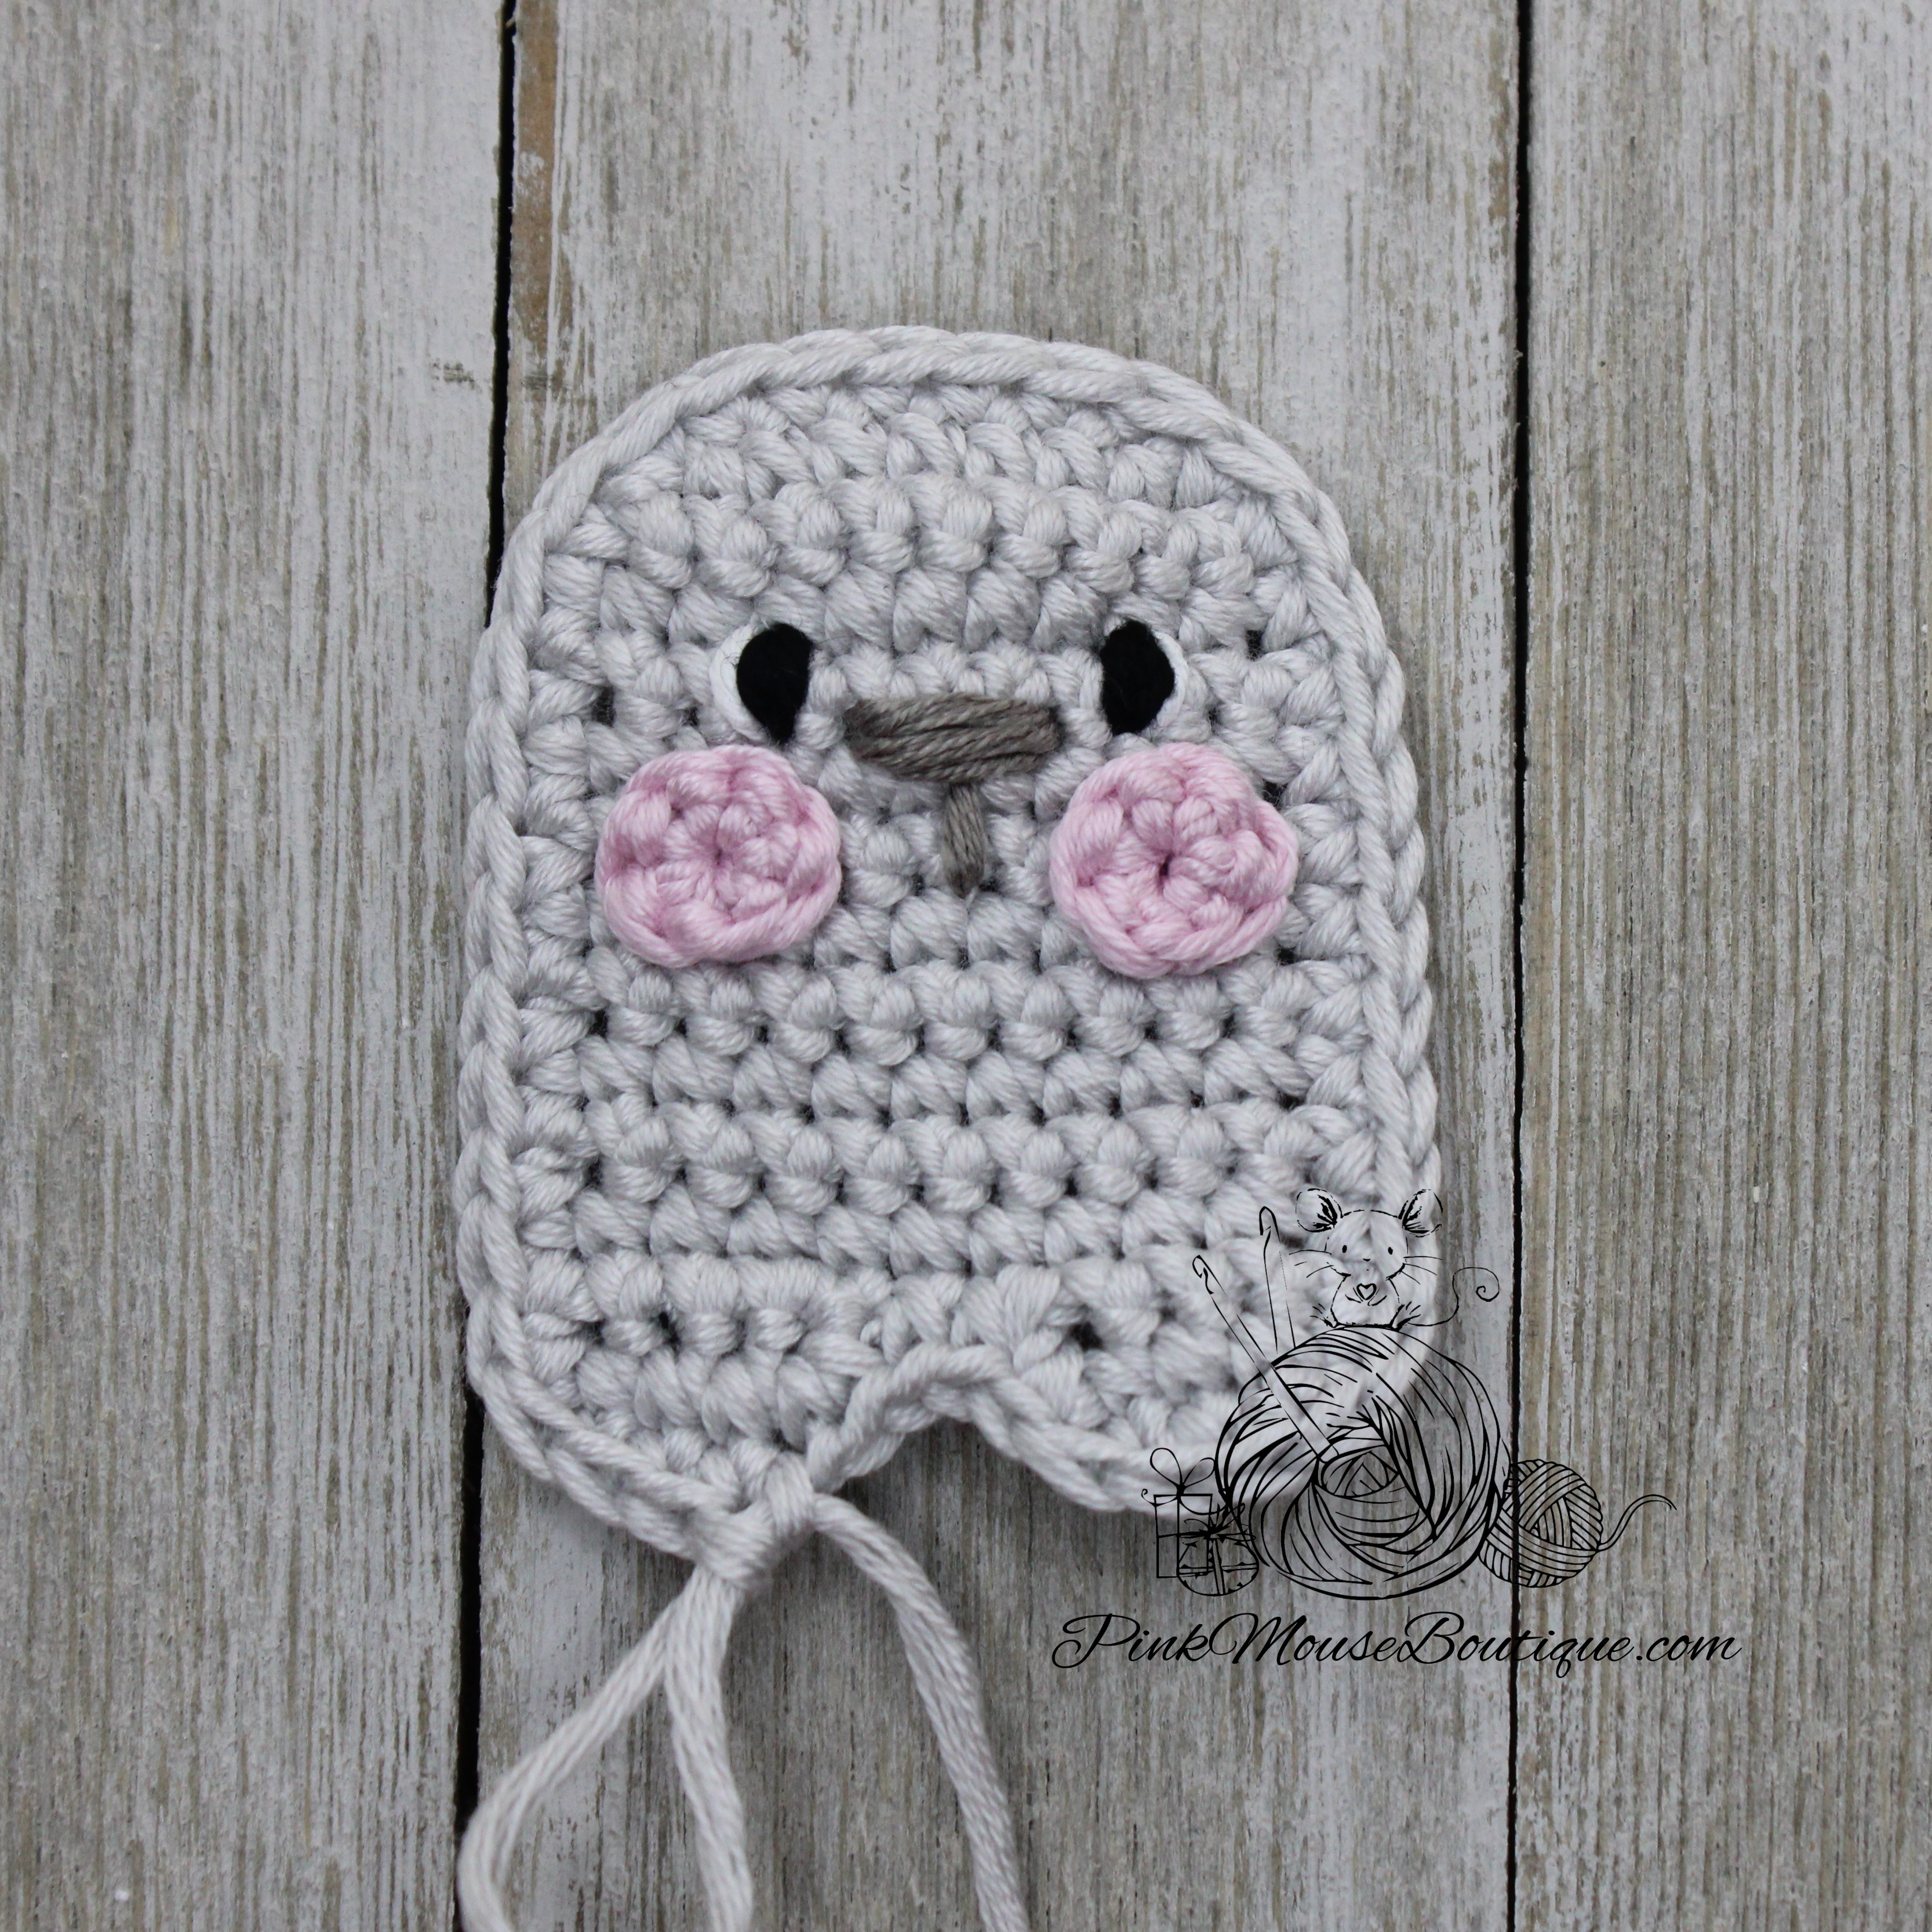
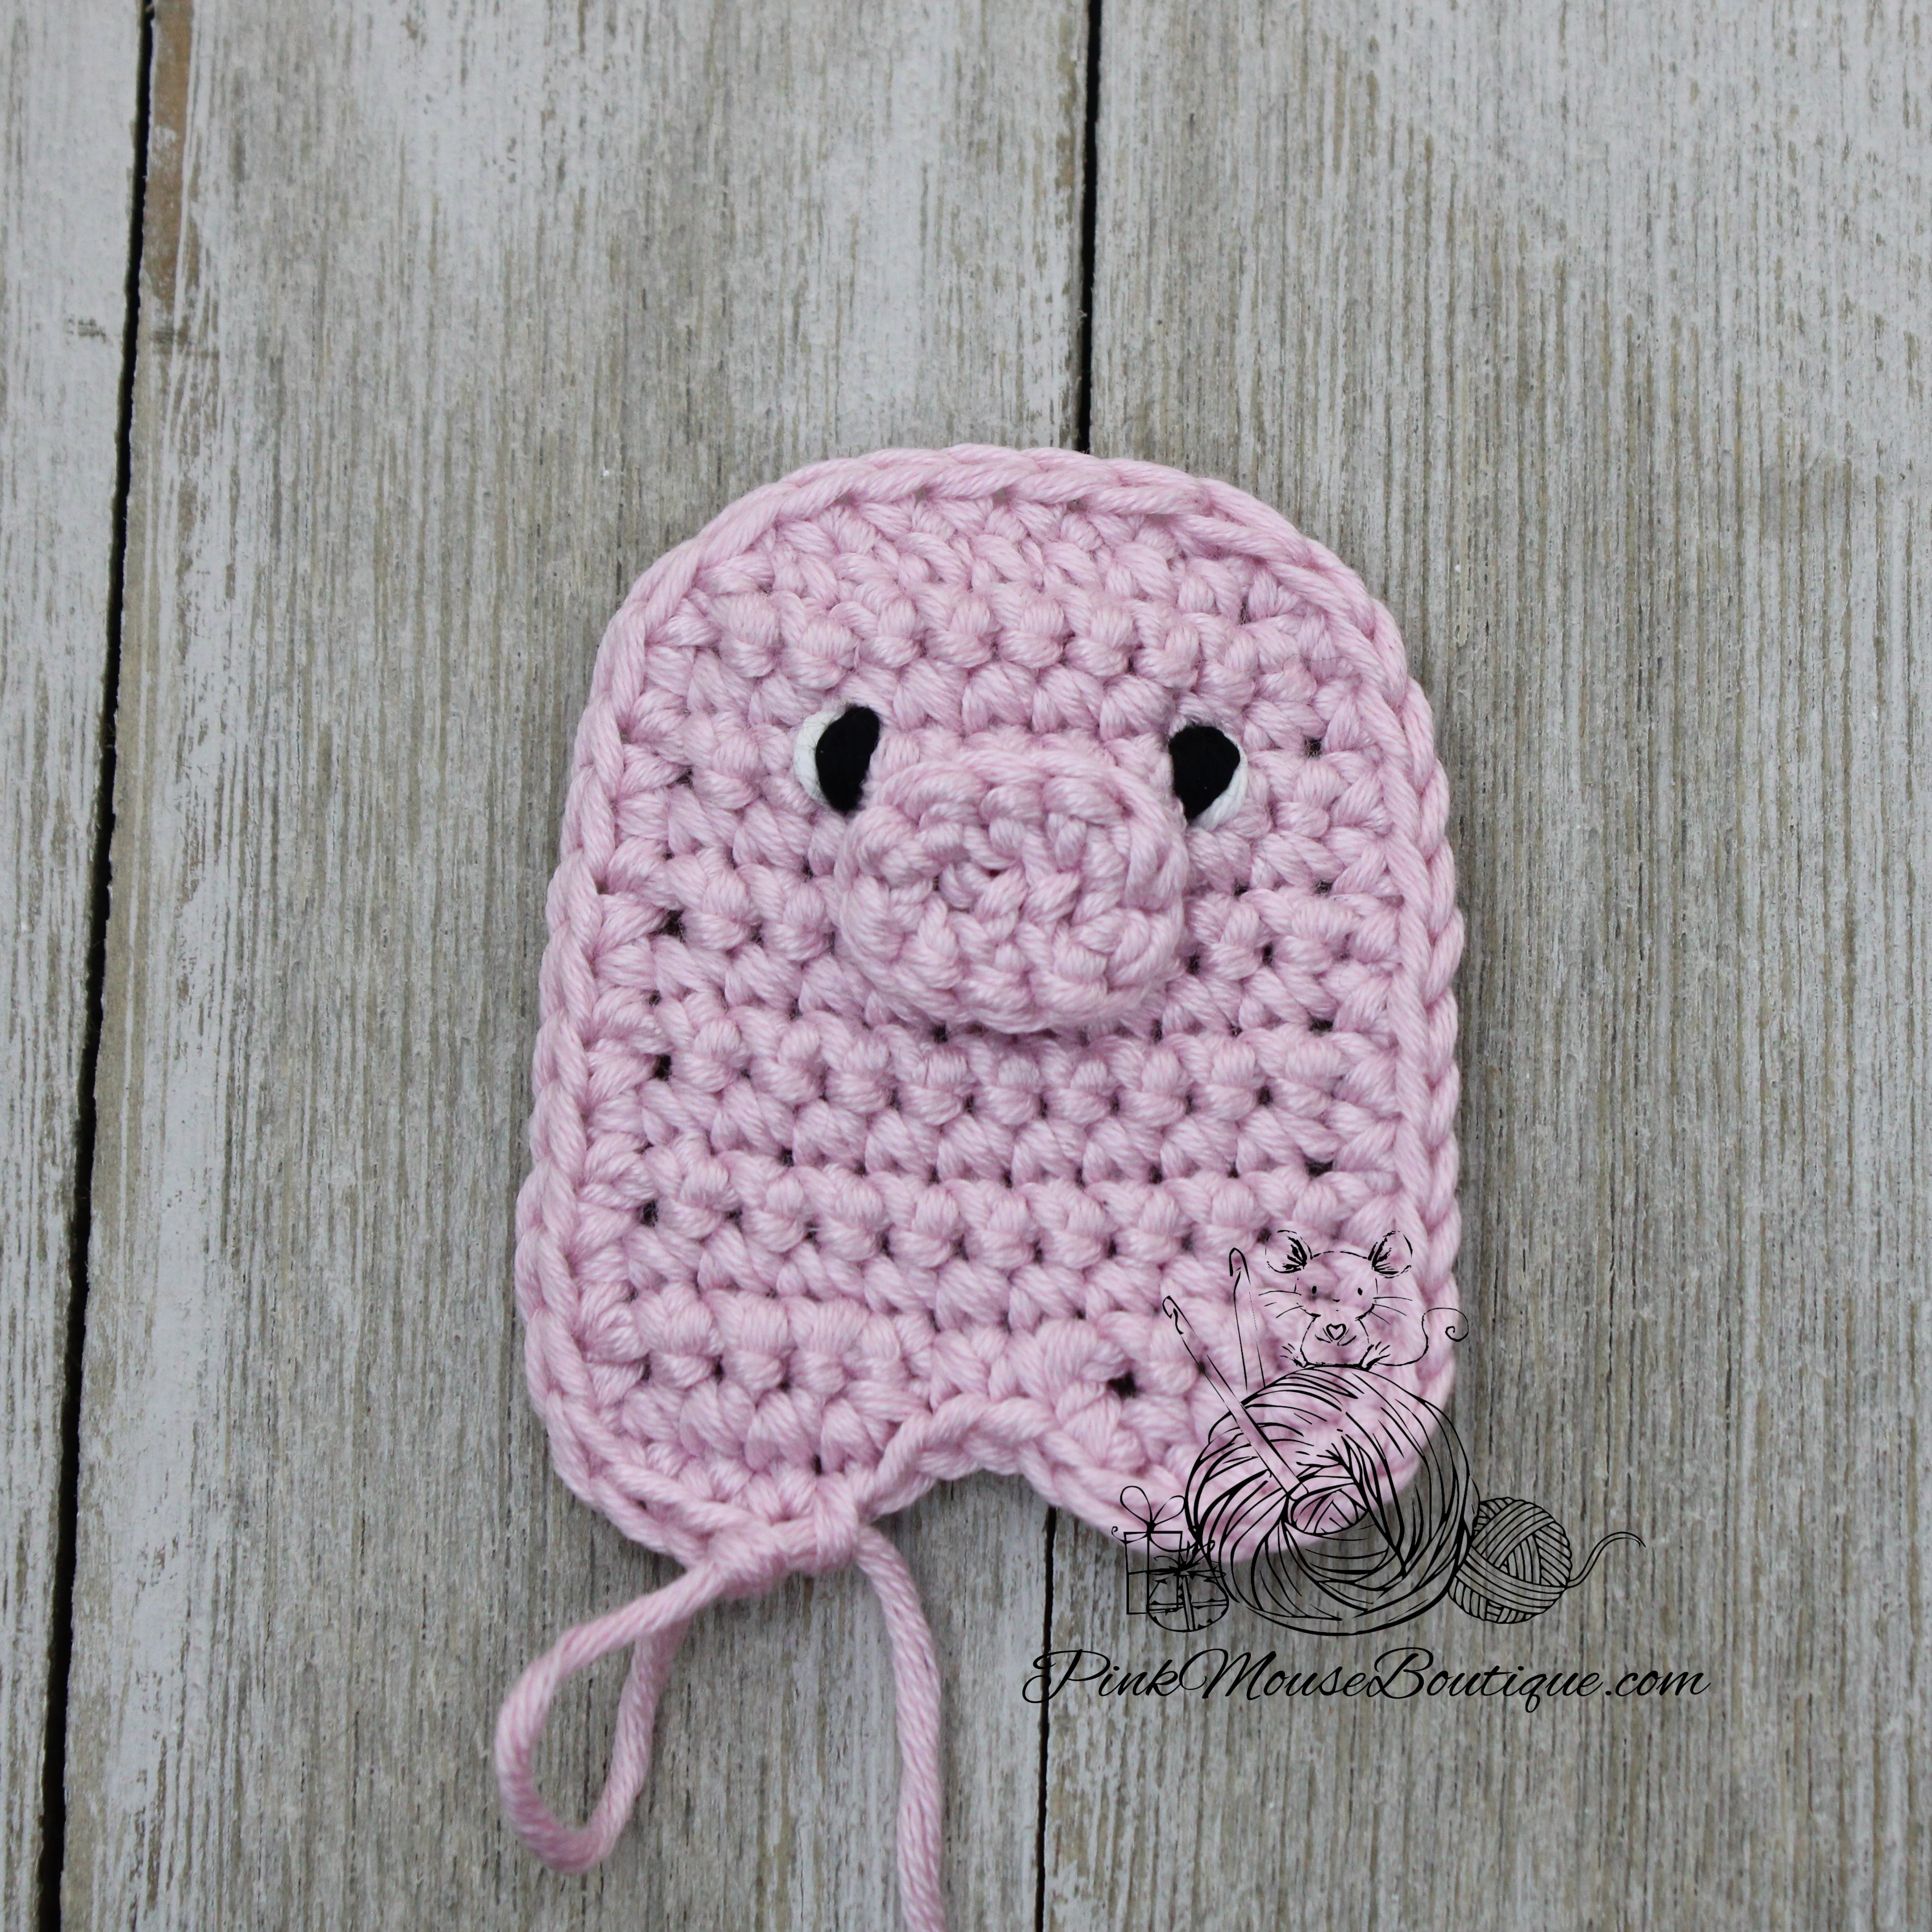
Follow the instructions below to make the cute jellyfish in the picture. More Pocket Valentines are coming soon.
Please note that the instructions for all Pocket Valentines will be available on my blog free of charge. If you’d like the PDF version which includes all patterns in a convenient downloadable document, you can visit my shops below.
Or click on the links below to access the free version for each little critter.
Part 1: Envelope, Speech Bubble, and Heart
Part 8: Jellyfish
Materials
- Drops Muskat Worsted Weight: Pomegranate and Black
- Crochet Hook, 3.25 mm
- Stuffing
- Others: sewing needle, scissors
Abbreviations
ch – chain
st – stitch
sl st – slip stitch
sc – single crochet
hdc – half double crochet
dc – double crochet
inc – increase
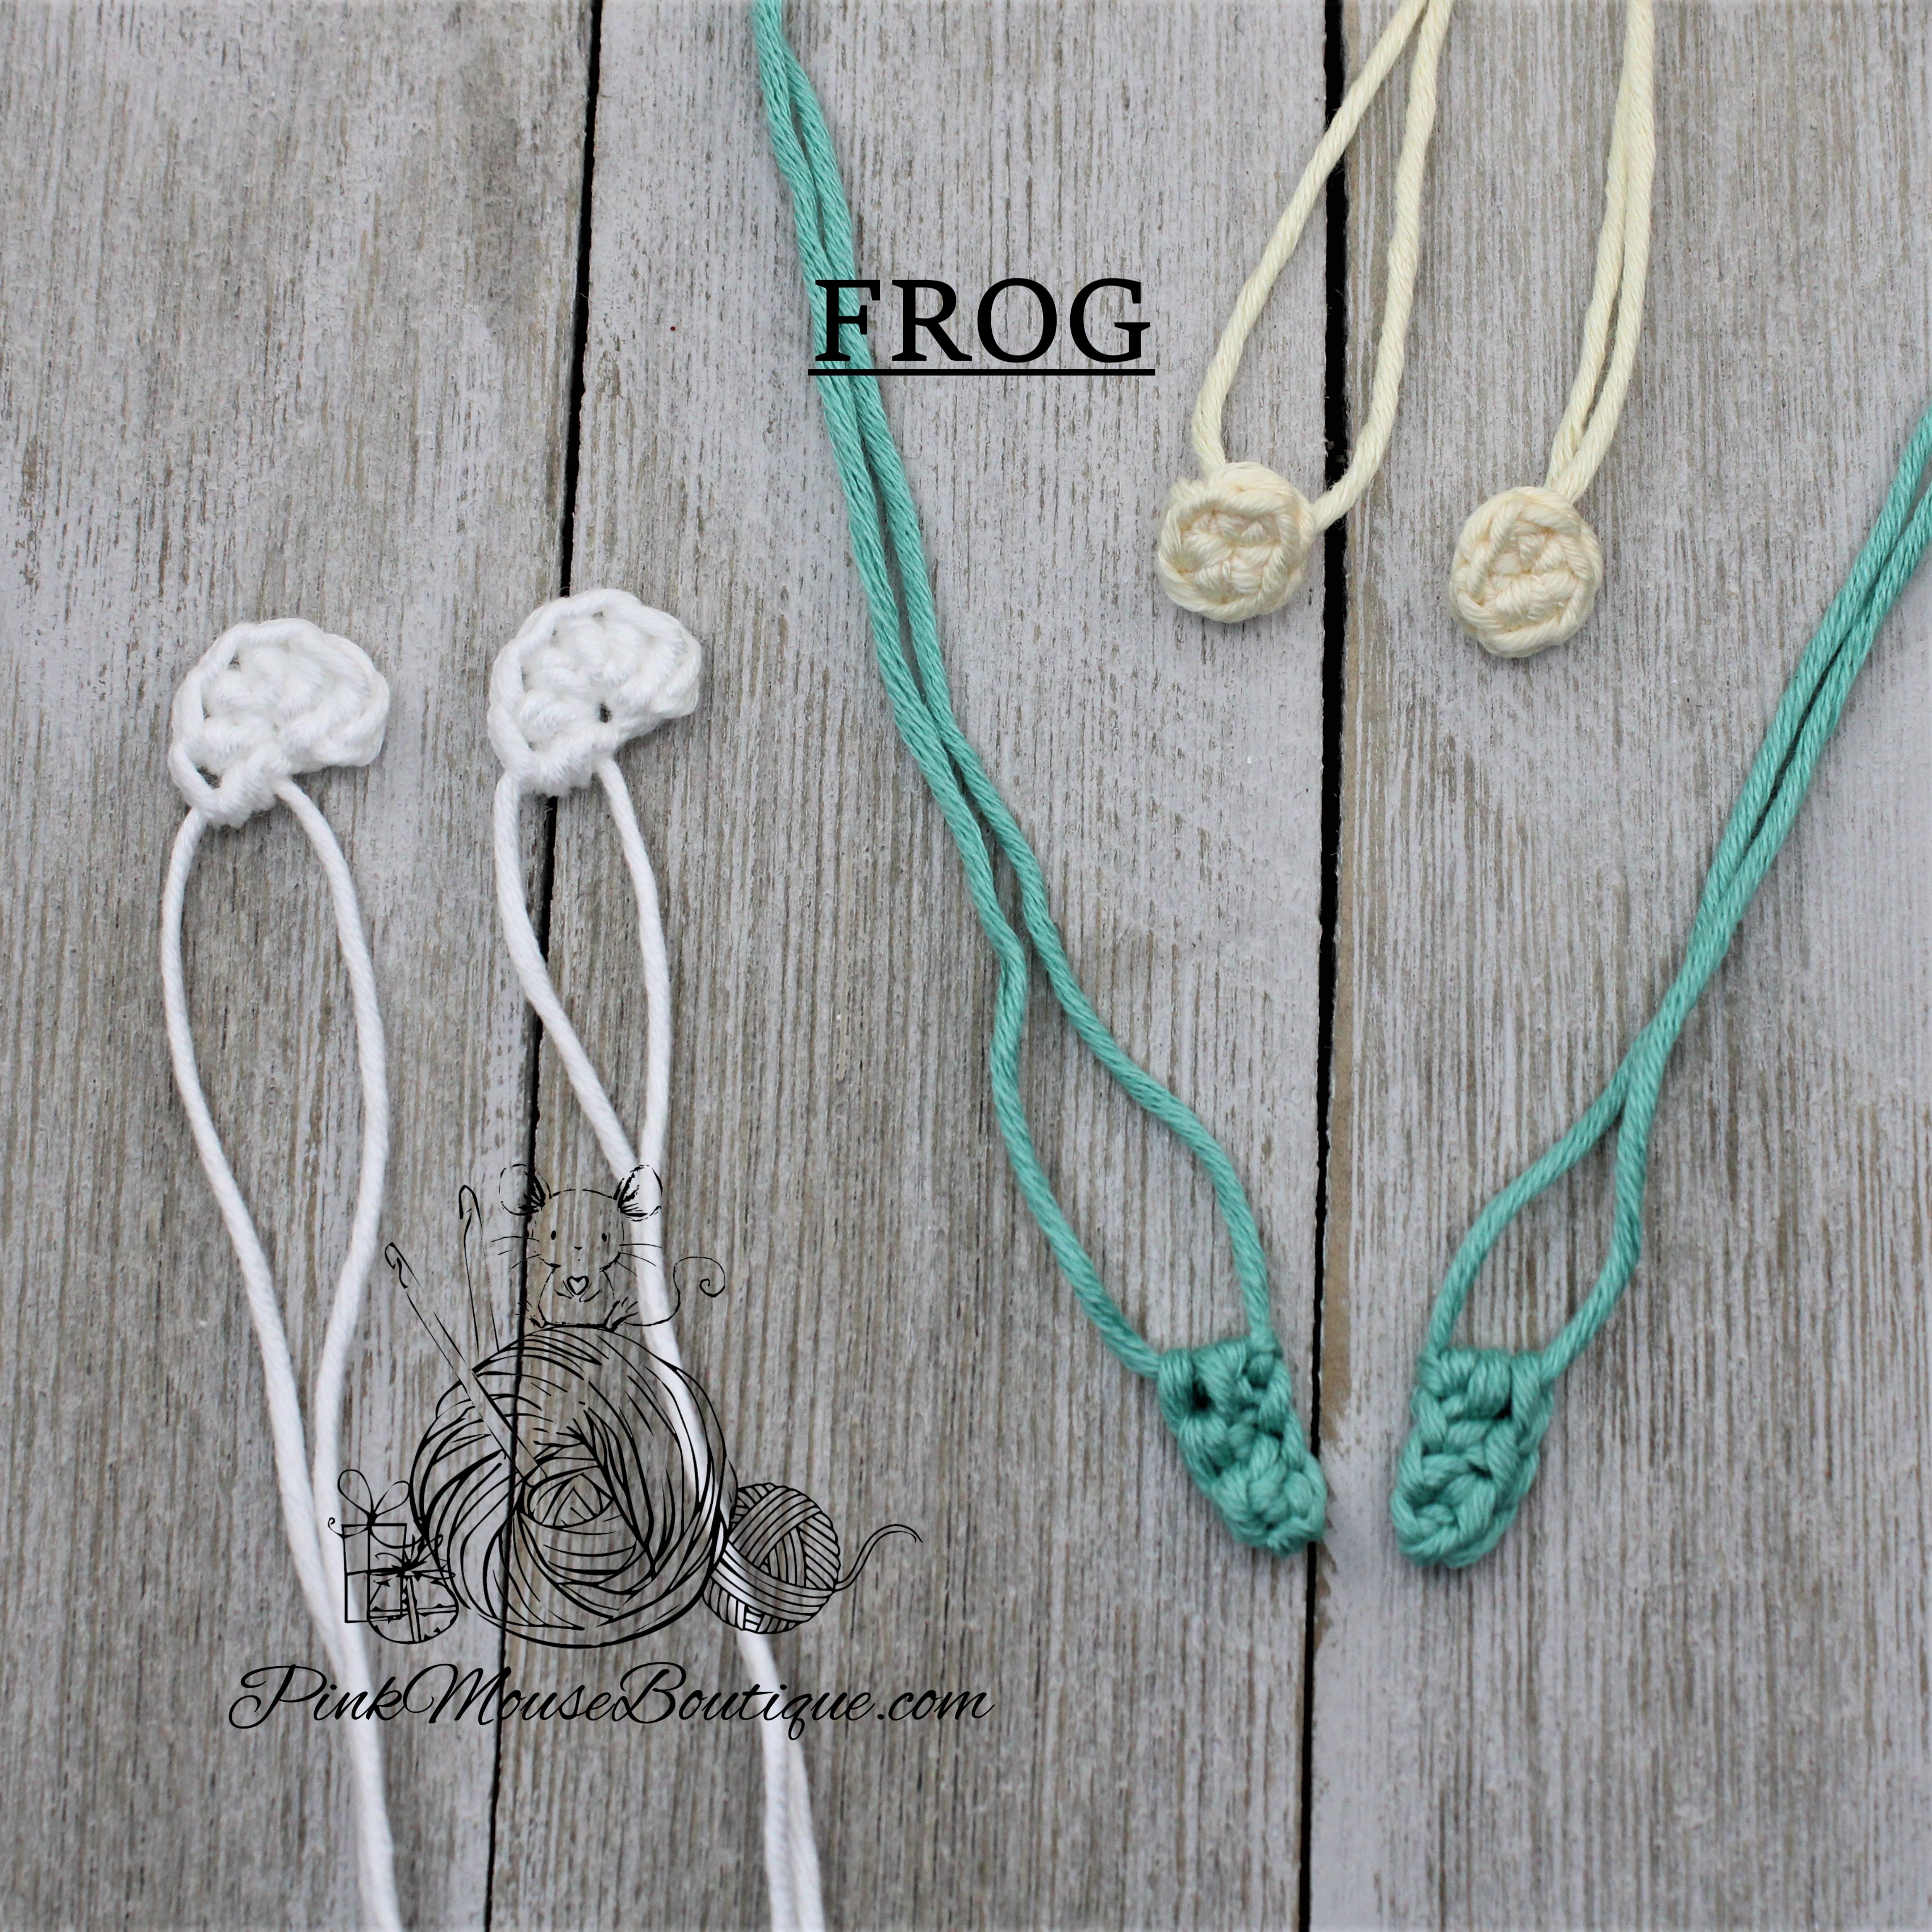
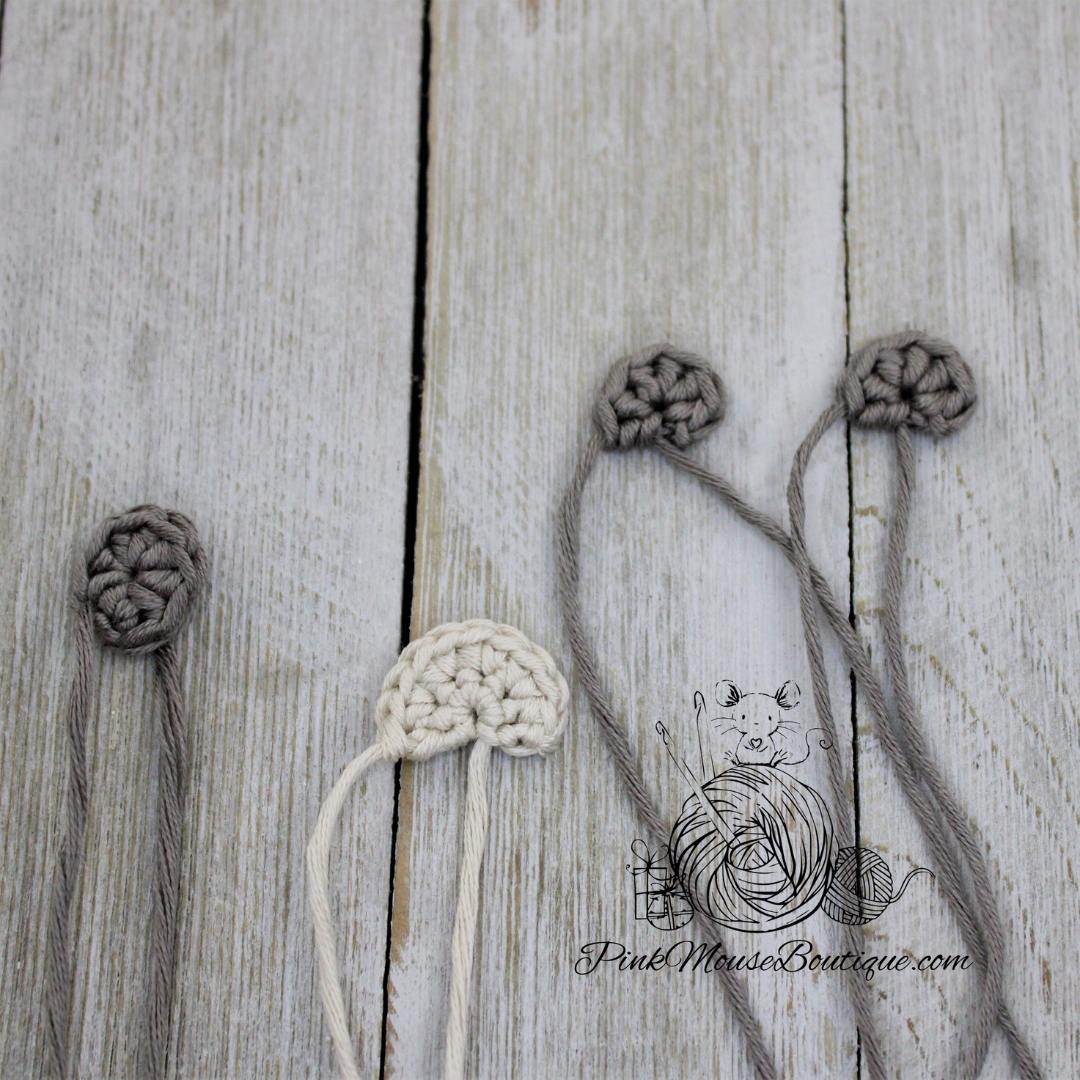
TENTACLES (x 6)
Suggested Color – Pomegranate
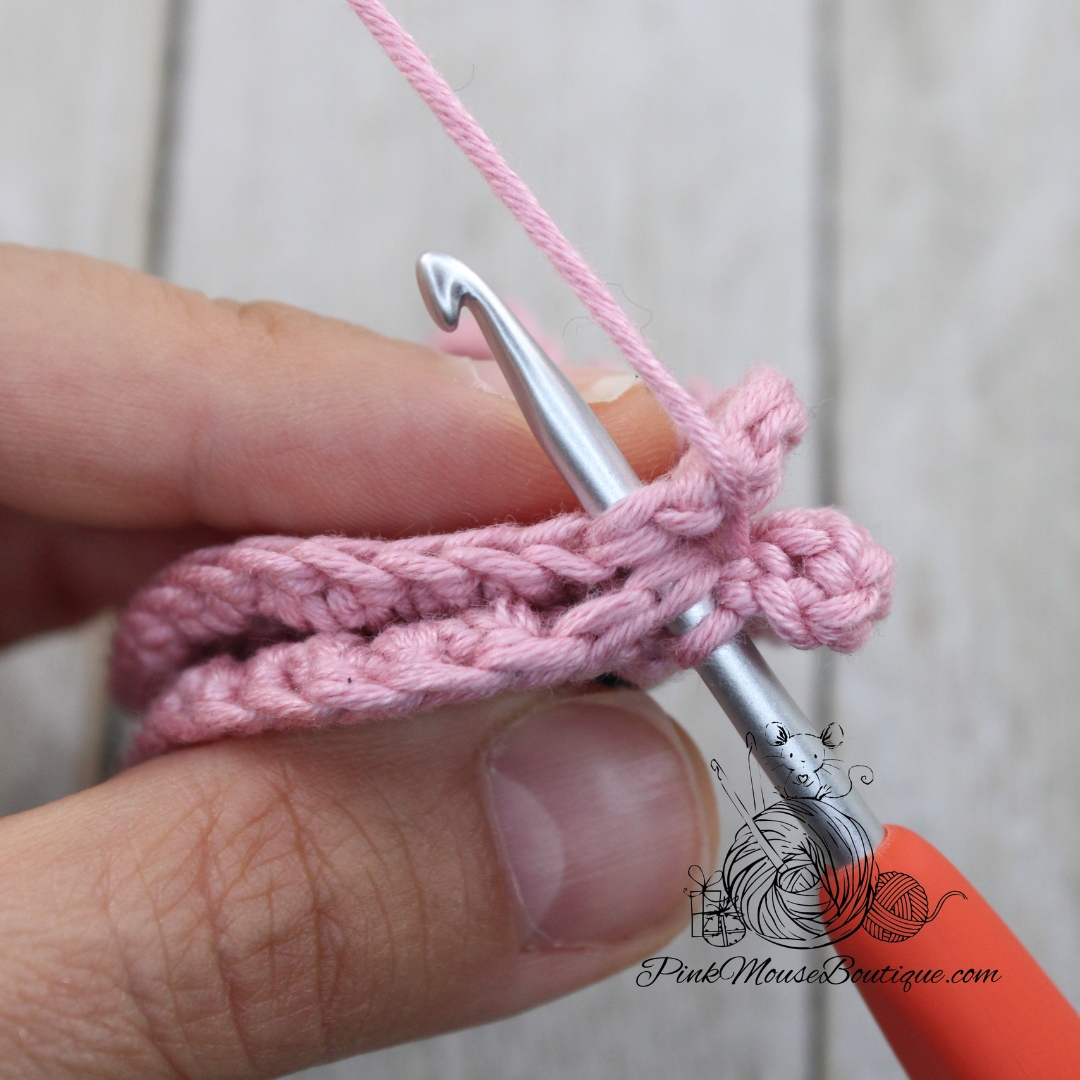
Ch 16
Row 1: in back bump of ch only, 1 sc in 2nd ch from hook, sc until the end – 15 sts
Fasten off leaving a tail for sewing. Set aside.
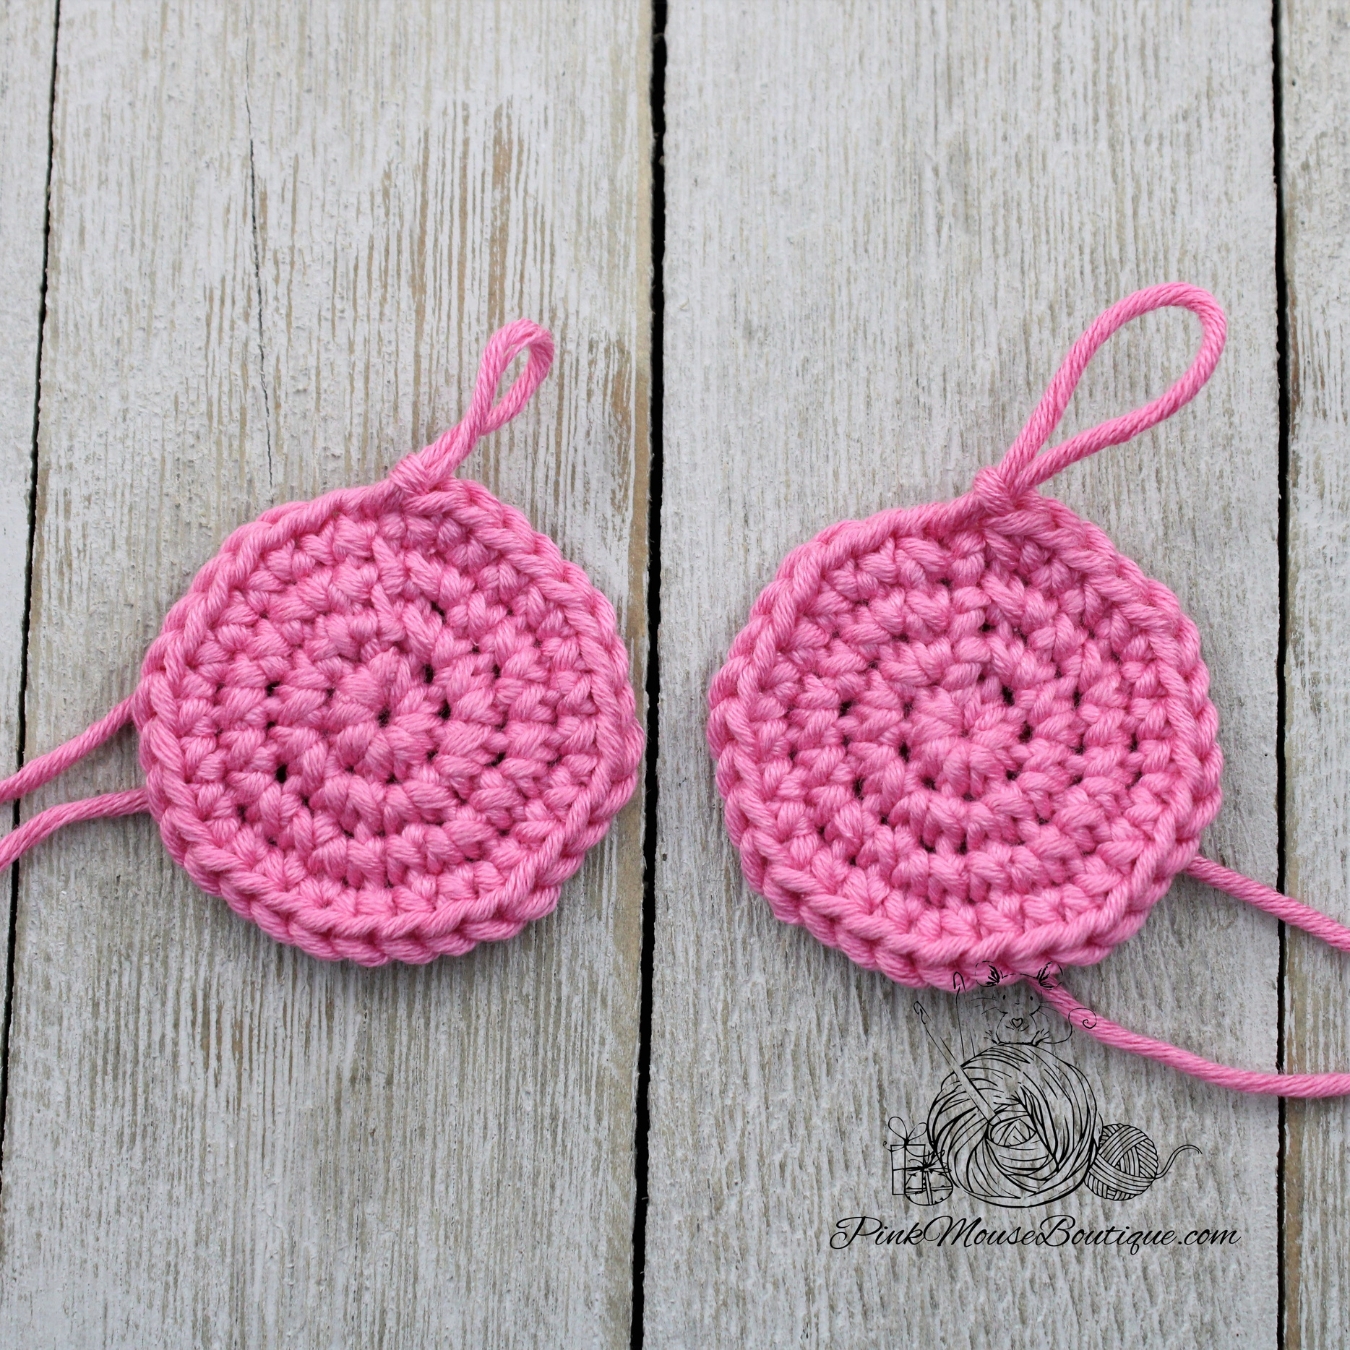
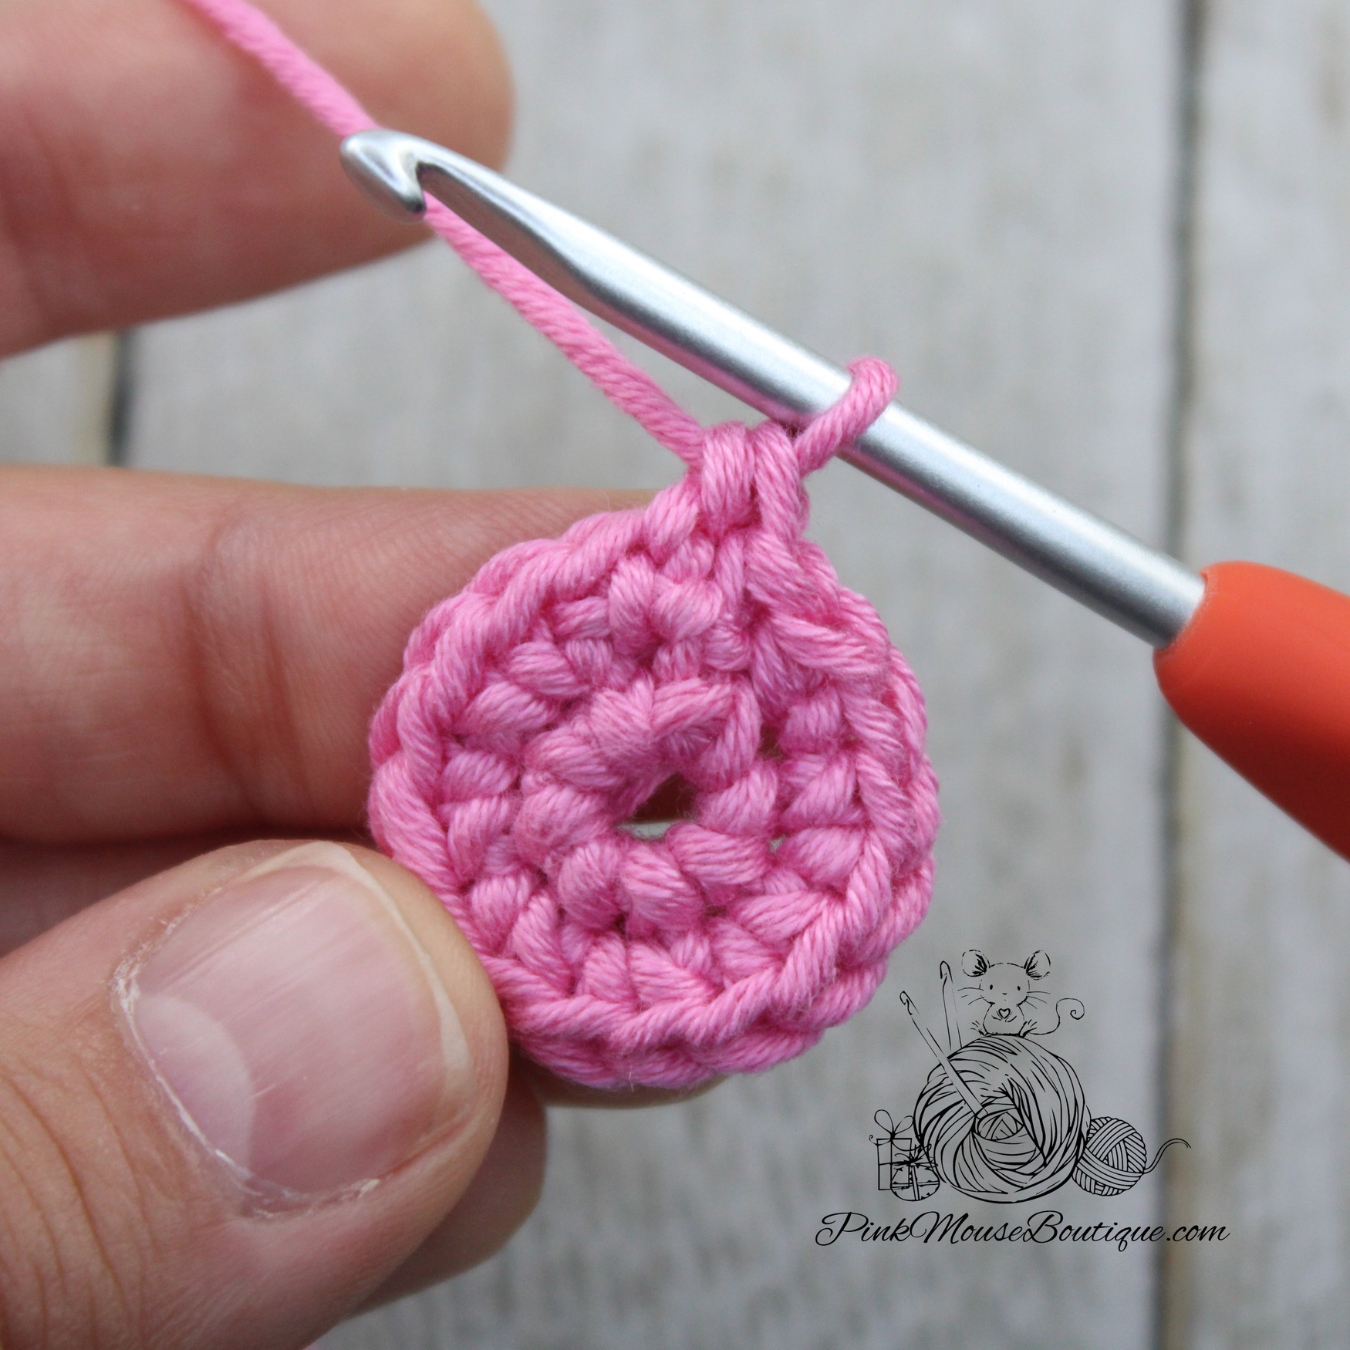
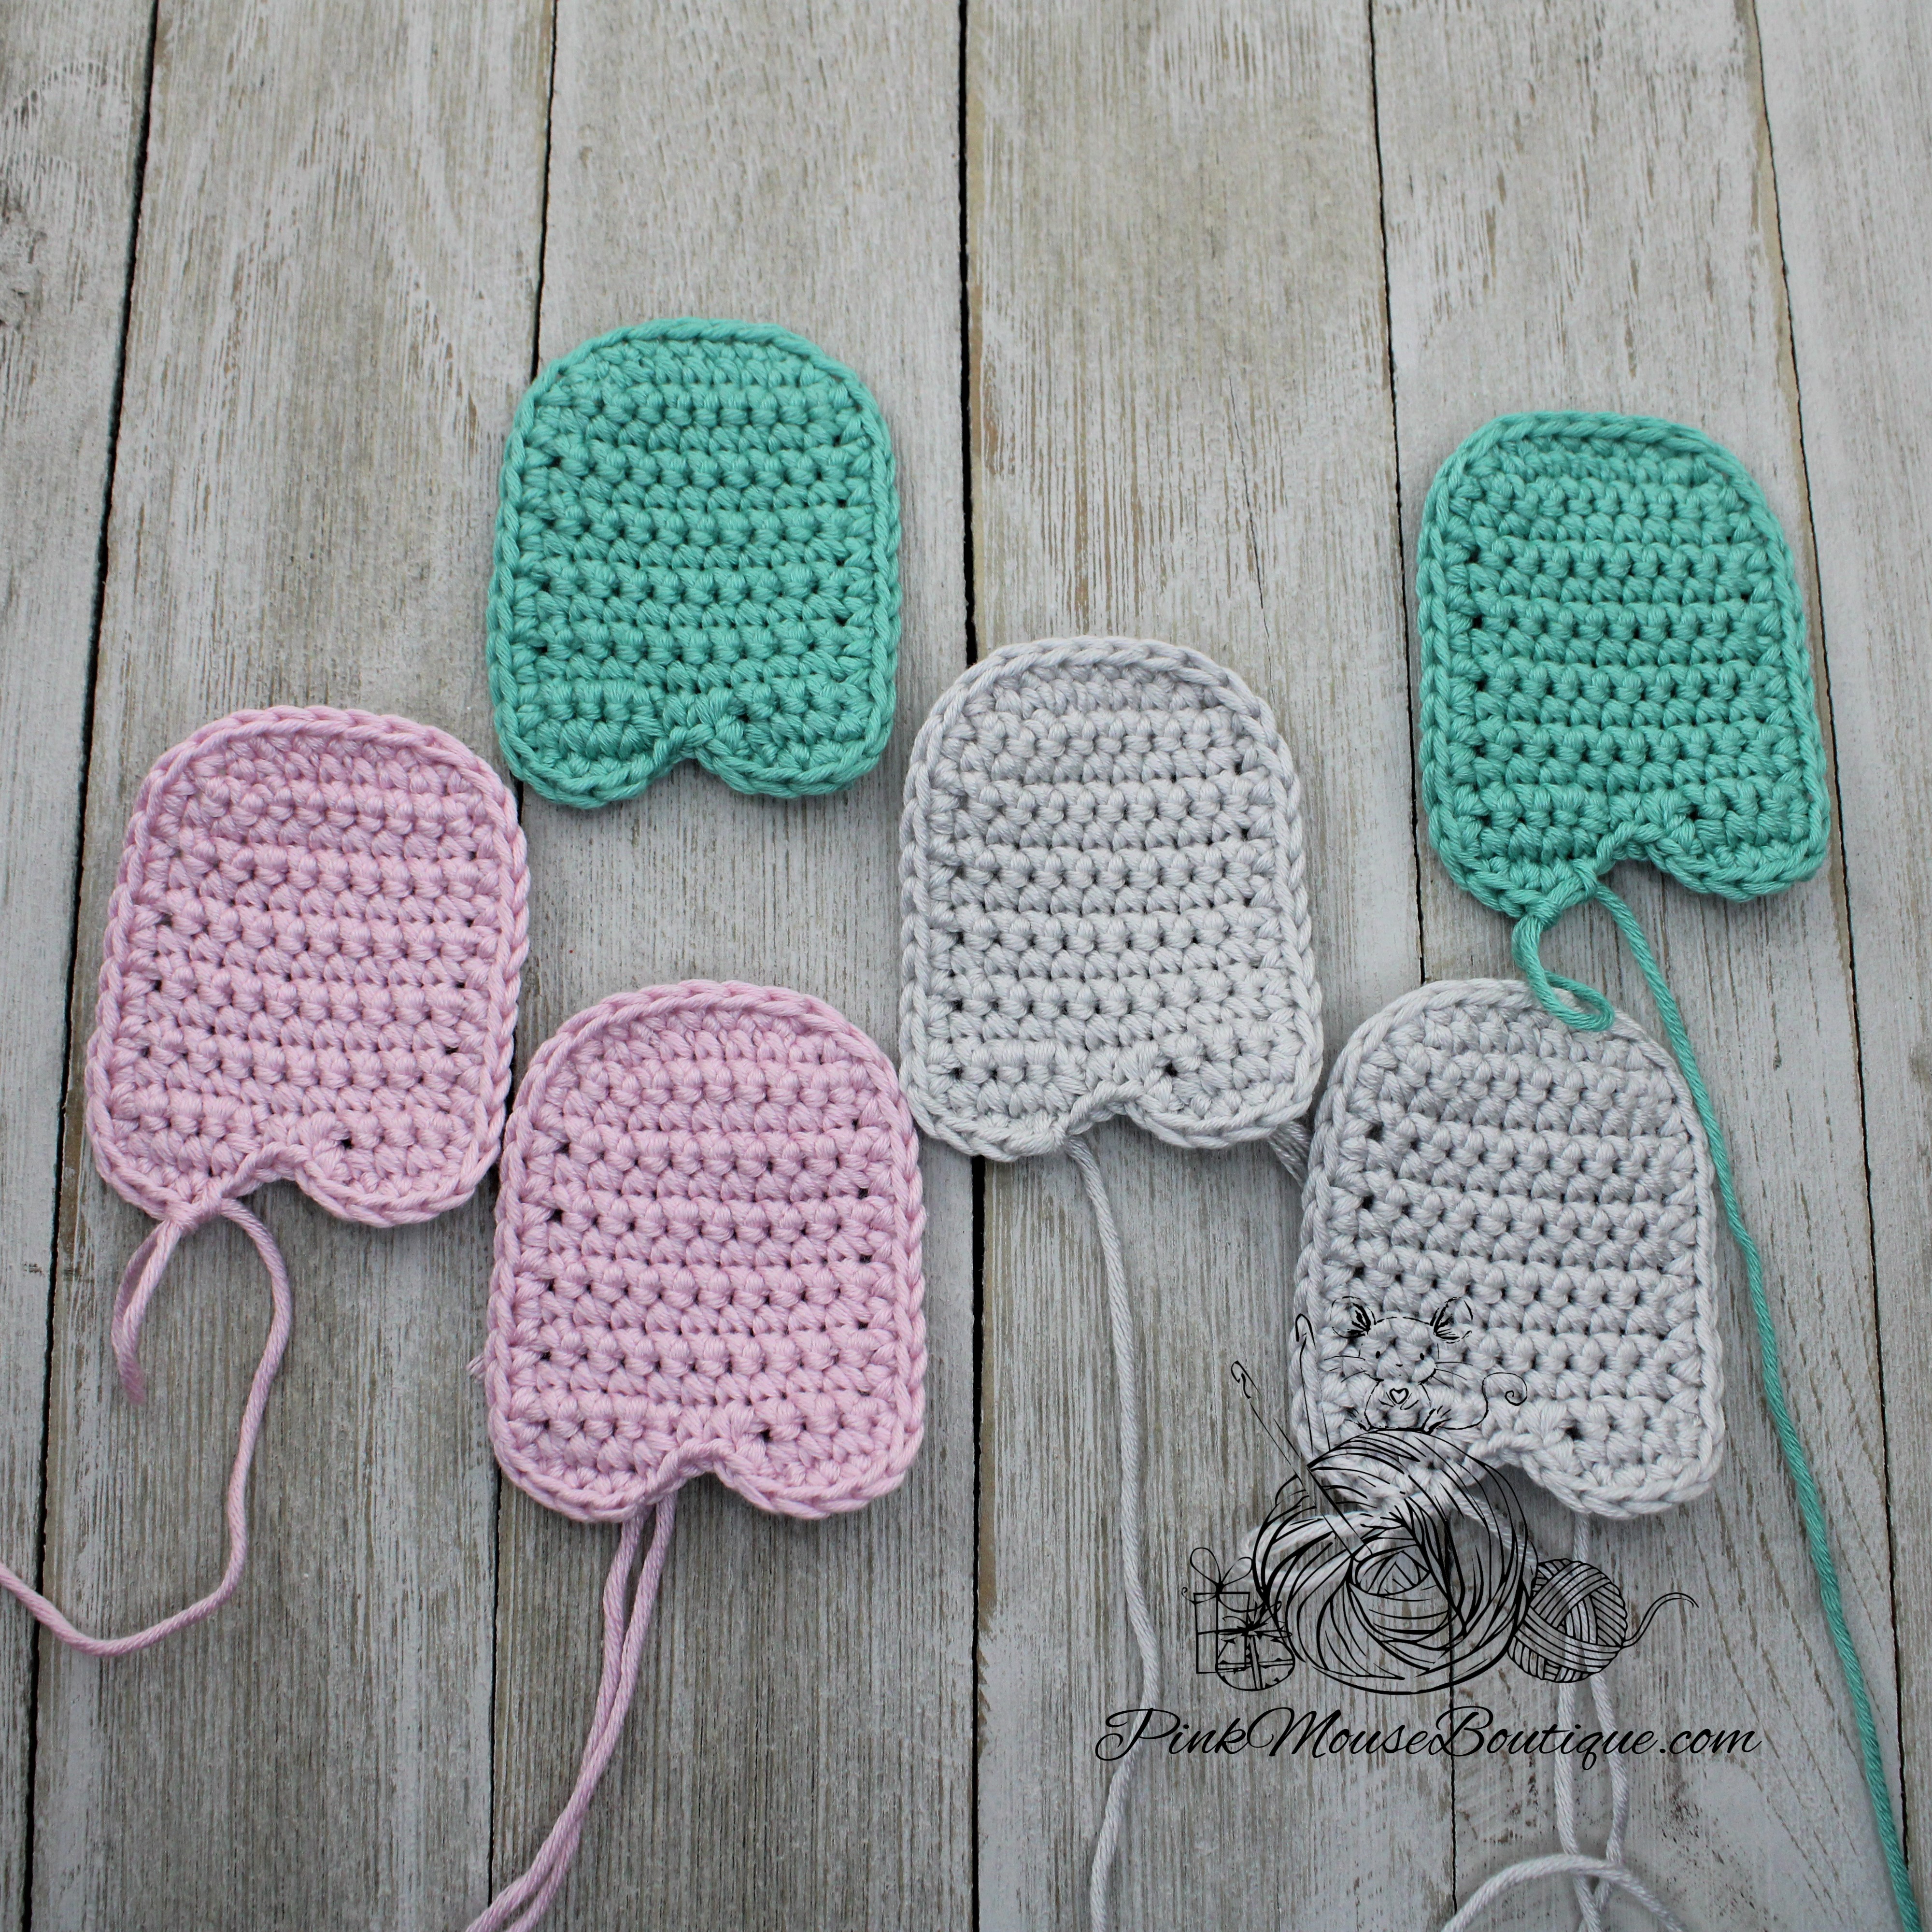
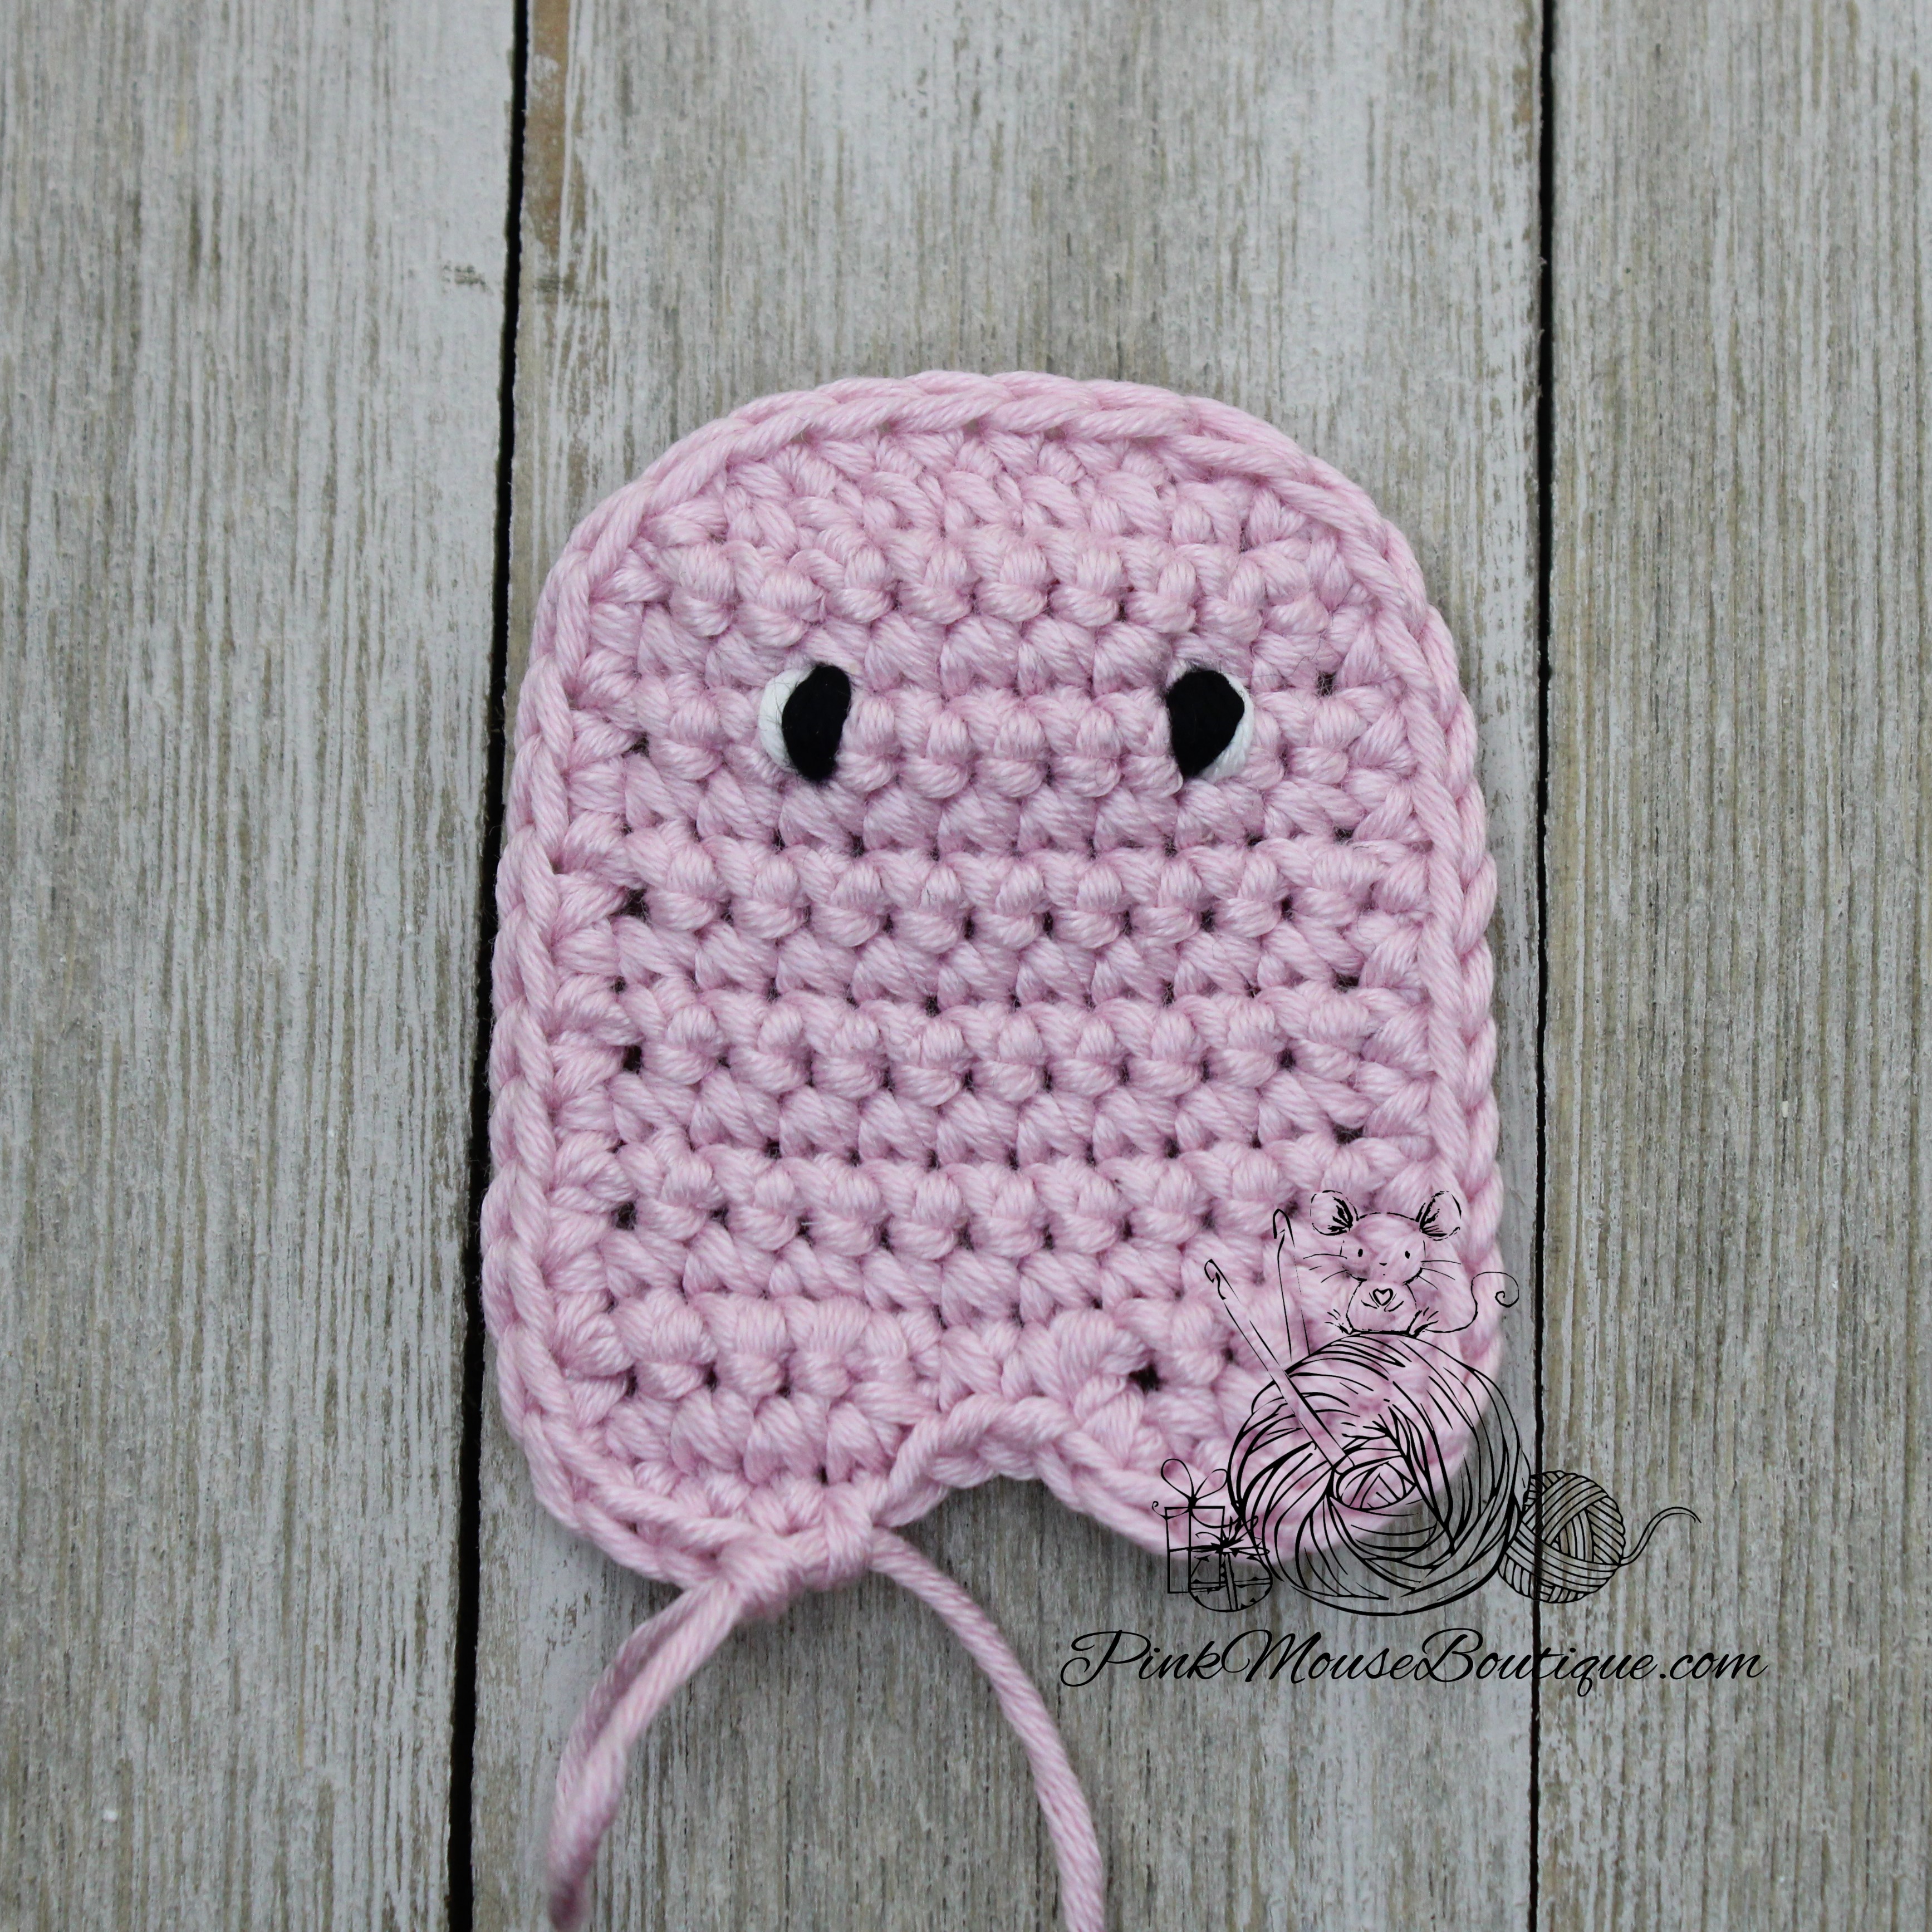
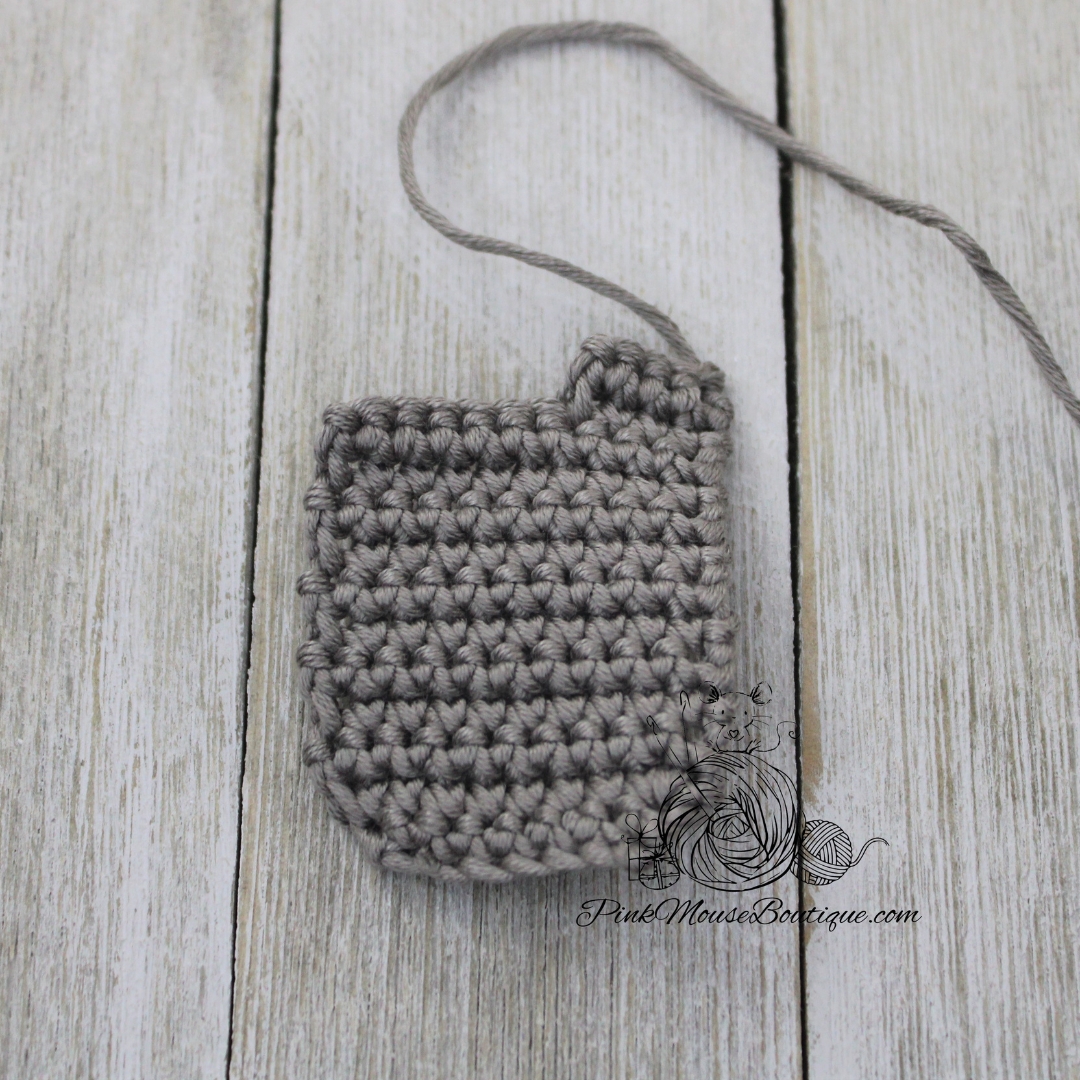
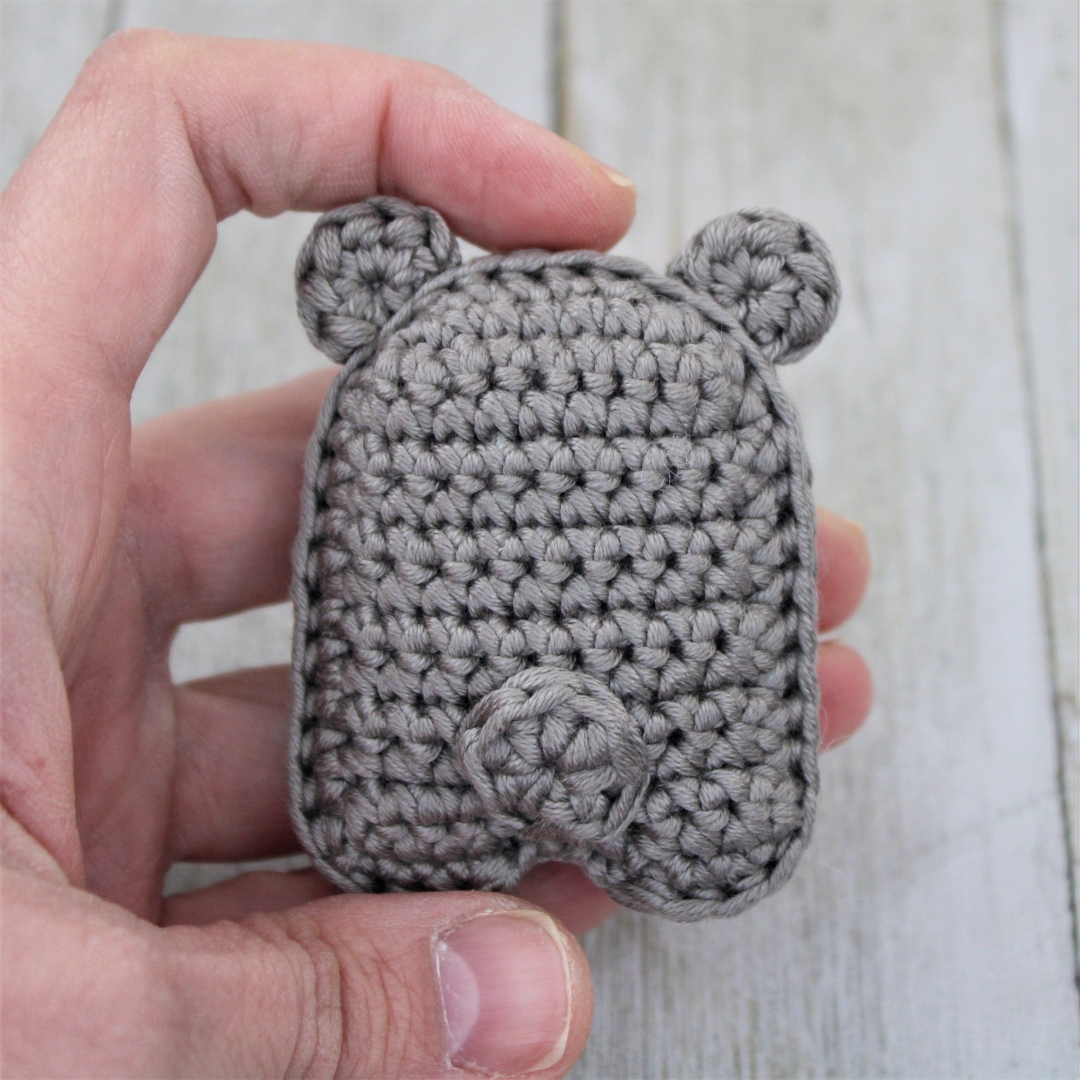
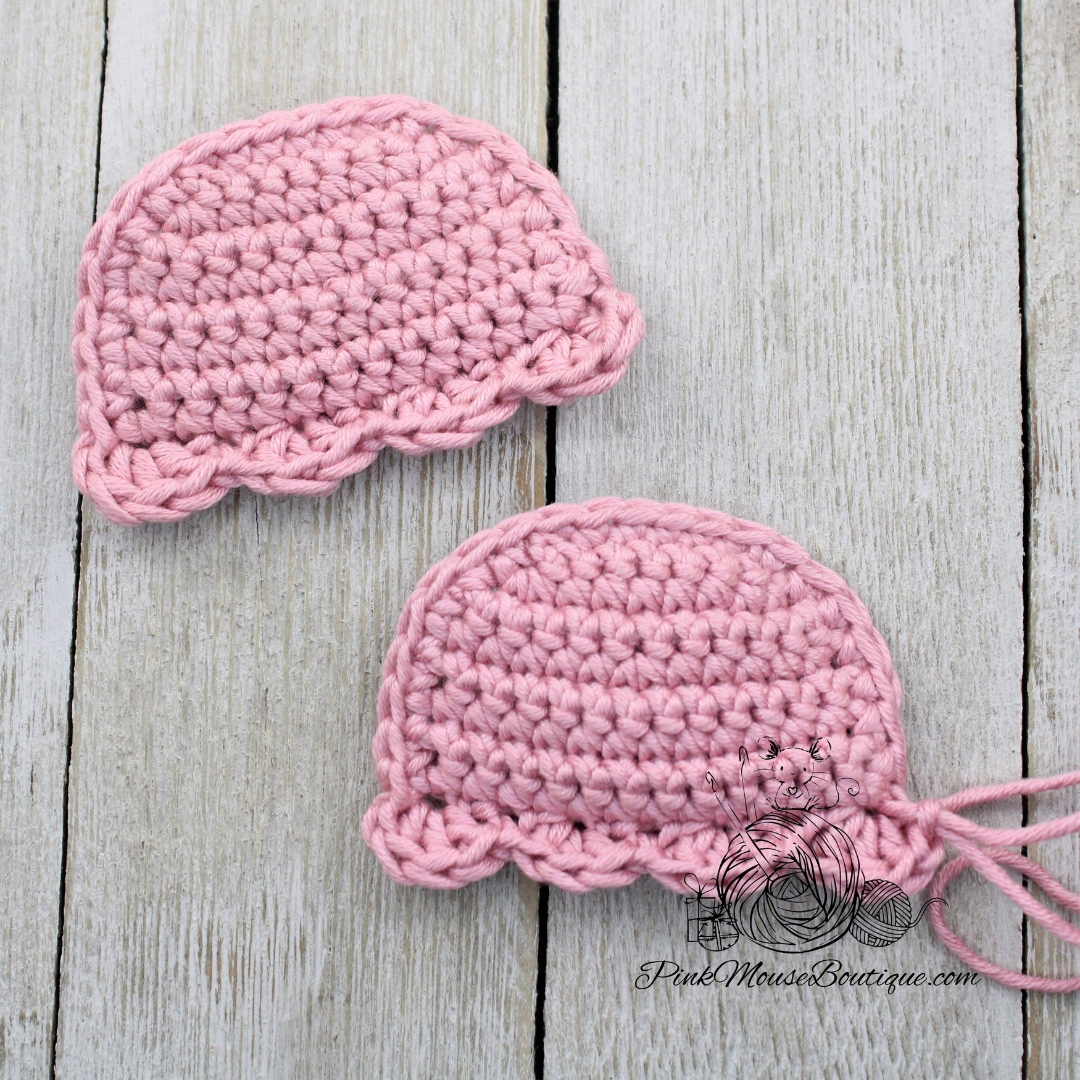
BODY (x 2)
Suggested Colors – Pomegranate
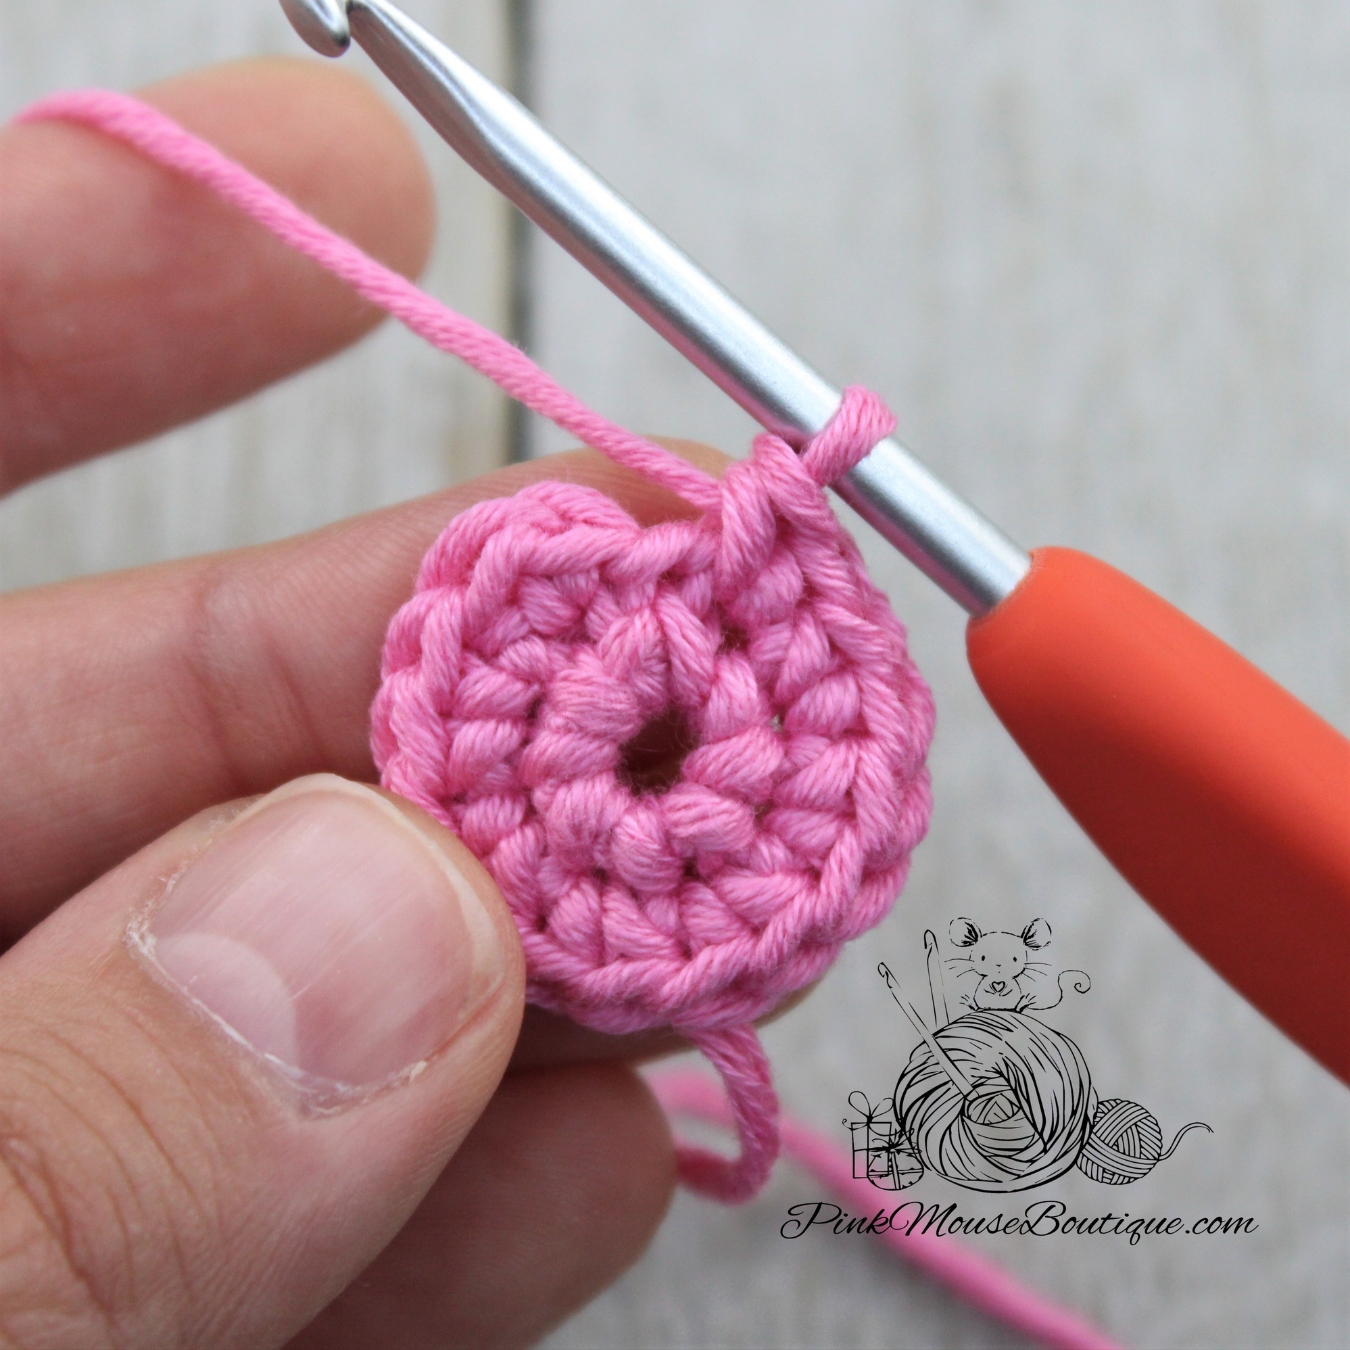
ch 7
Row 1: in back bump of ch only, 2 sc in 2nd ch from hook, 1 sc in 4 ch, 2 sc in last ch; ch 1 and turn – 8 sts
Row 2: inc, 1 sc in 6 sts, inc; ch 1 and turn – 10 sts
Row 3: inc, 1 sc in 8 sts, inc; ch 1 and turn – 12 sts
Row 4: 1 sc in 5 sts, inc, 1 sc in 6 sts; ch 1 and turn – 13 sts
Rows 5 – 7: sc in each st; ch 1 and turn – 13 sts (3 rows)
Row 8: sc in each st
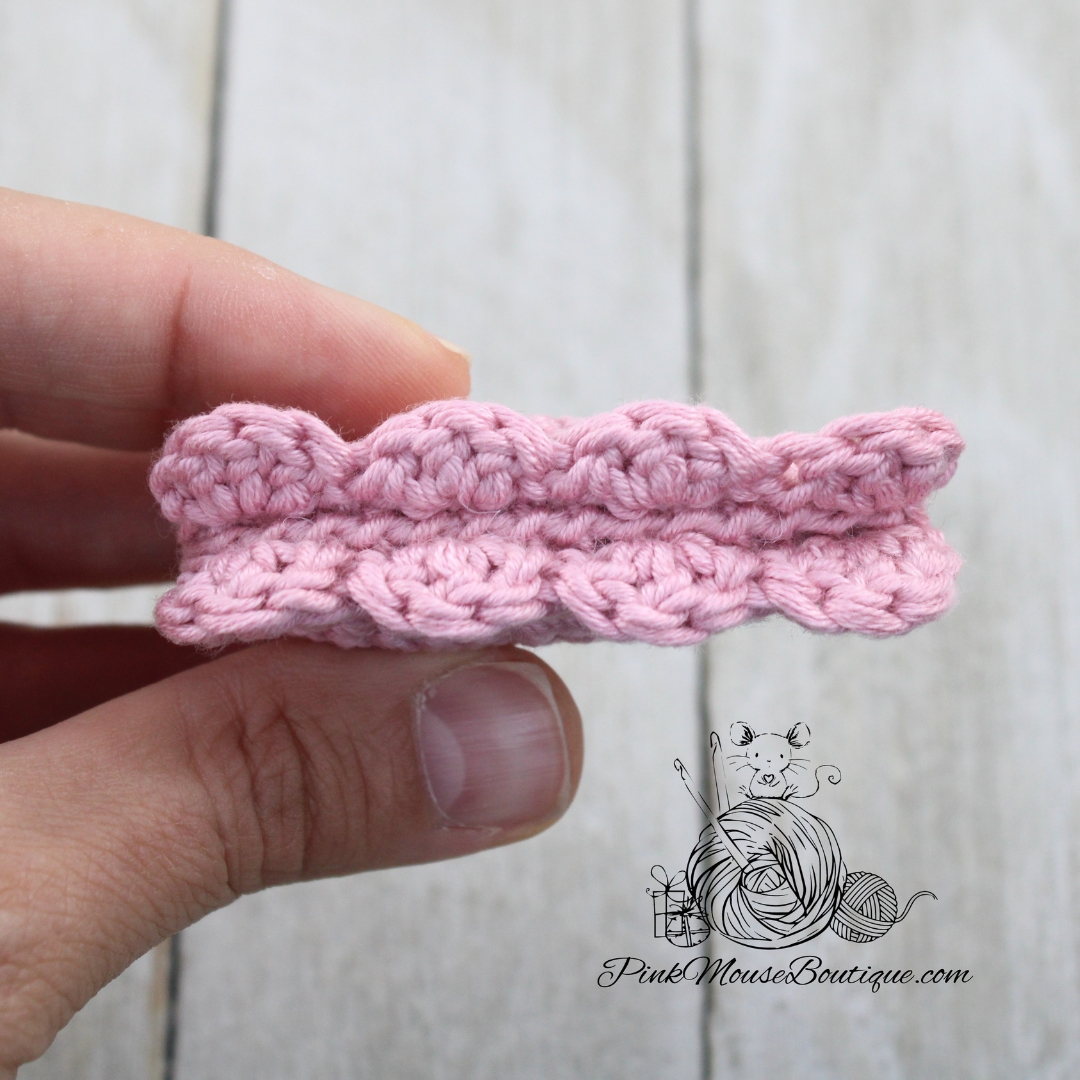
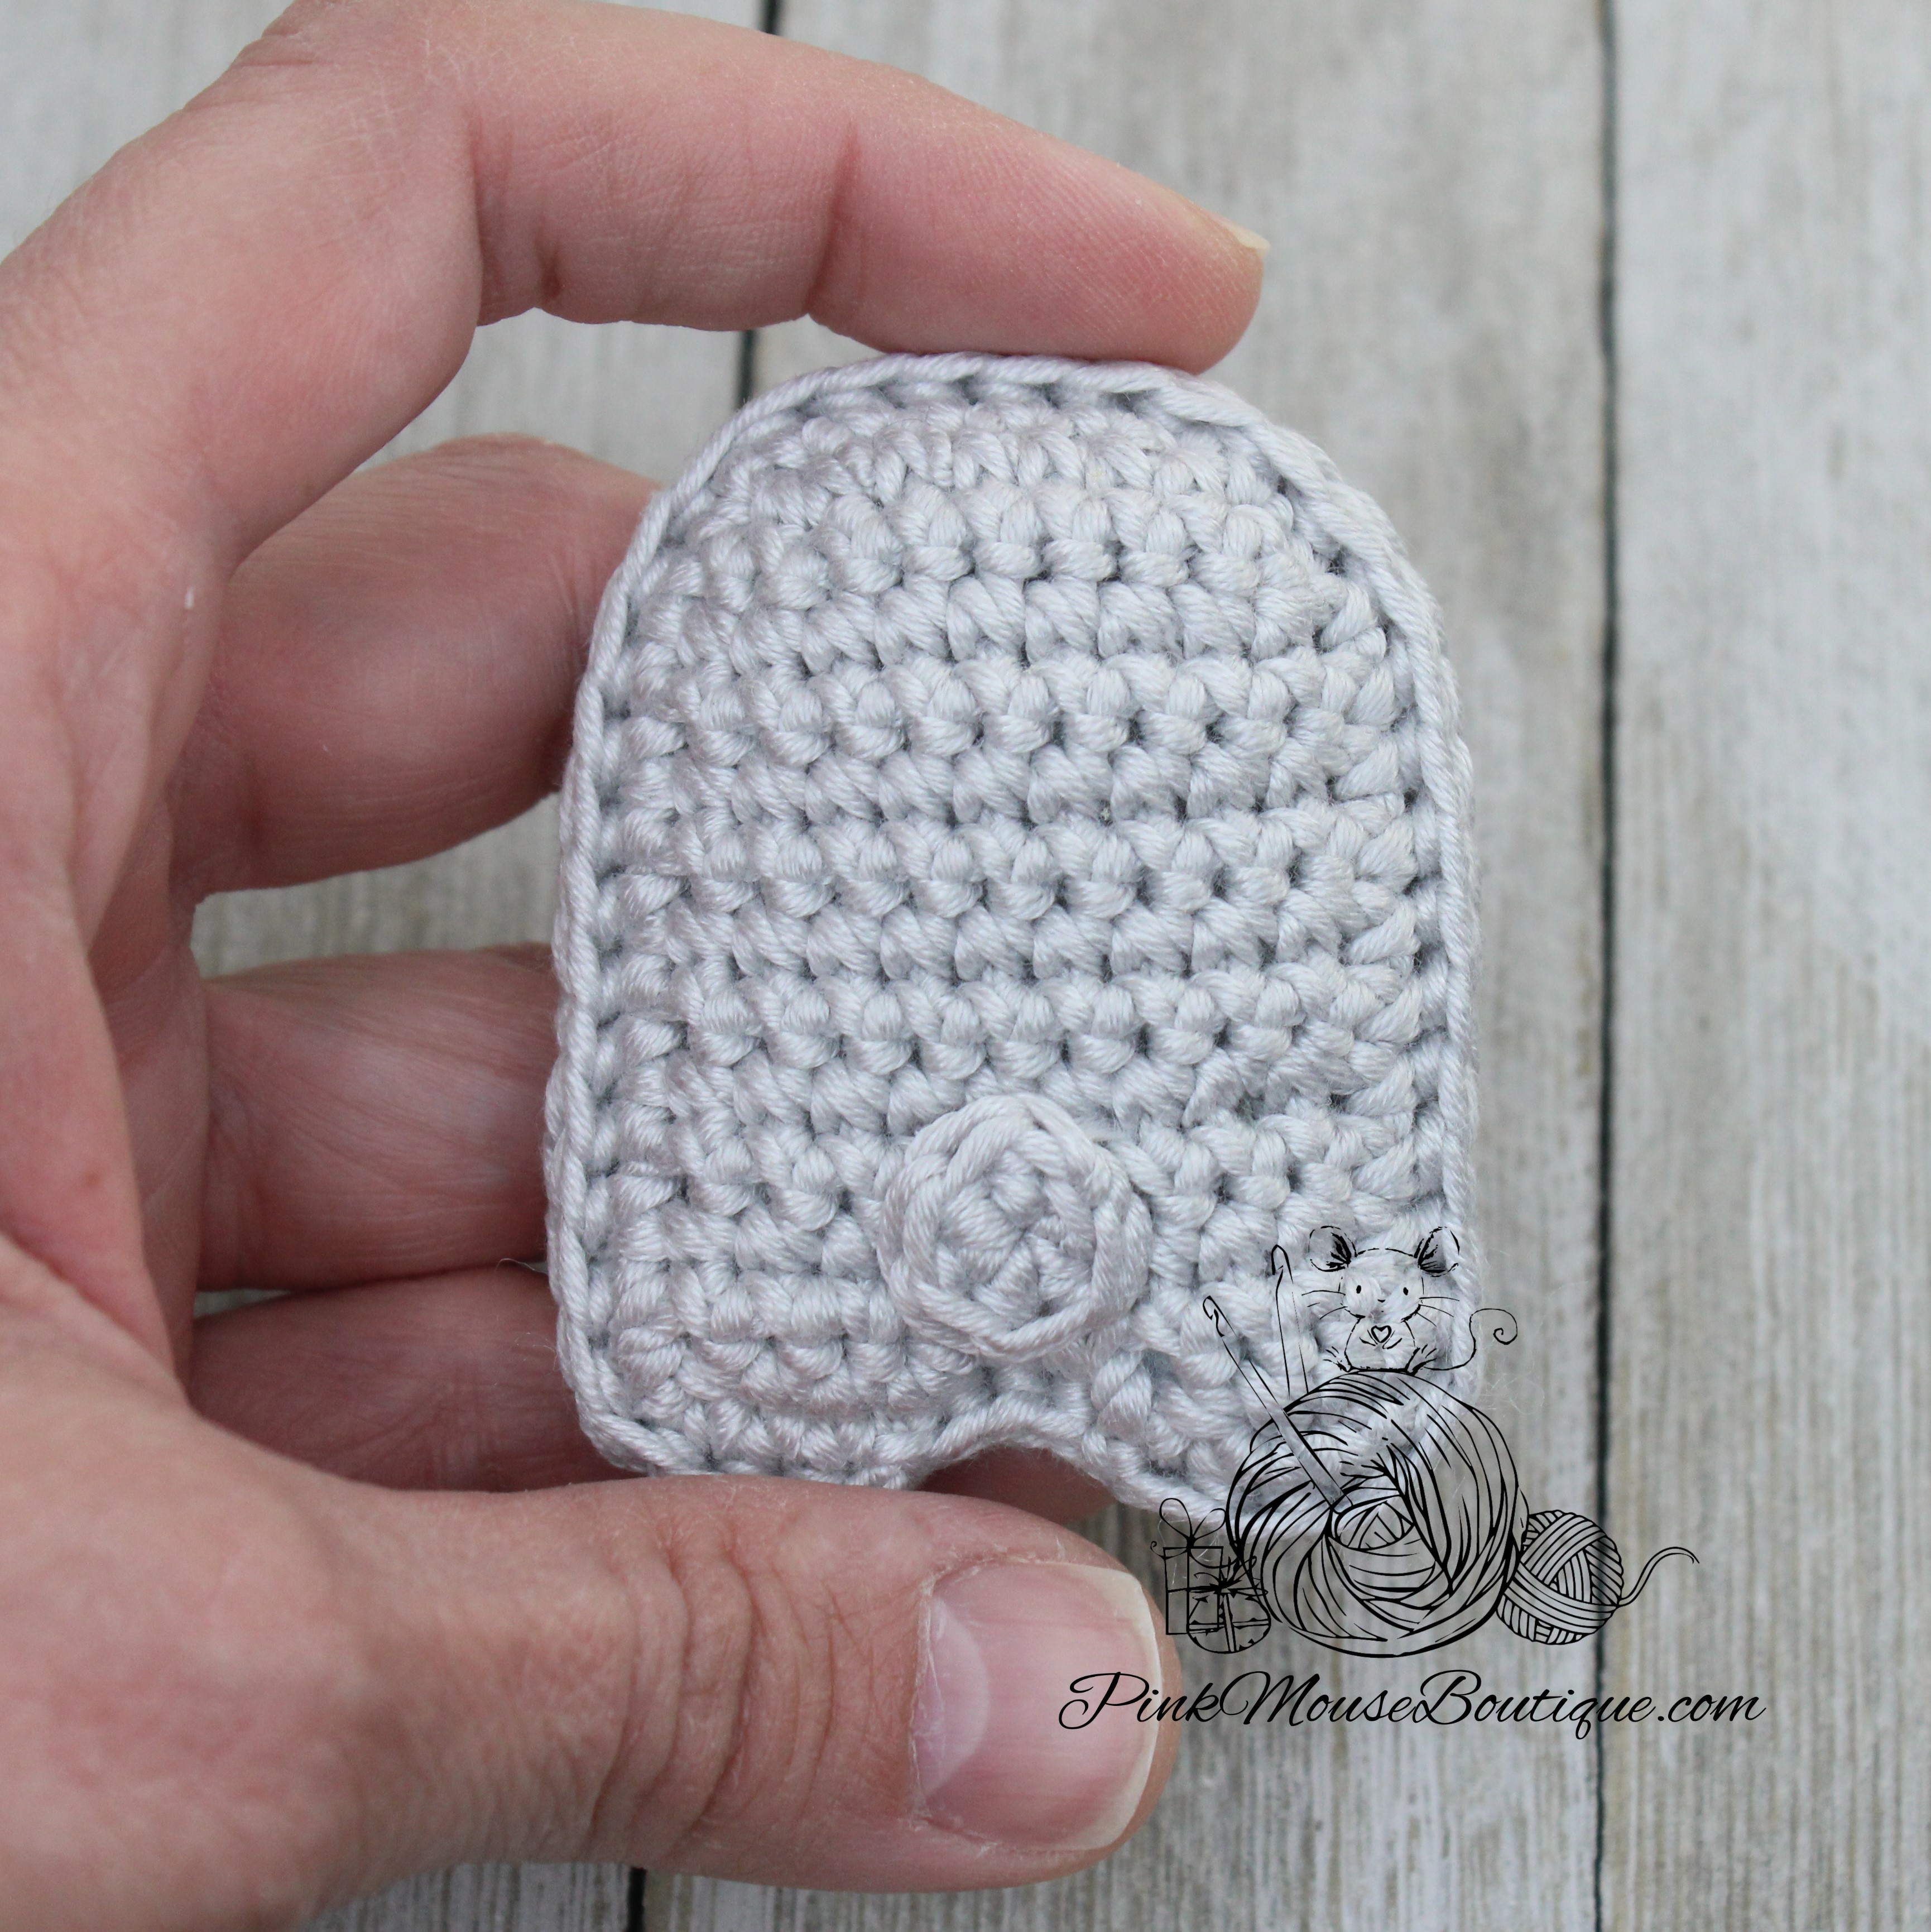
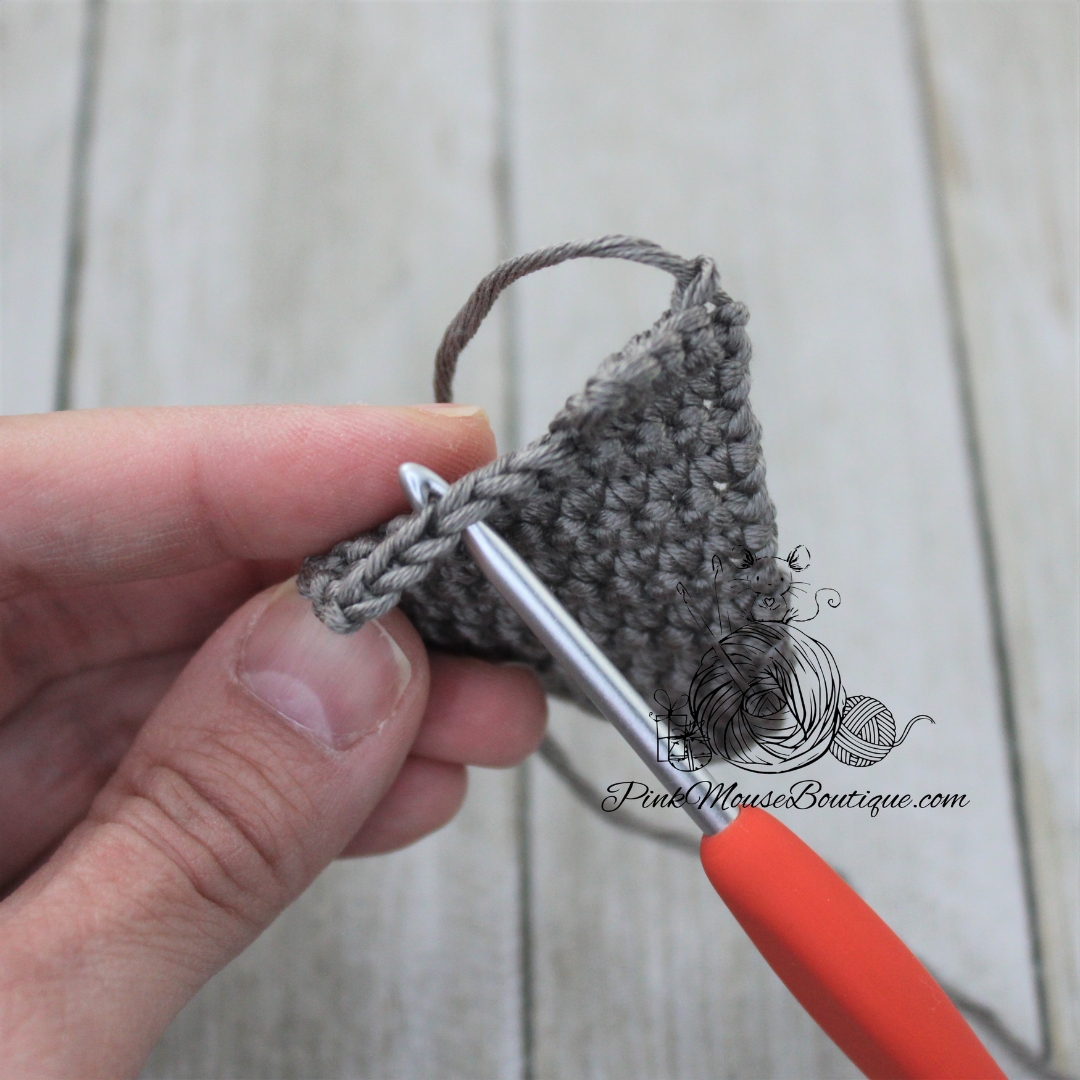
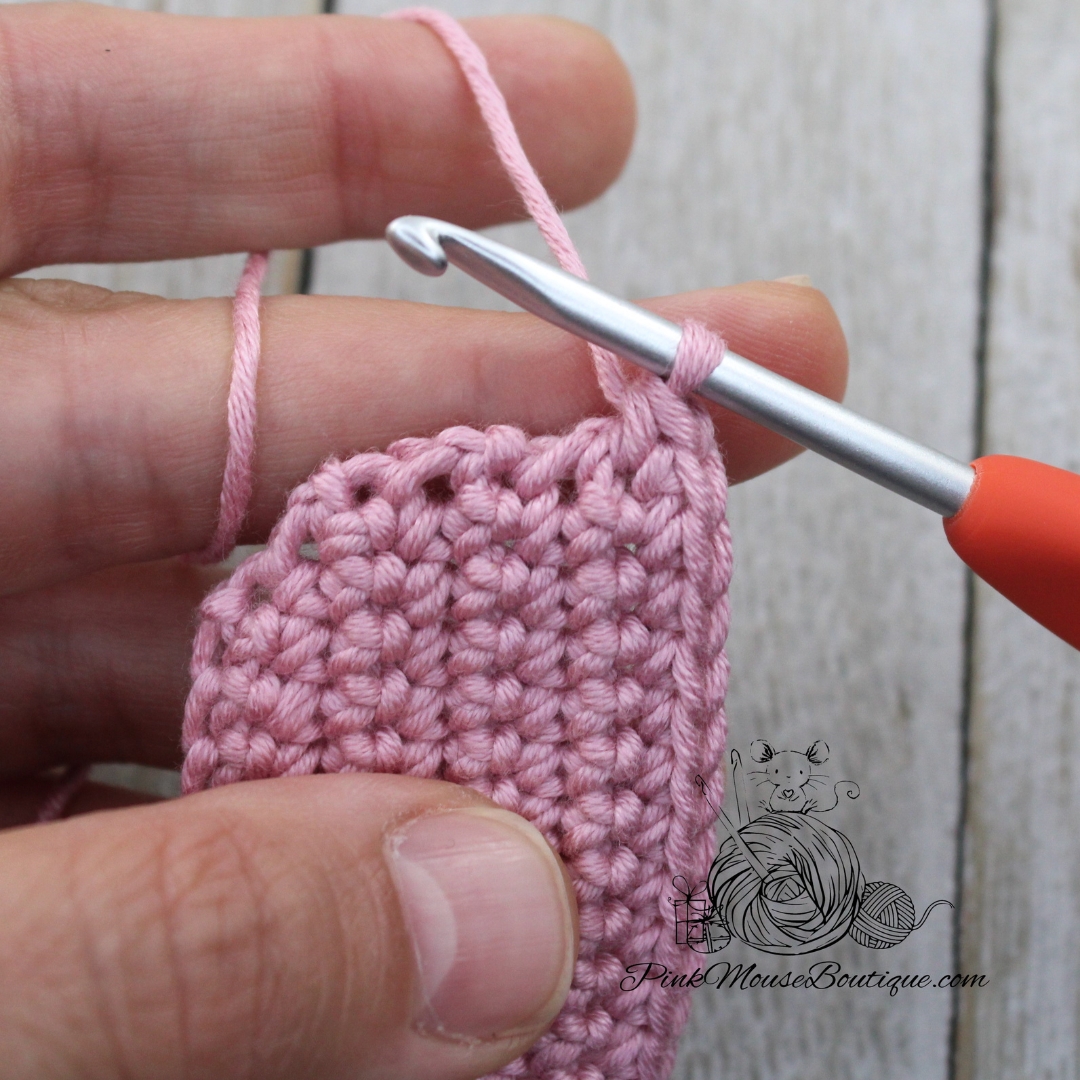
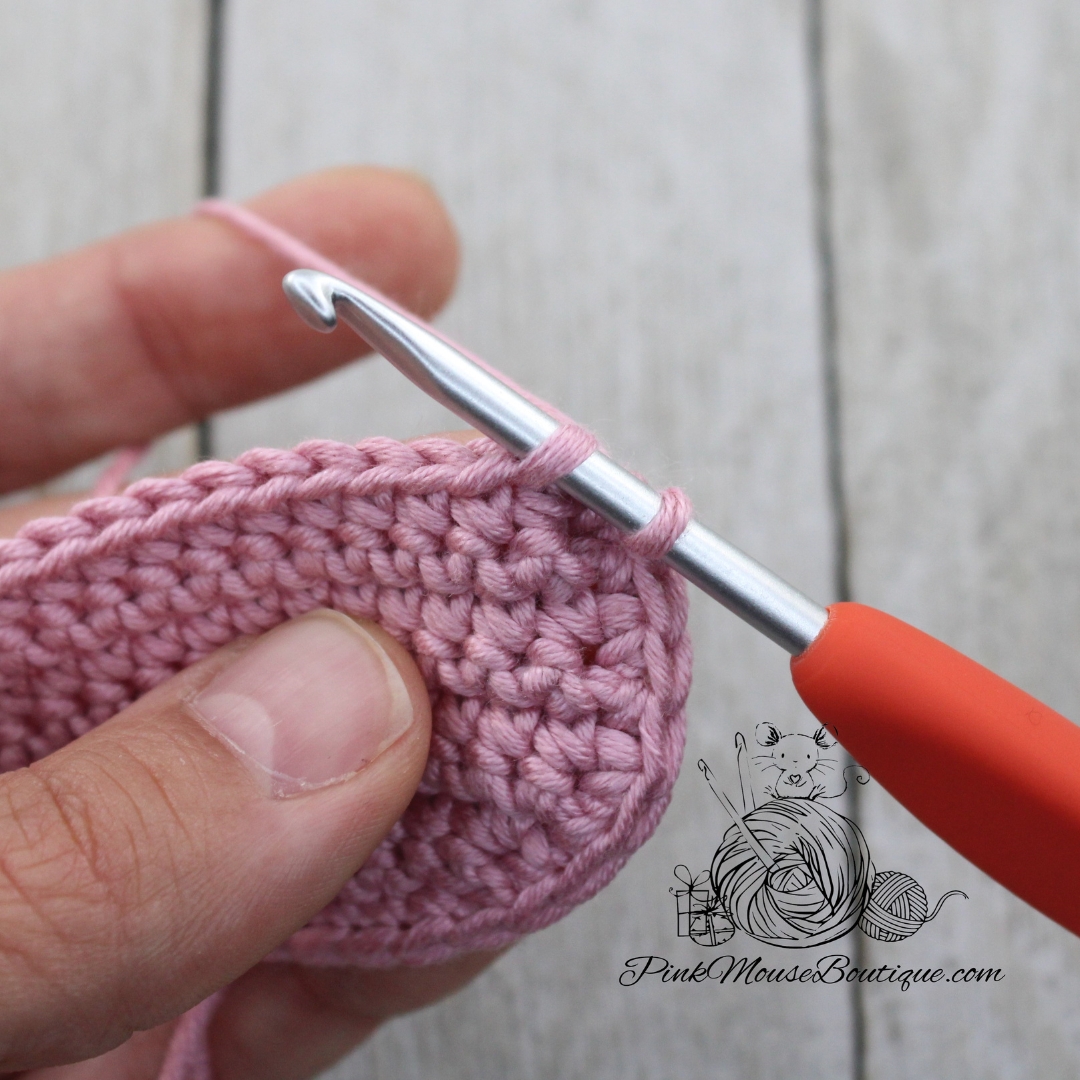
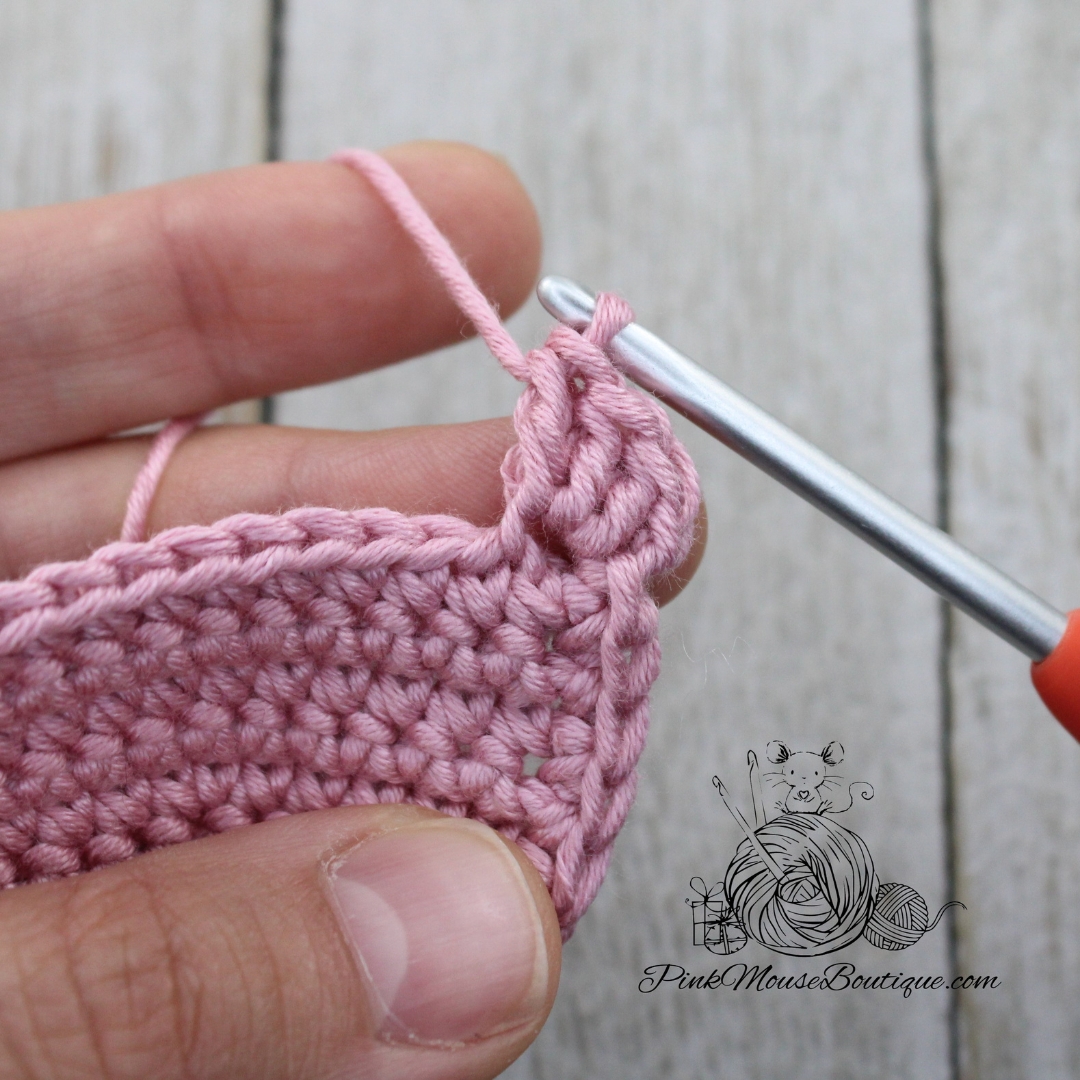
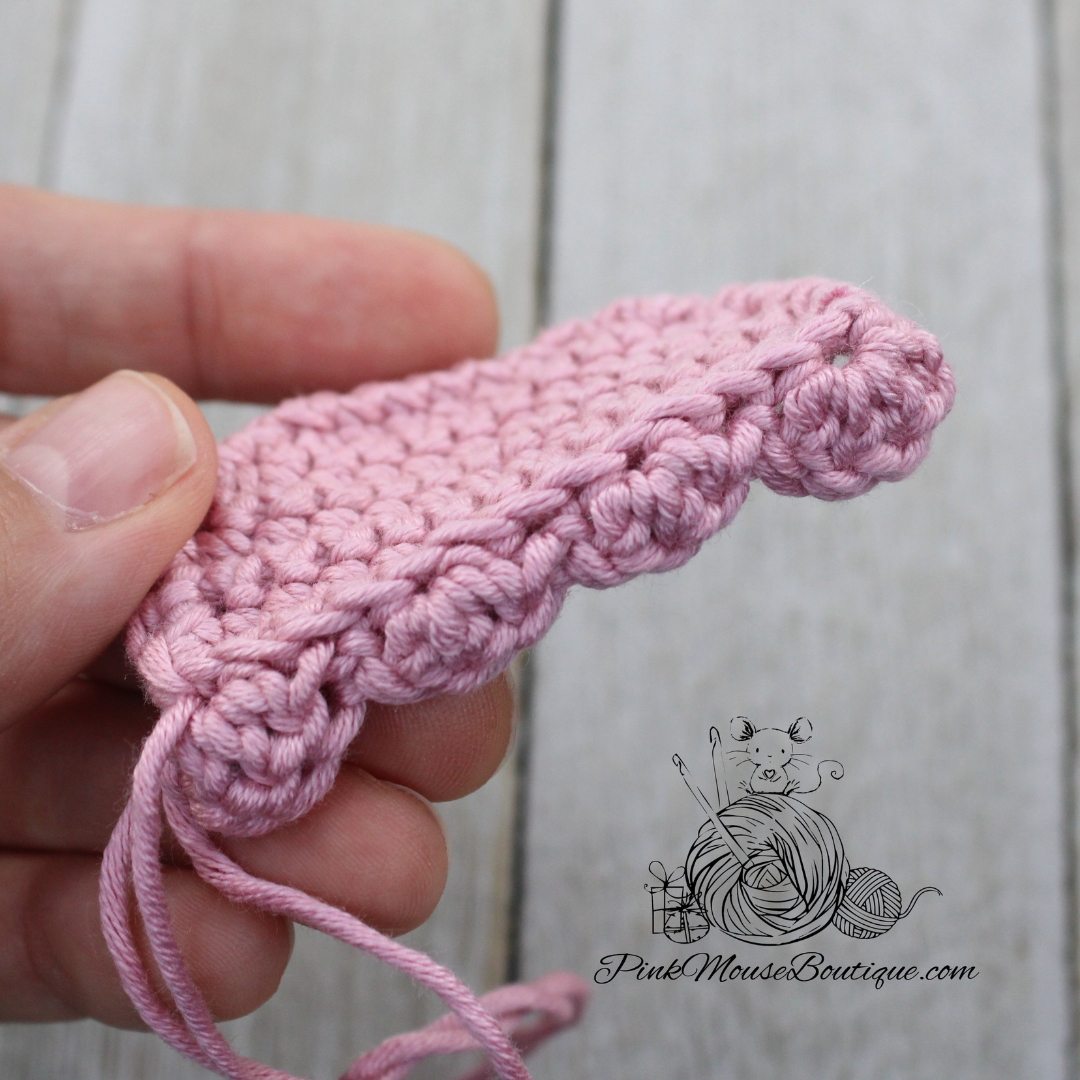
Sc crochet going around the sides and top of the body. When you reach the Row 8, sl st into the FLO of the 1st st of that row. Ch 2
We will work in the front loops of Row 8.
3 dc in 1st st, sk 1 and sl st in next
Repeat 2 more times.
To make the last shell (the 4th one), sk 1 after the sl st and 3 dc in the last st; ch 2 and sl st in the same st as last dc.
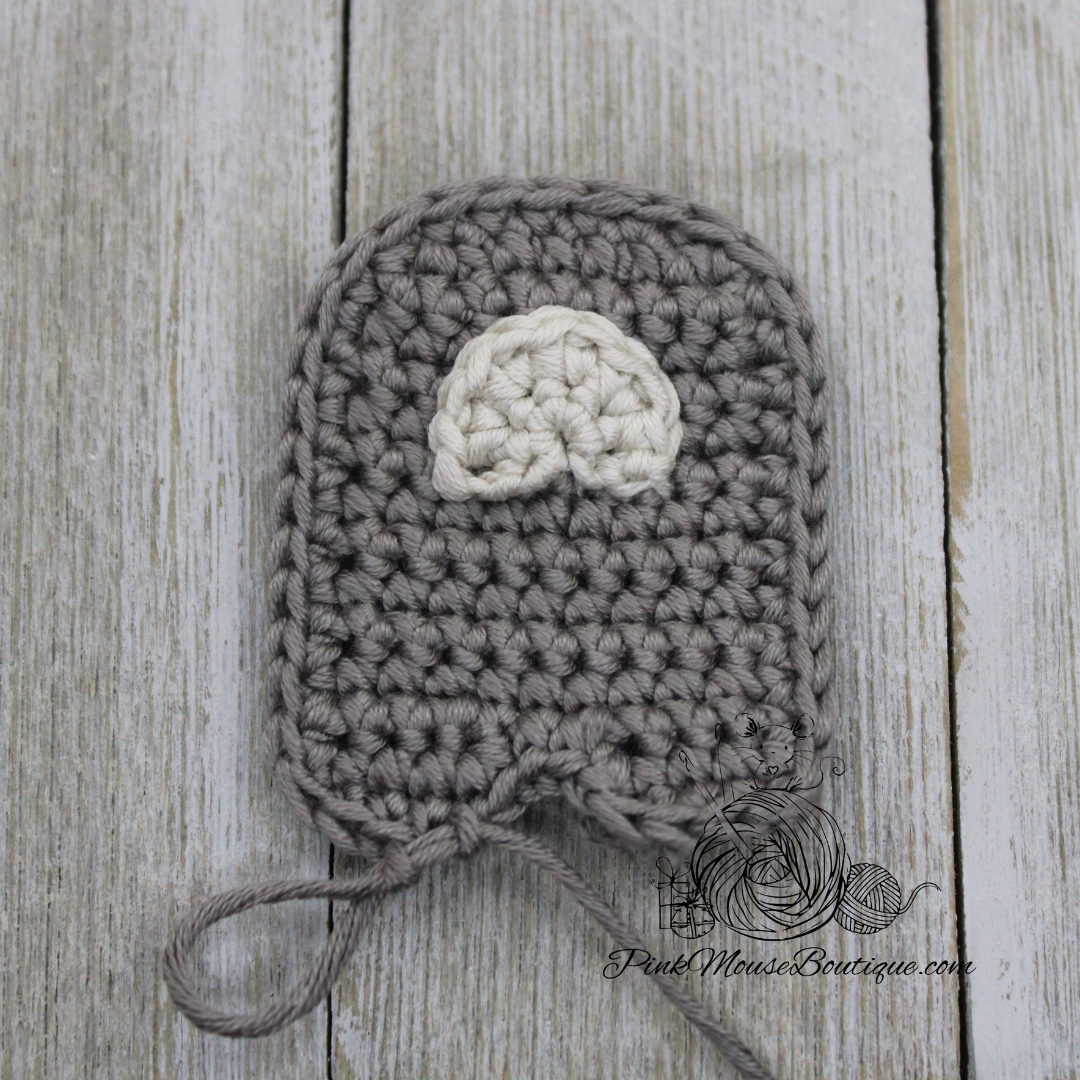
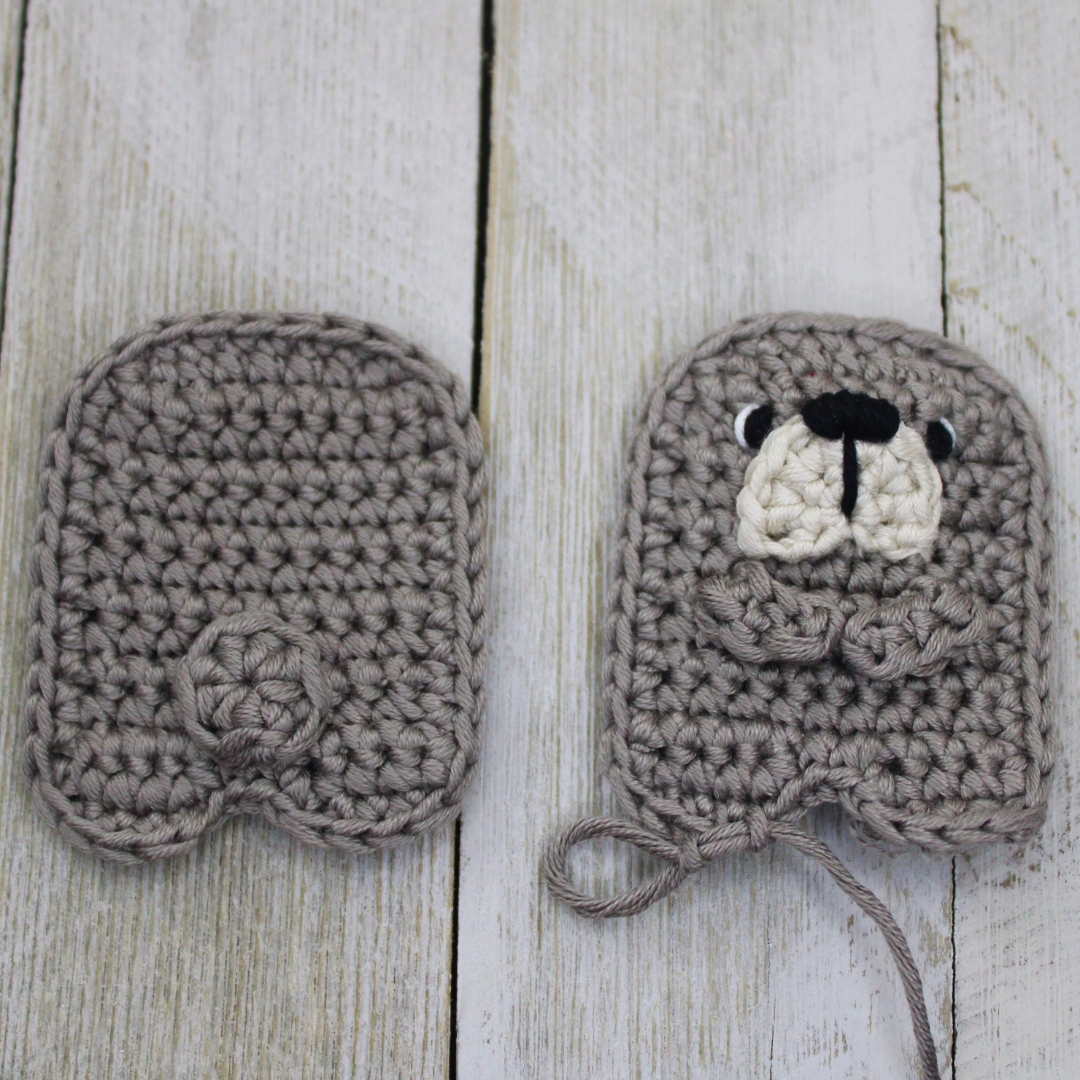
Fasten off and weave in the ends of the first piece (back of body). DO NOT fasten off the 2nd piece (front of the body).

ASSEMBLY
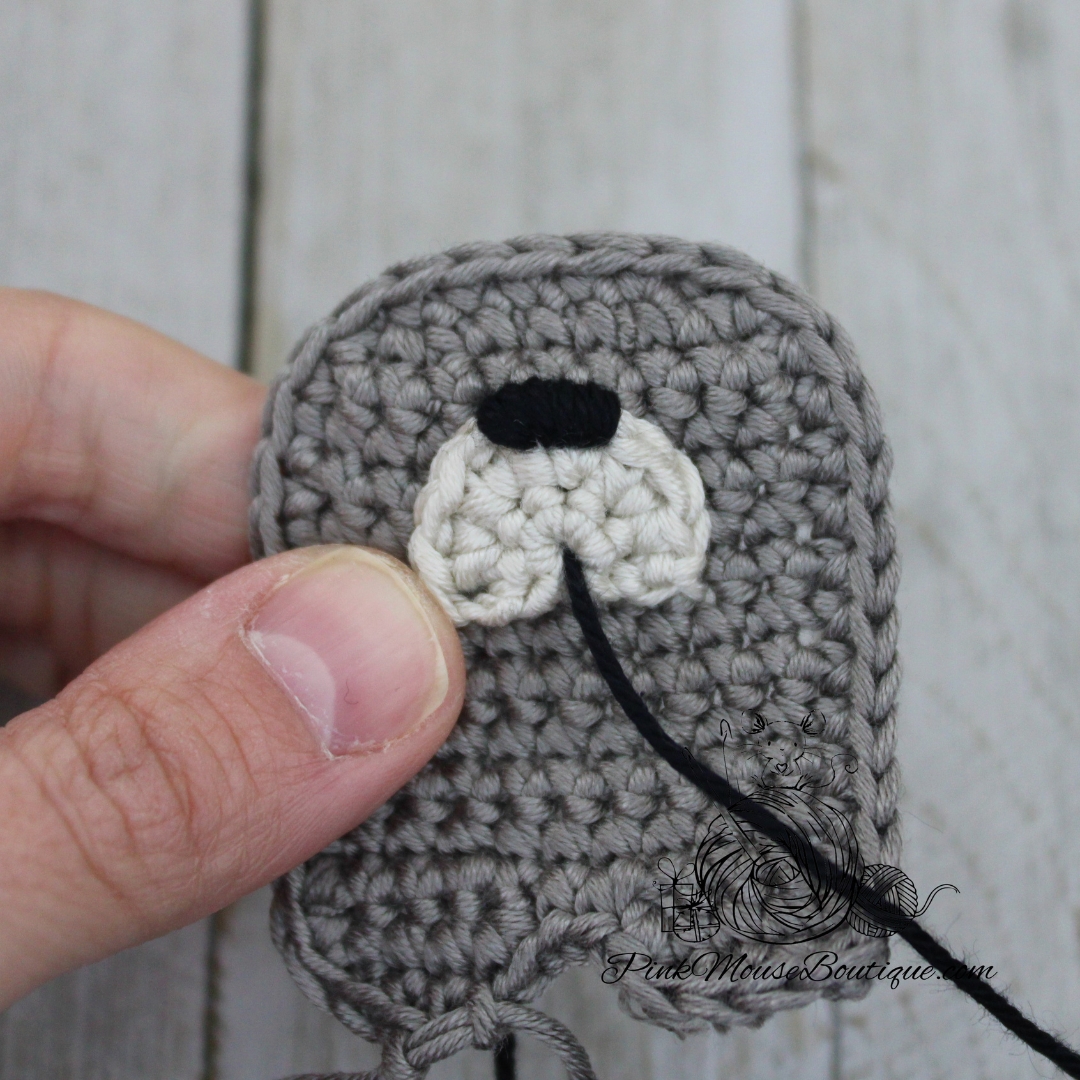
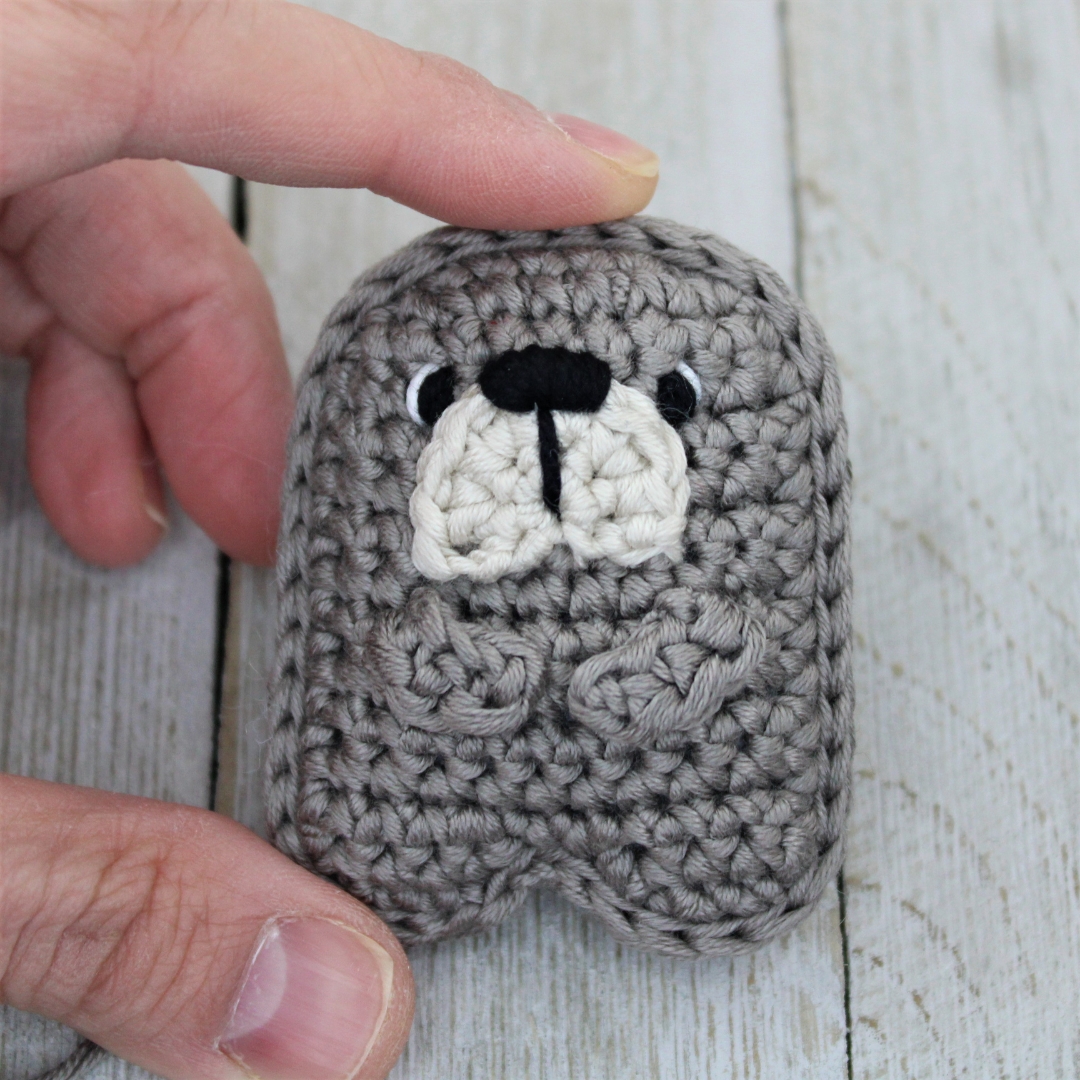
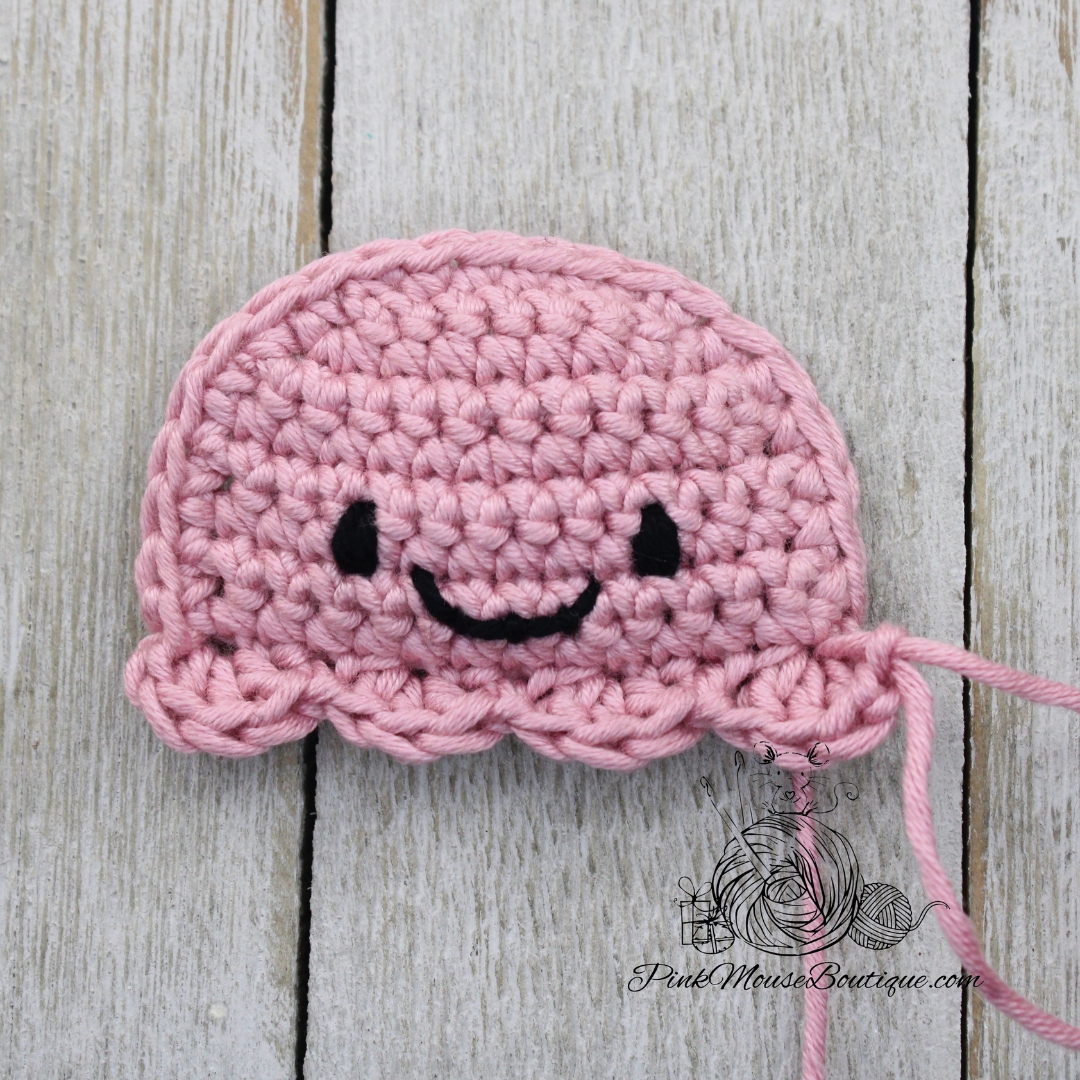
- The face is sewn to the front piece (the one that has not been fastened off yet).
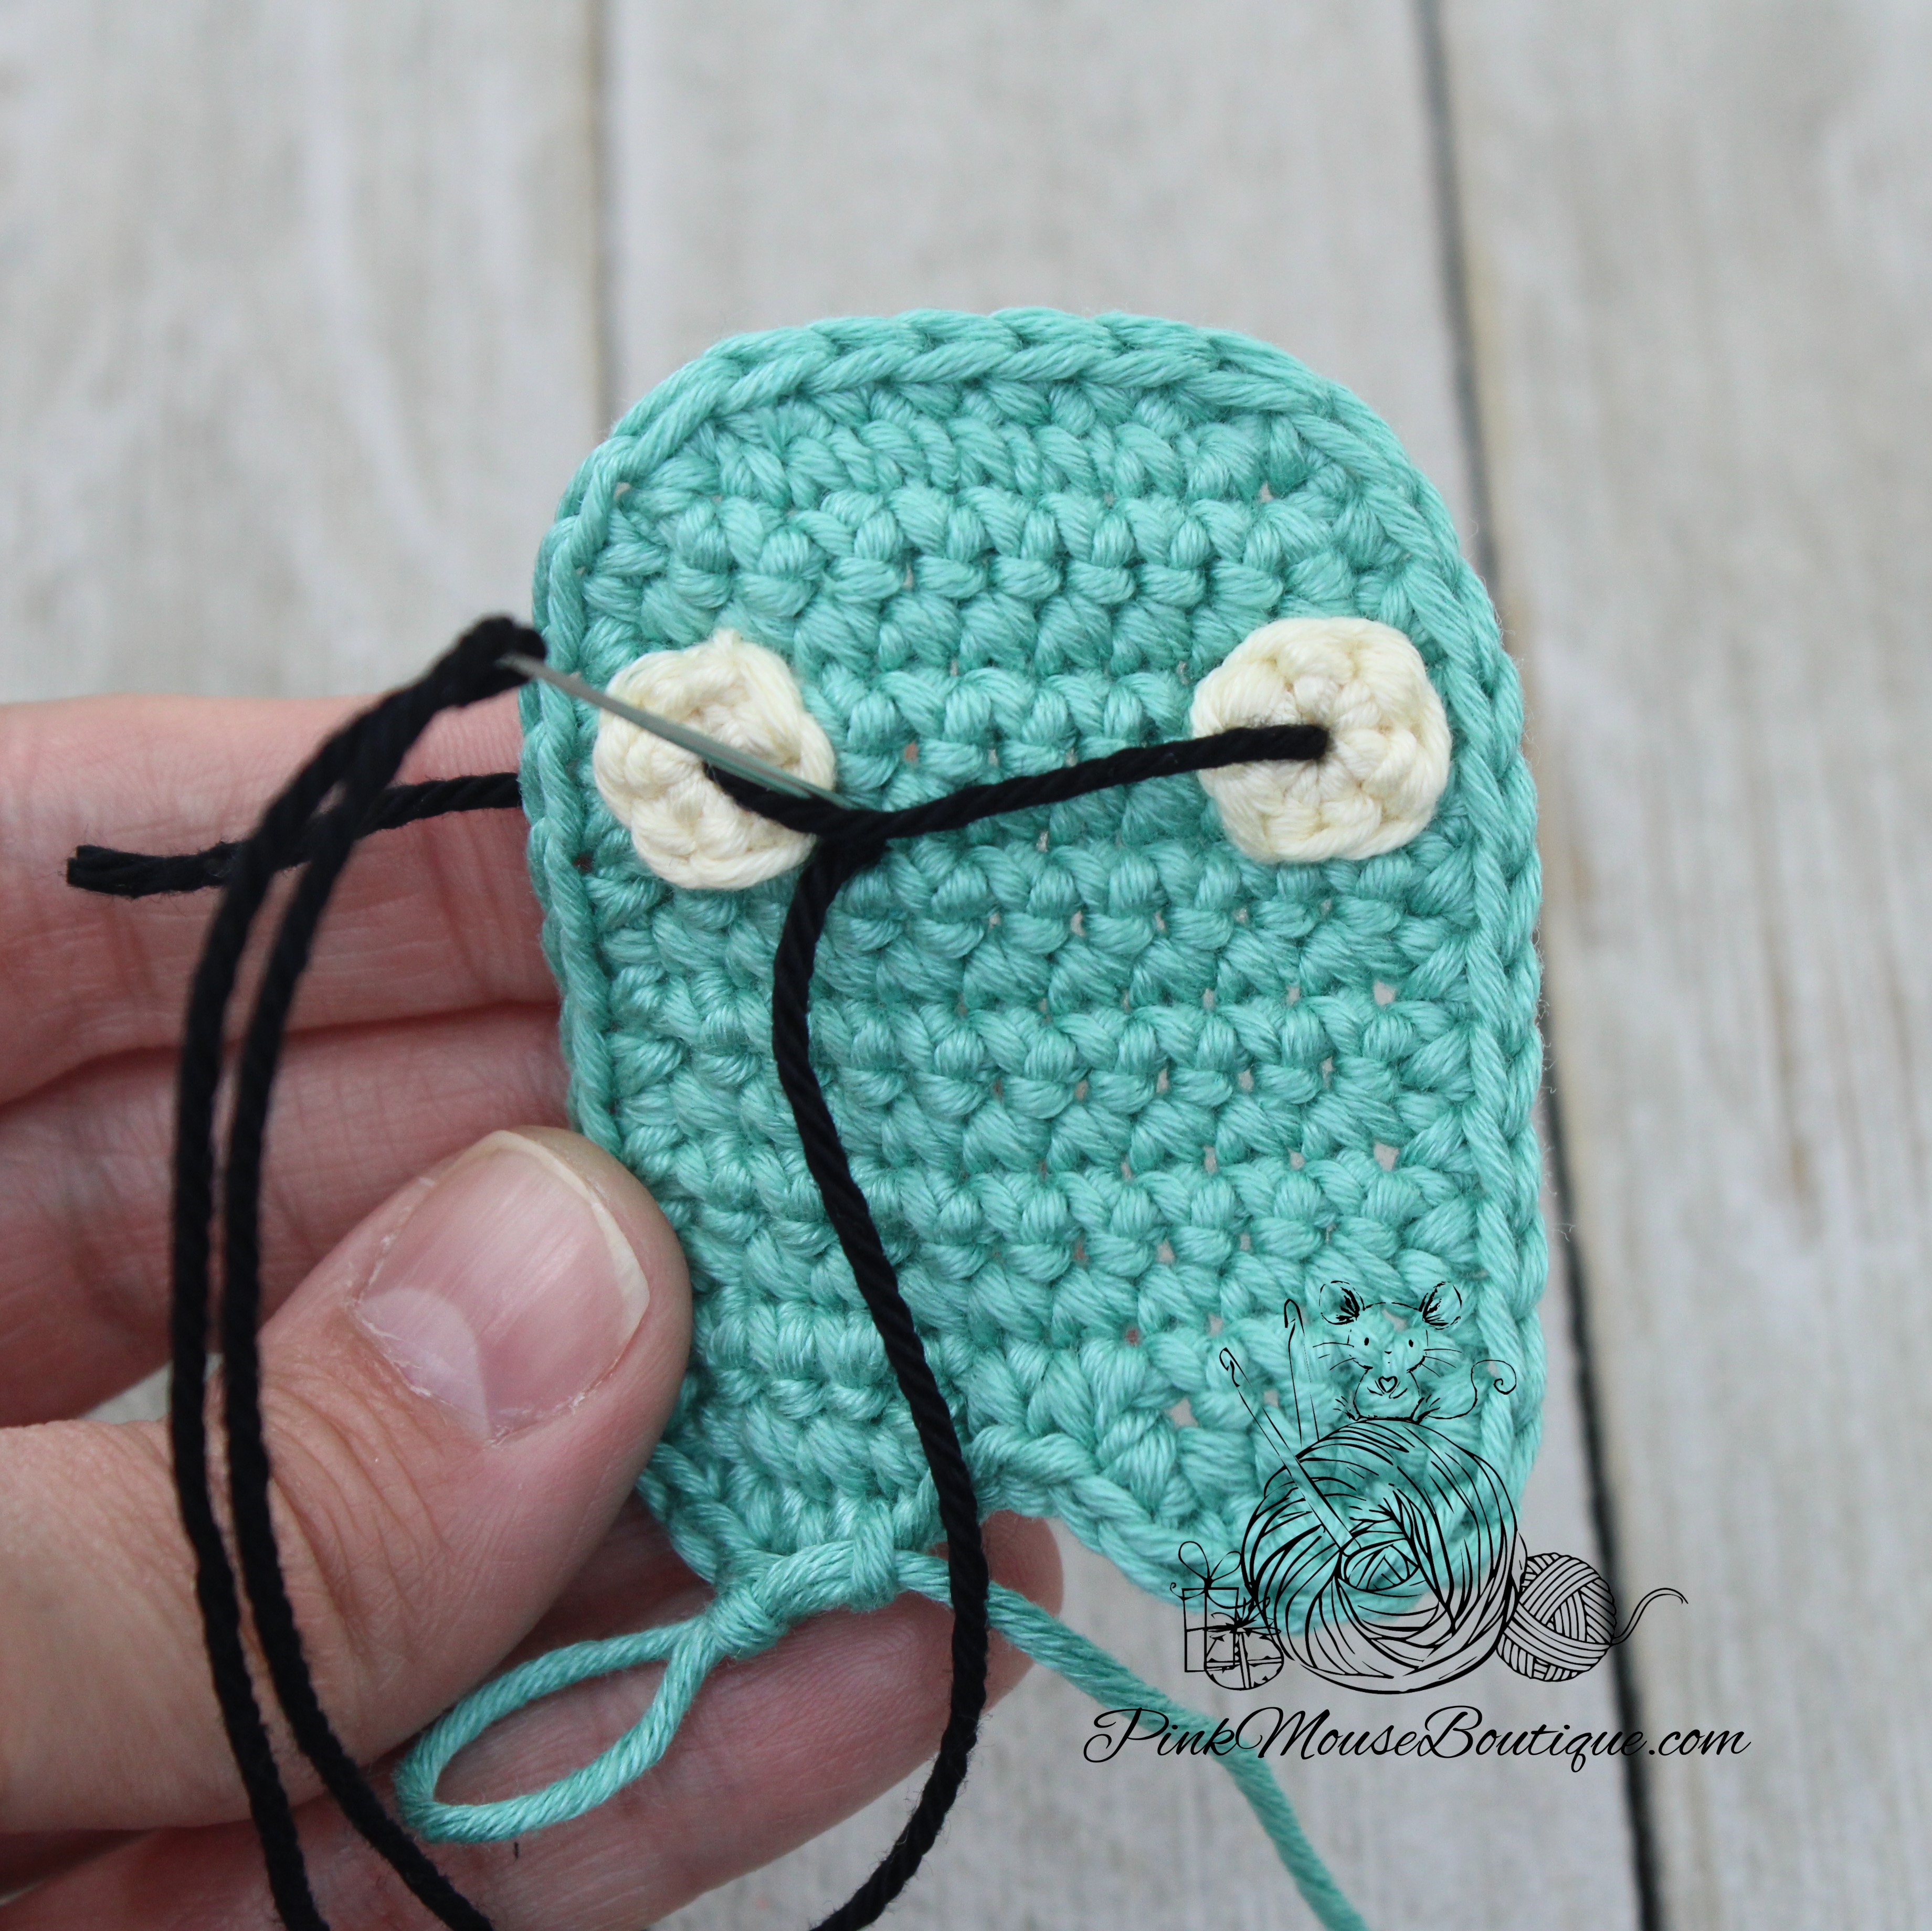
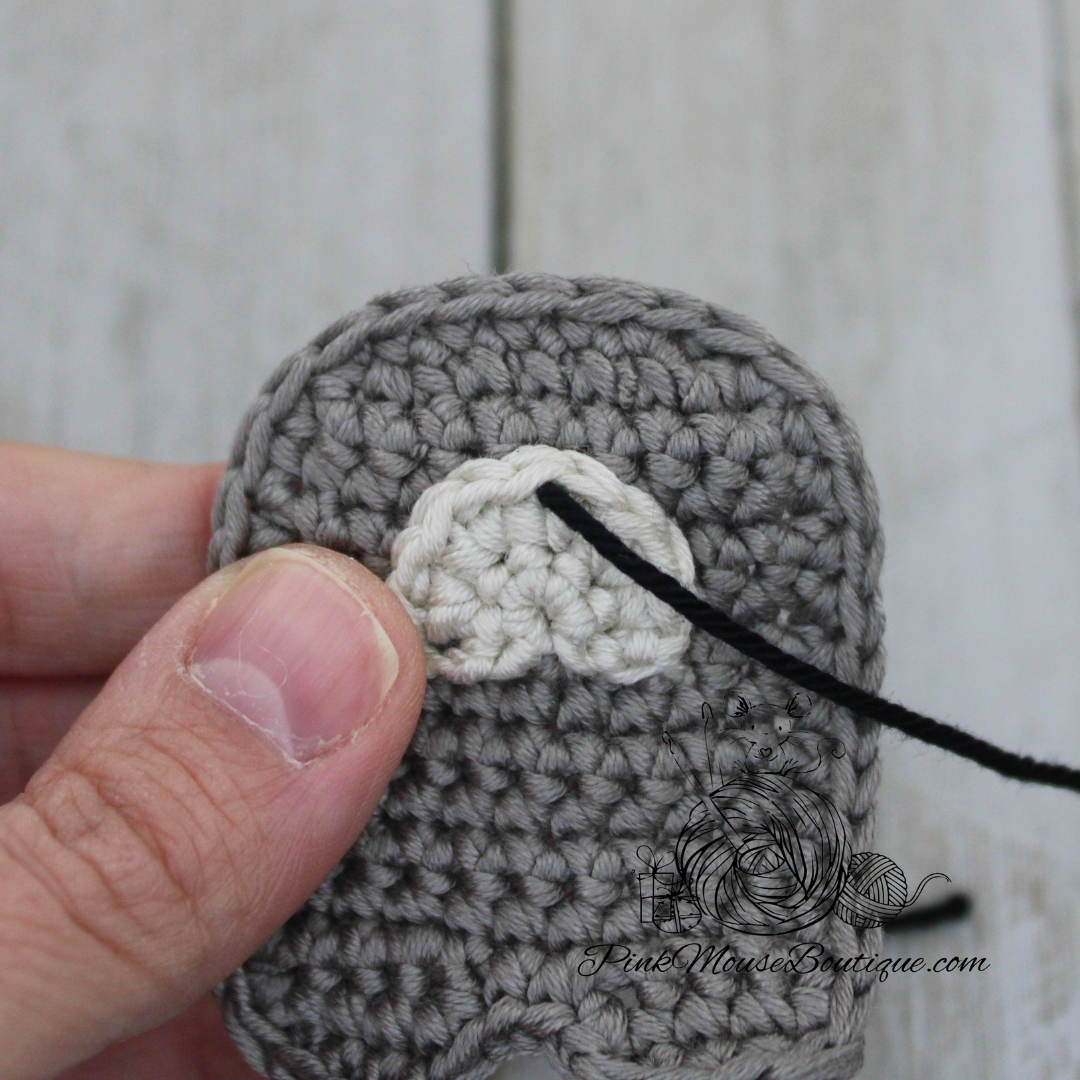
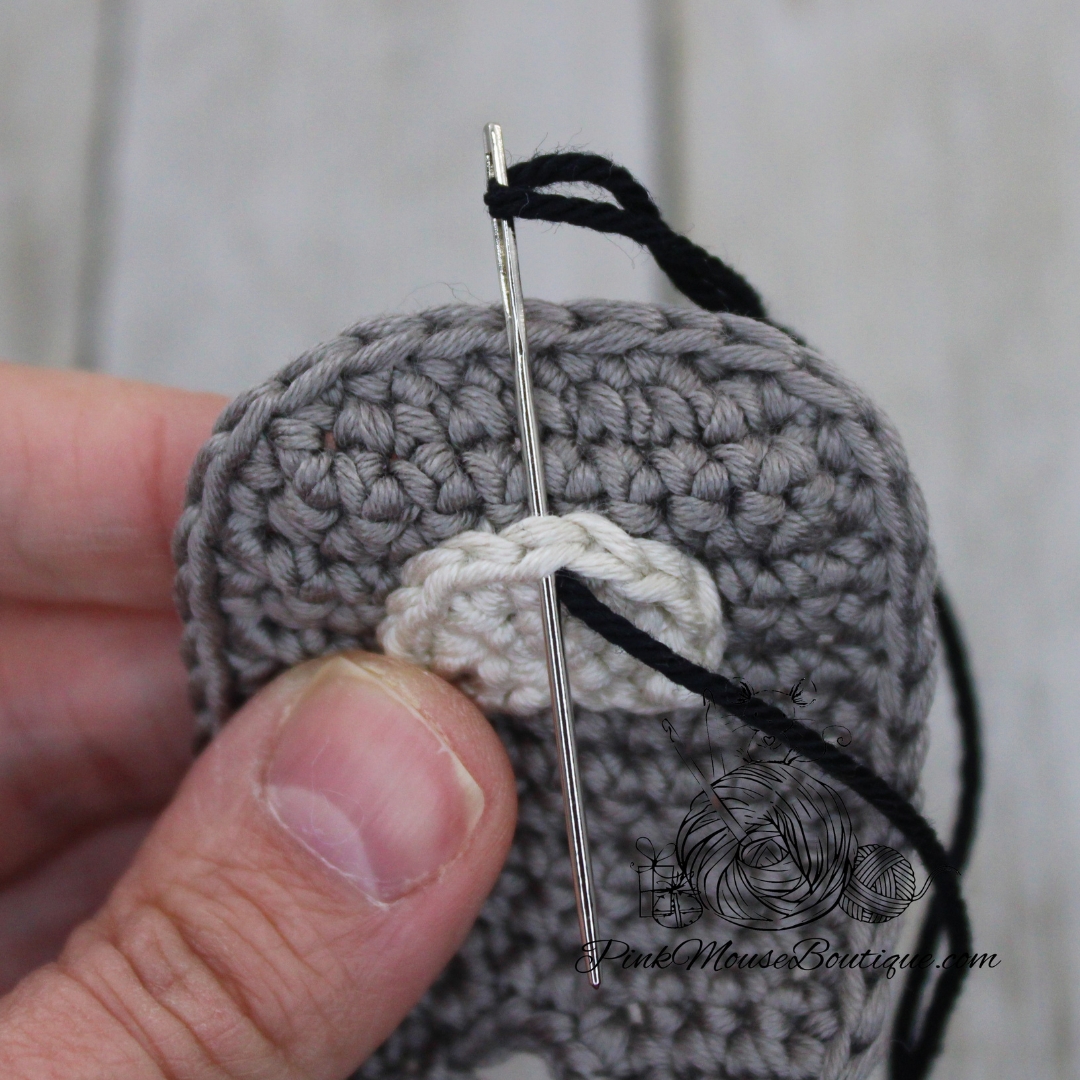
2. Using black yarn, sew the eyes on Row 6, 6 stitches apart.
3. Sew a line in the same space as the bottom of the eyes. The line is sewn between the eyes, a stitch apart from each eye.
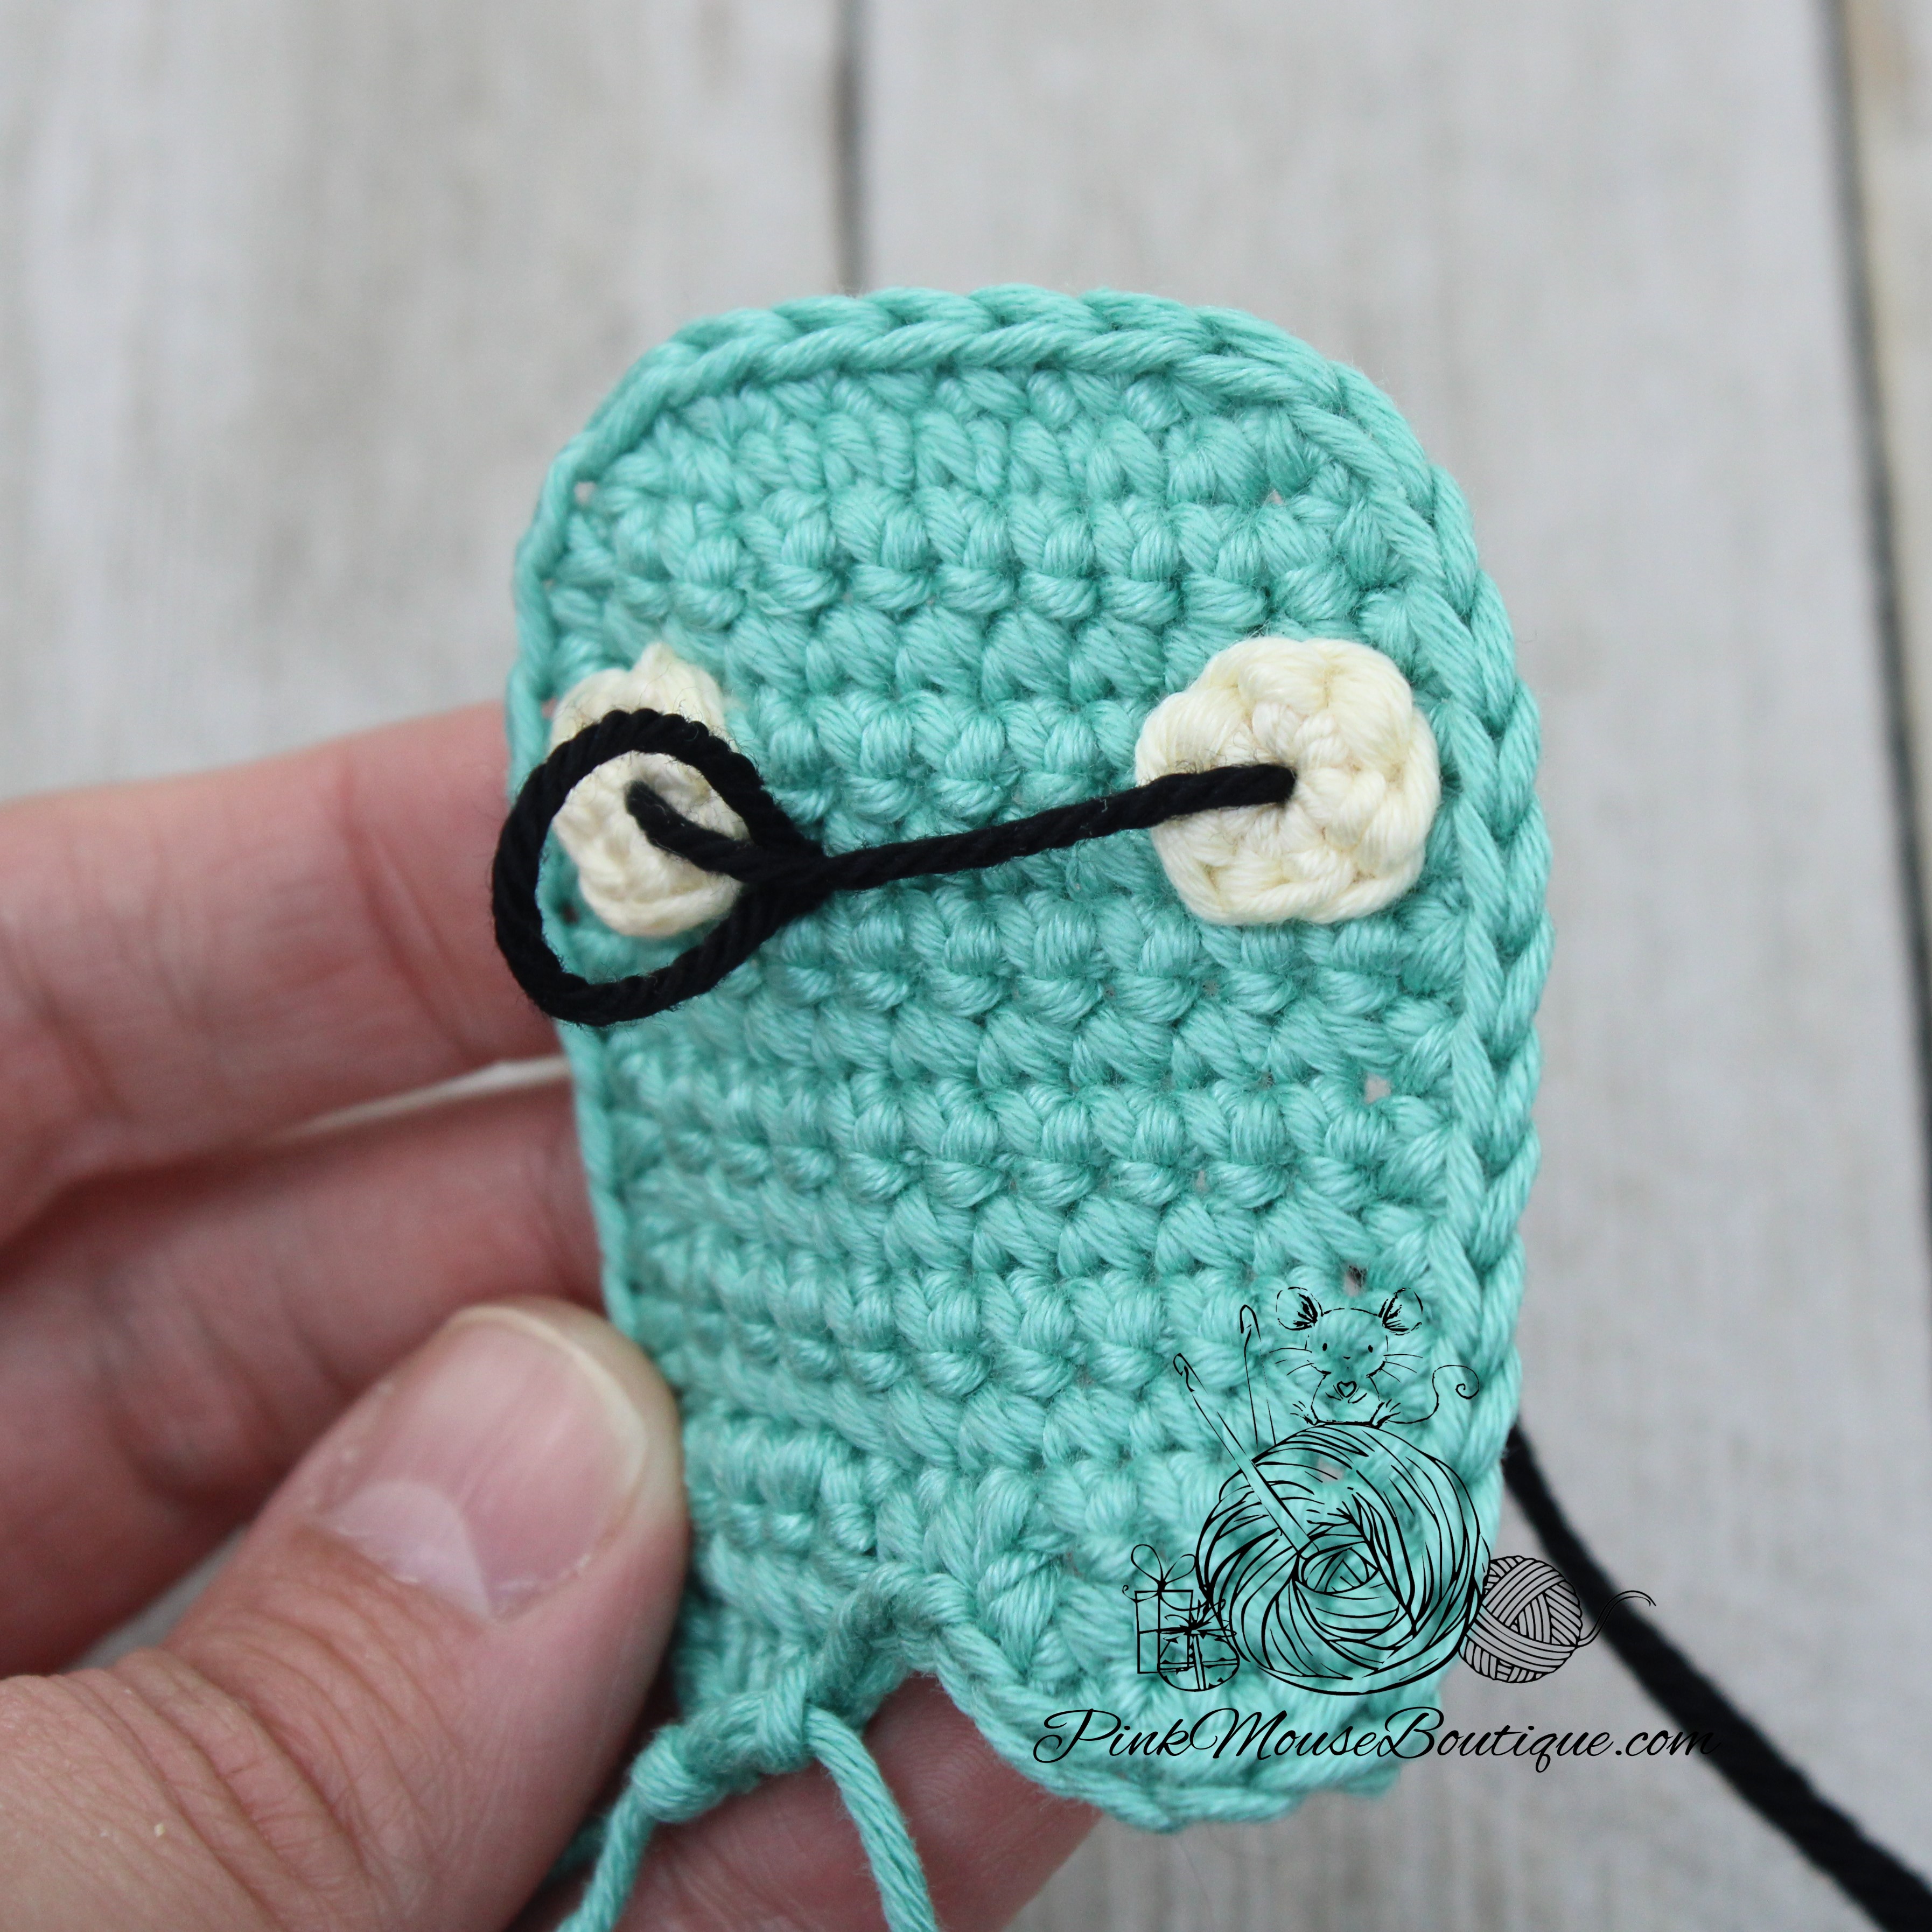
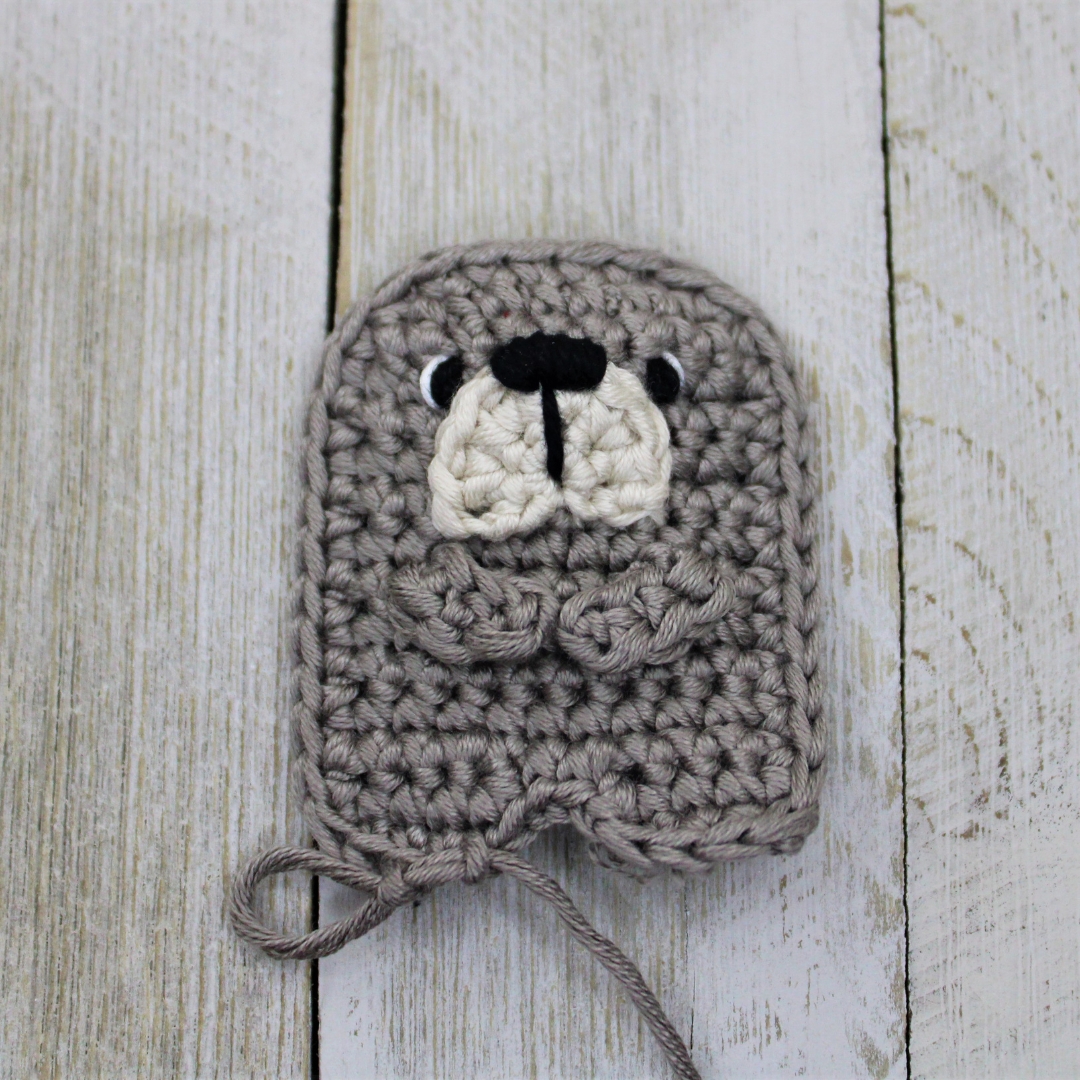
4. Starting a row below the line we sewed, insert the needle in the closest space to the left and then go over the line and insert the needle in the same space again. Repeat until you get to the space next to the right cheek. This will make the mouth smiley.


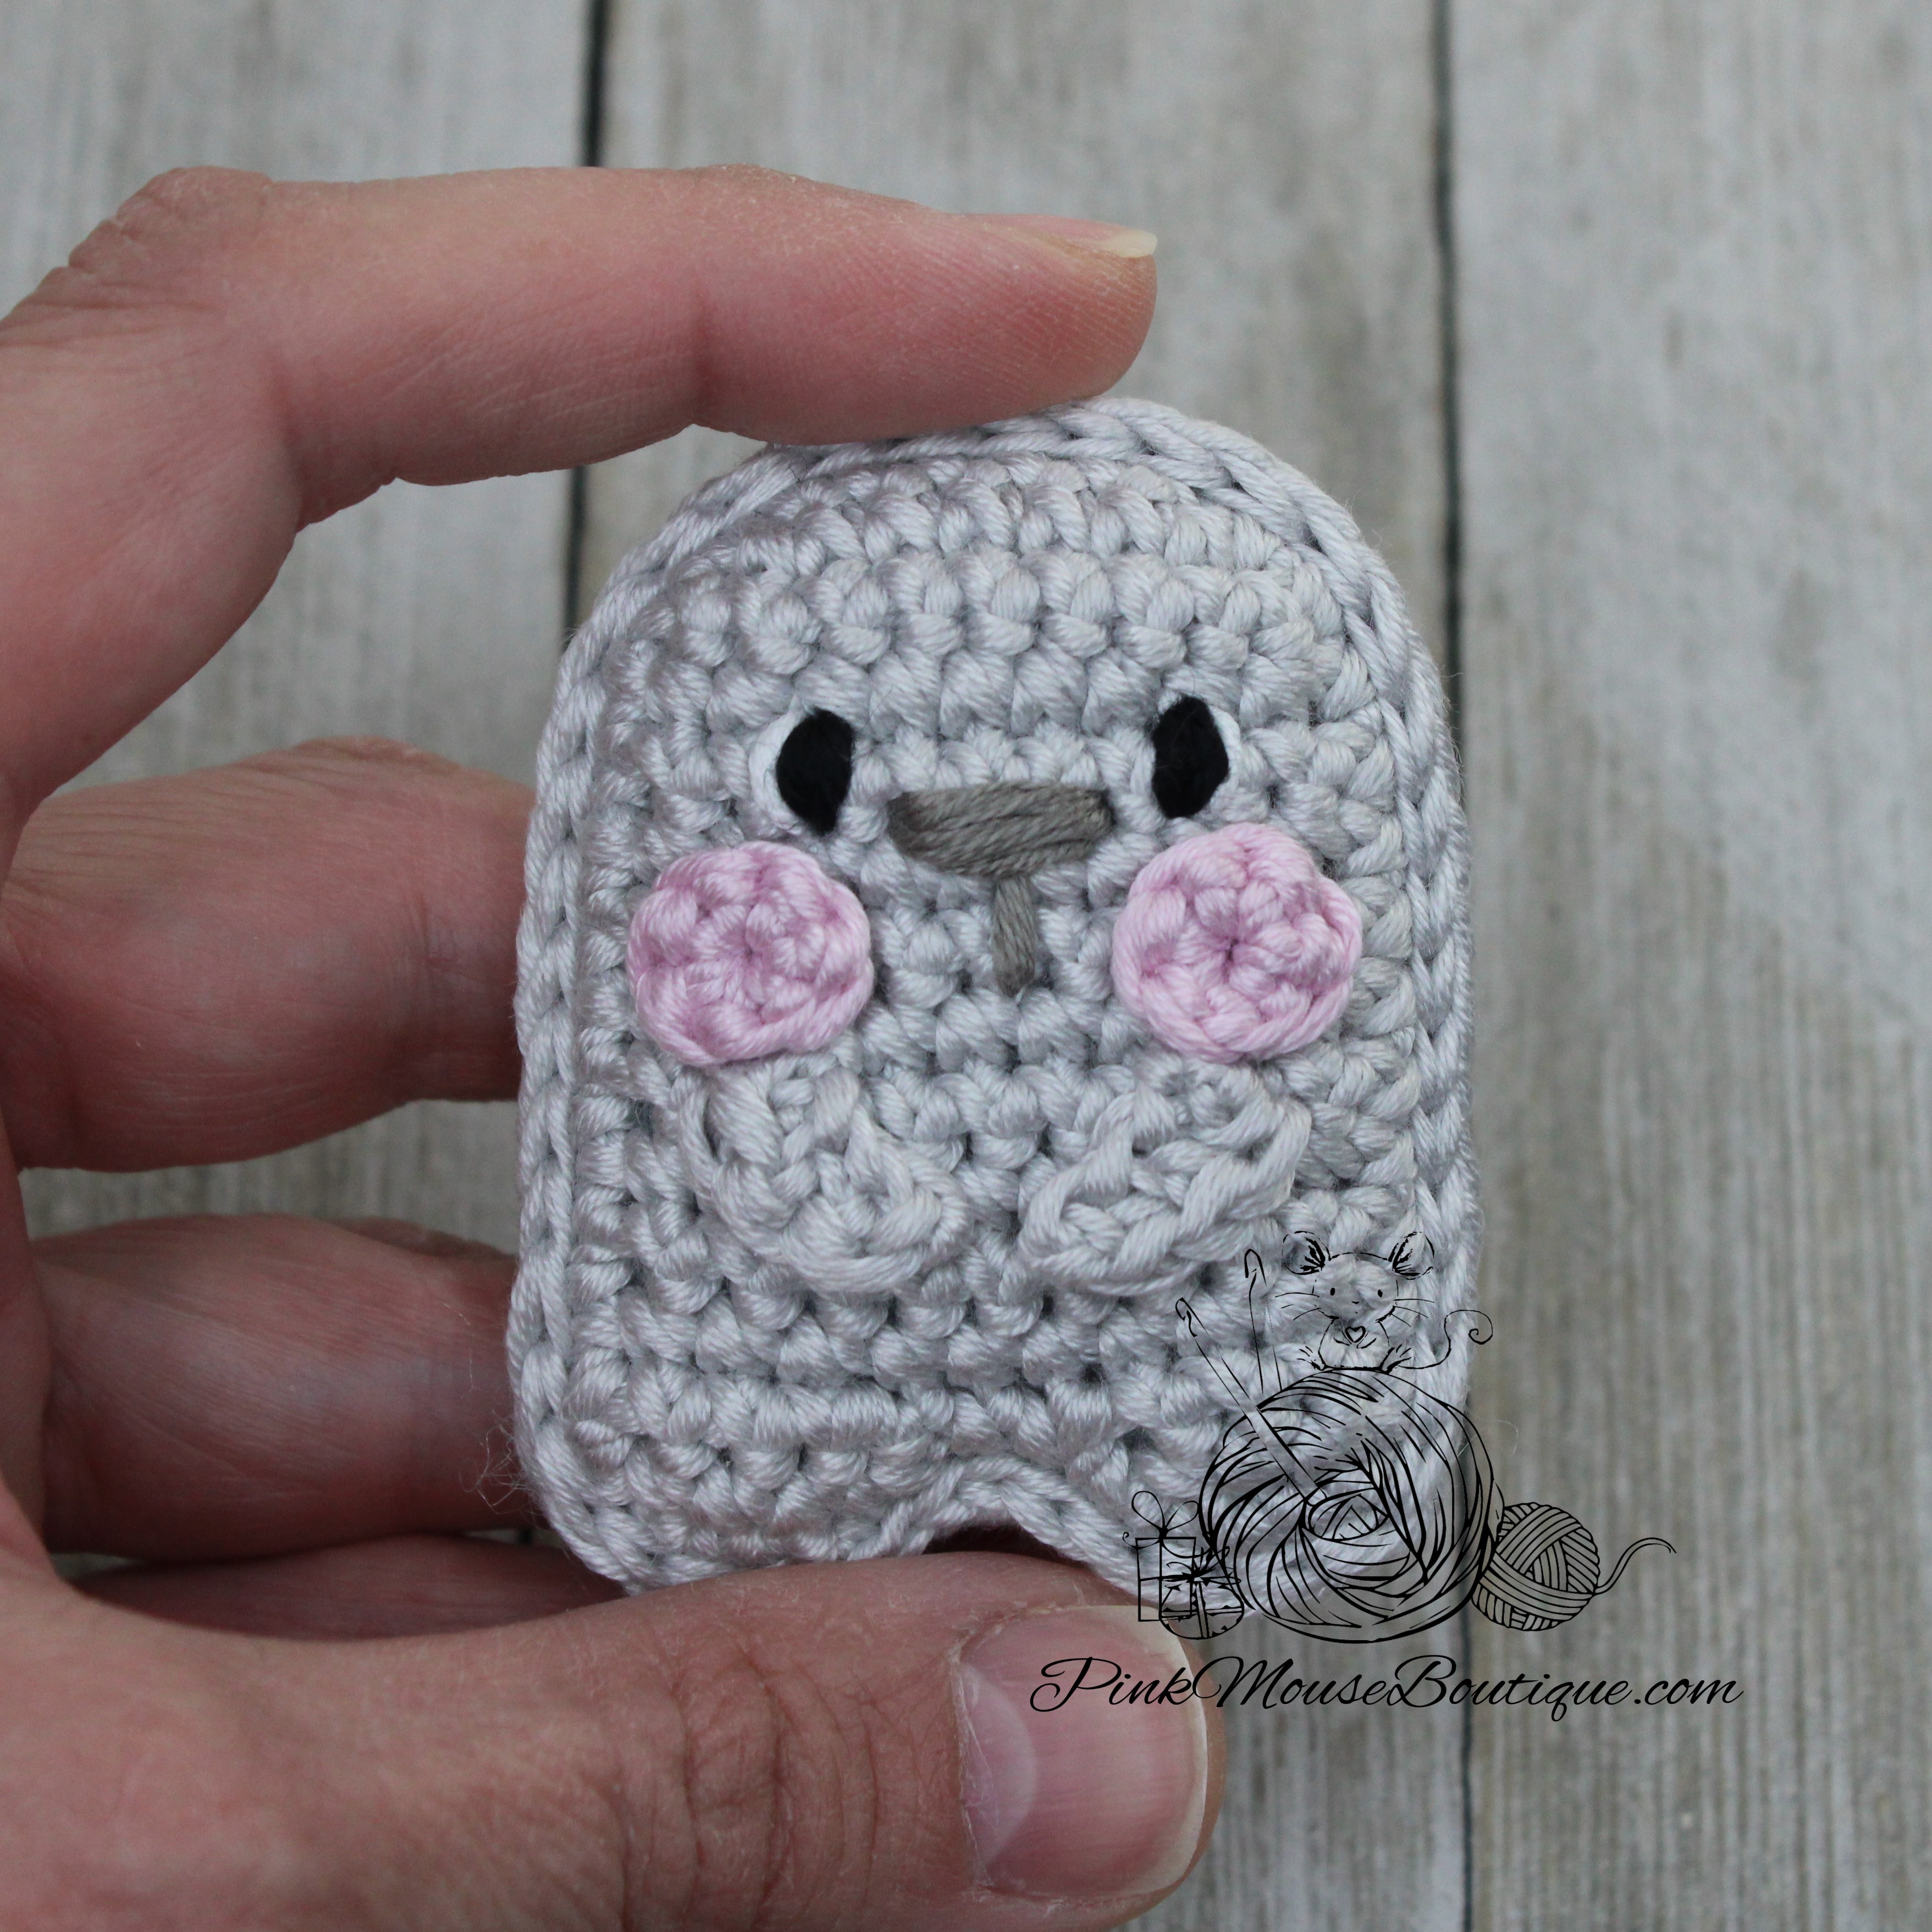
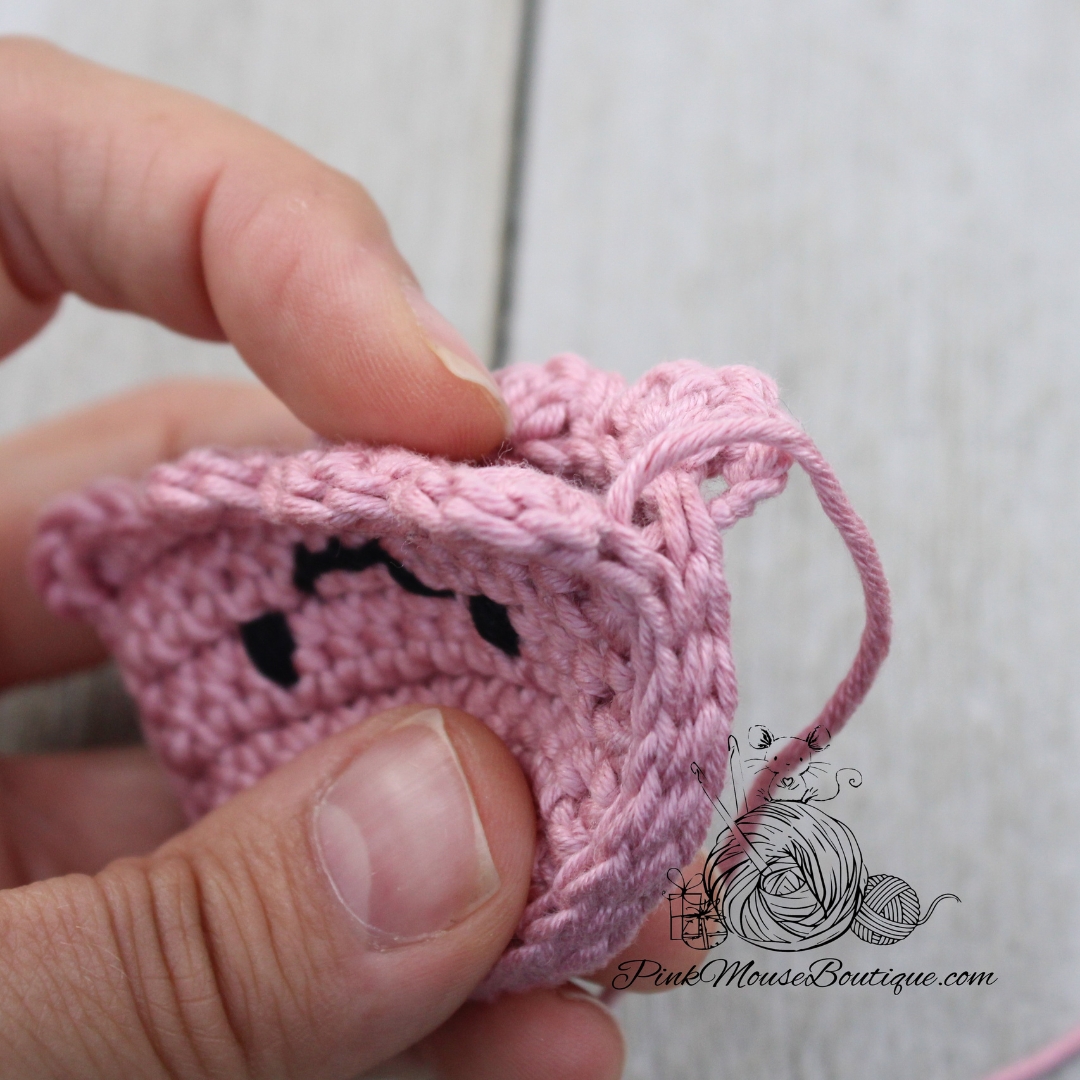
5. Hold the front and back pieces together with the right side facing out and the wrong side facing in. The face of the jellyfish should be turned toward you.
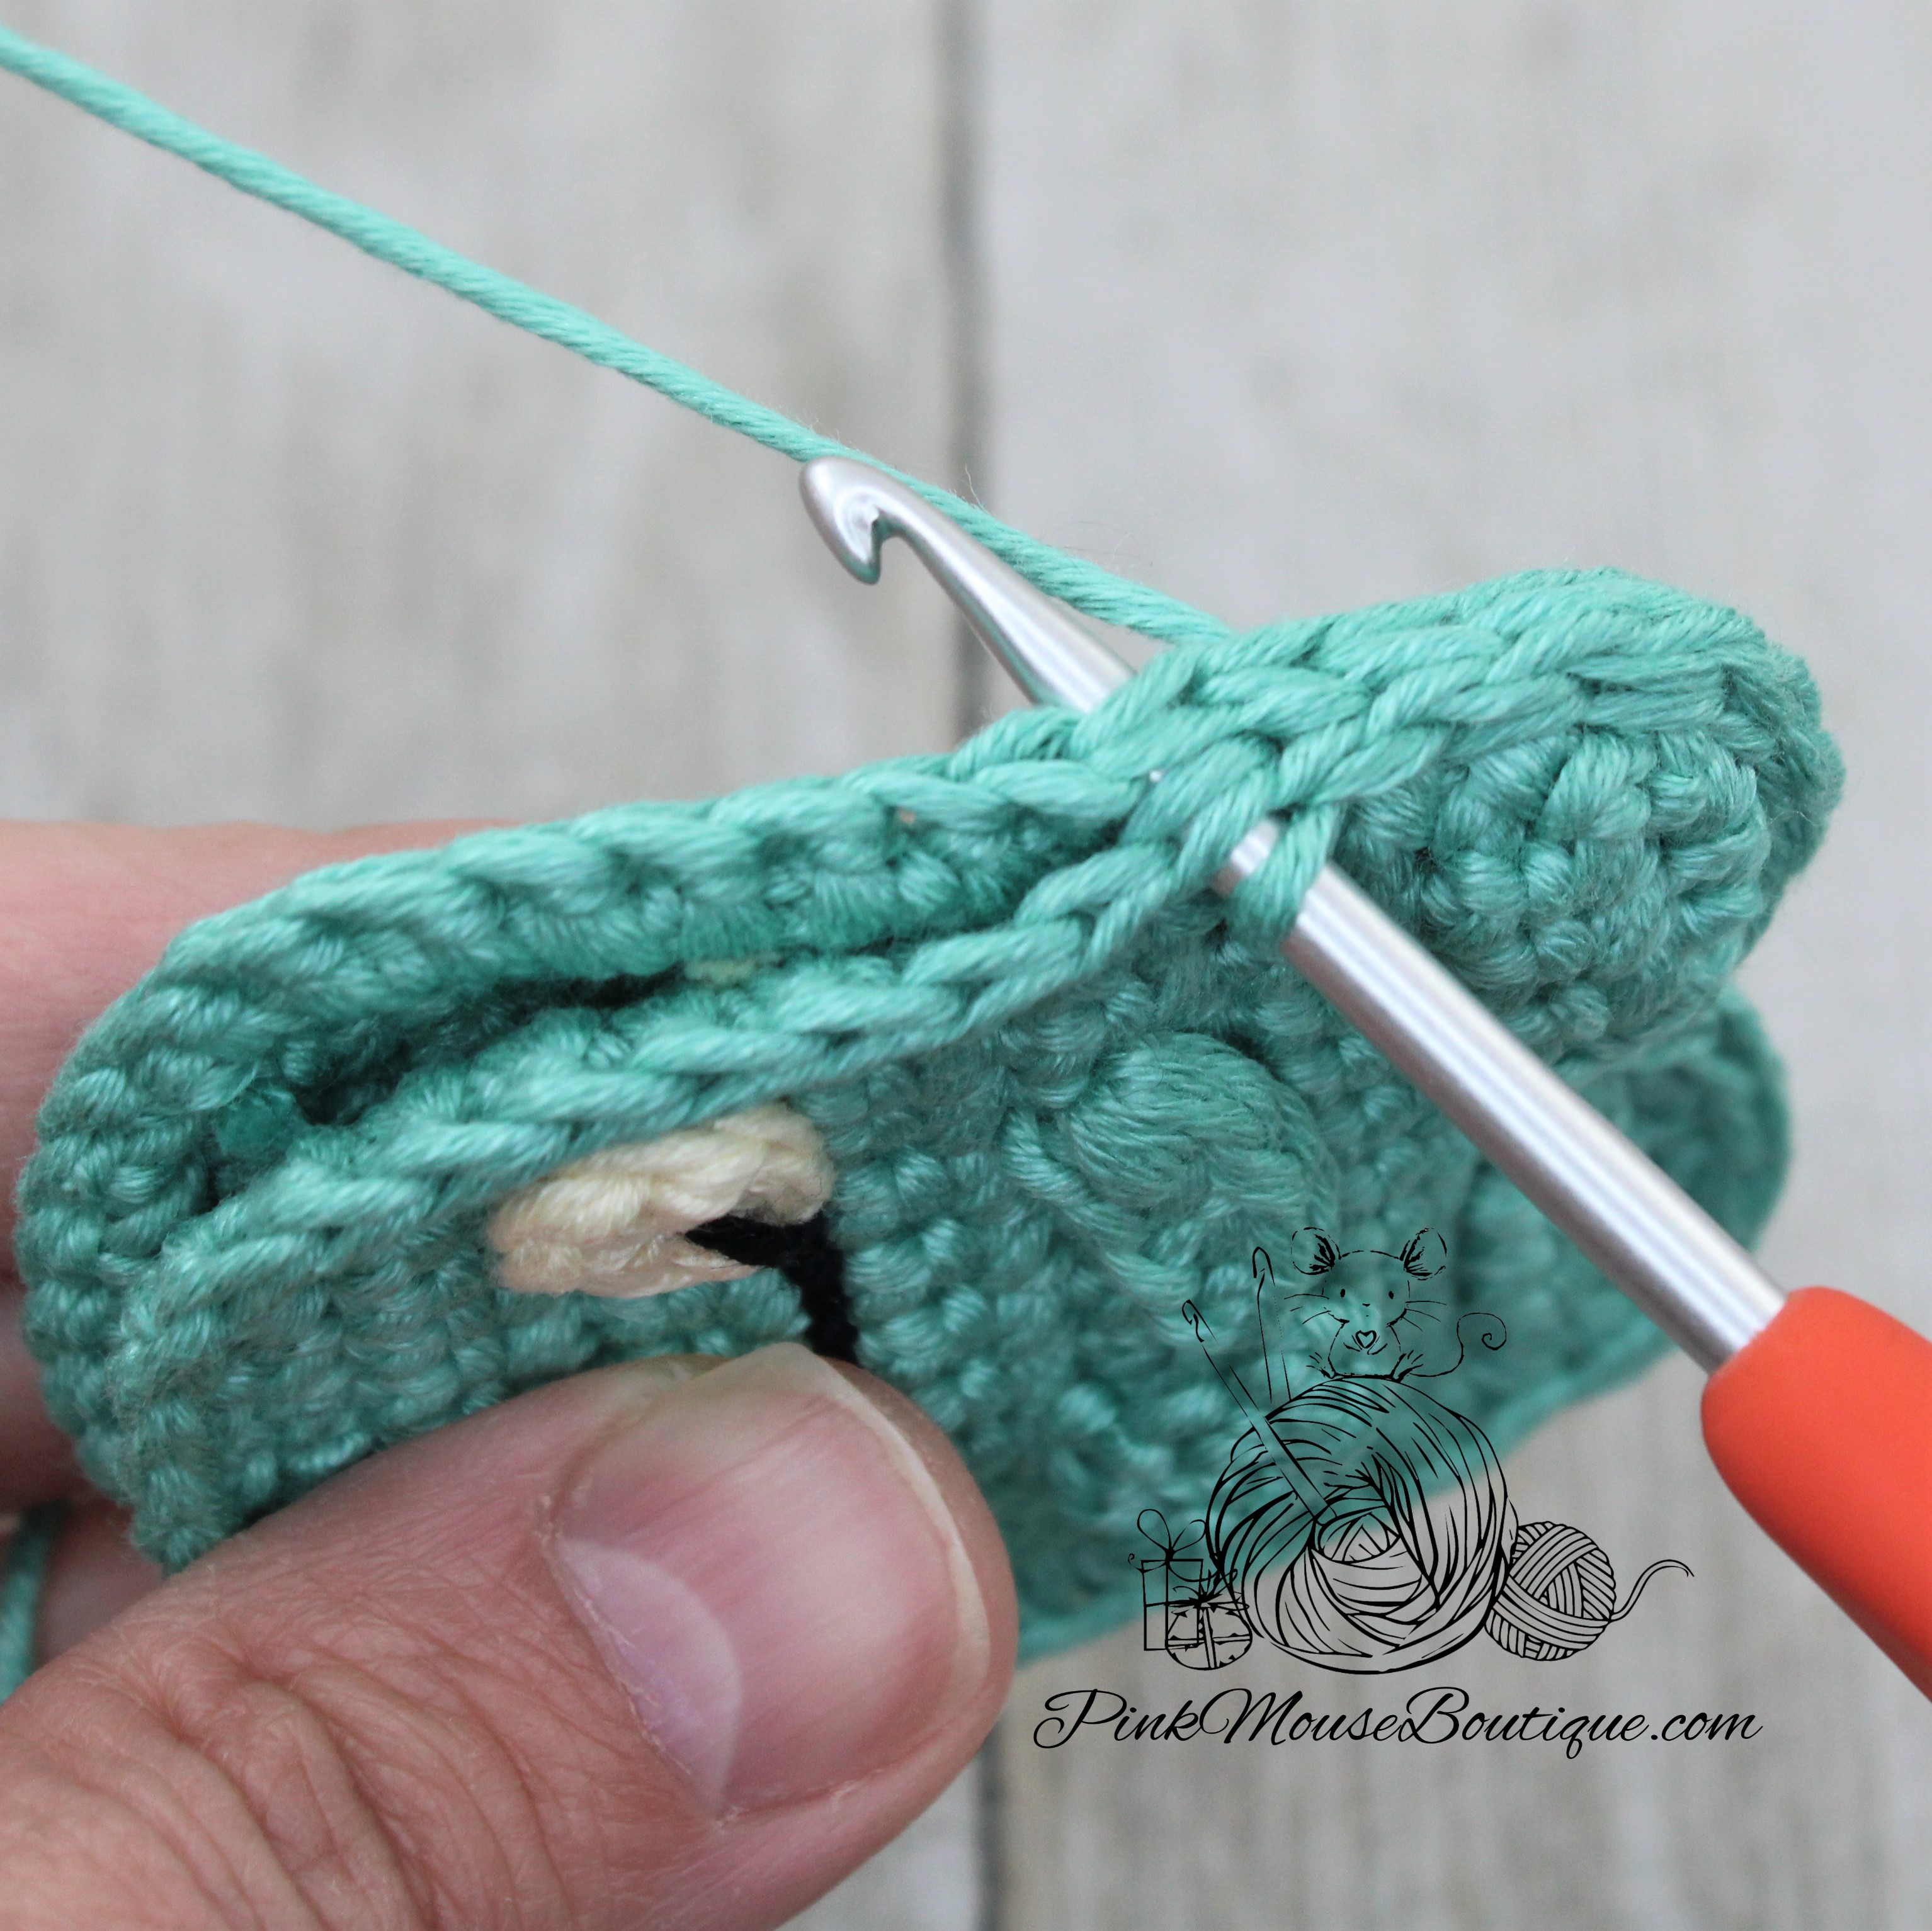
6. Slip stitch through both pieces going up the right side first, then the top, and ending with the left side. Stop when you reach the shells. Fasten off leaving a tail for sewing.
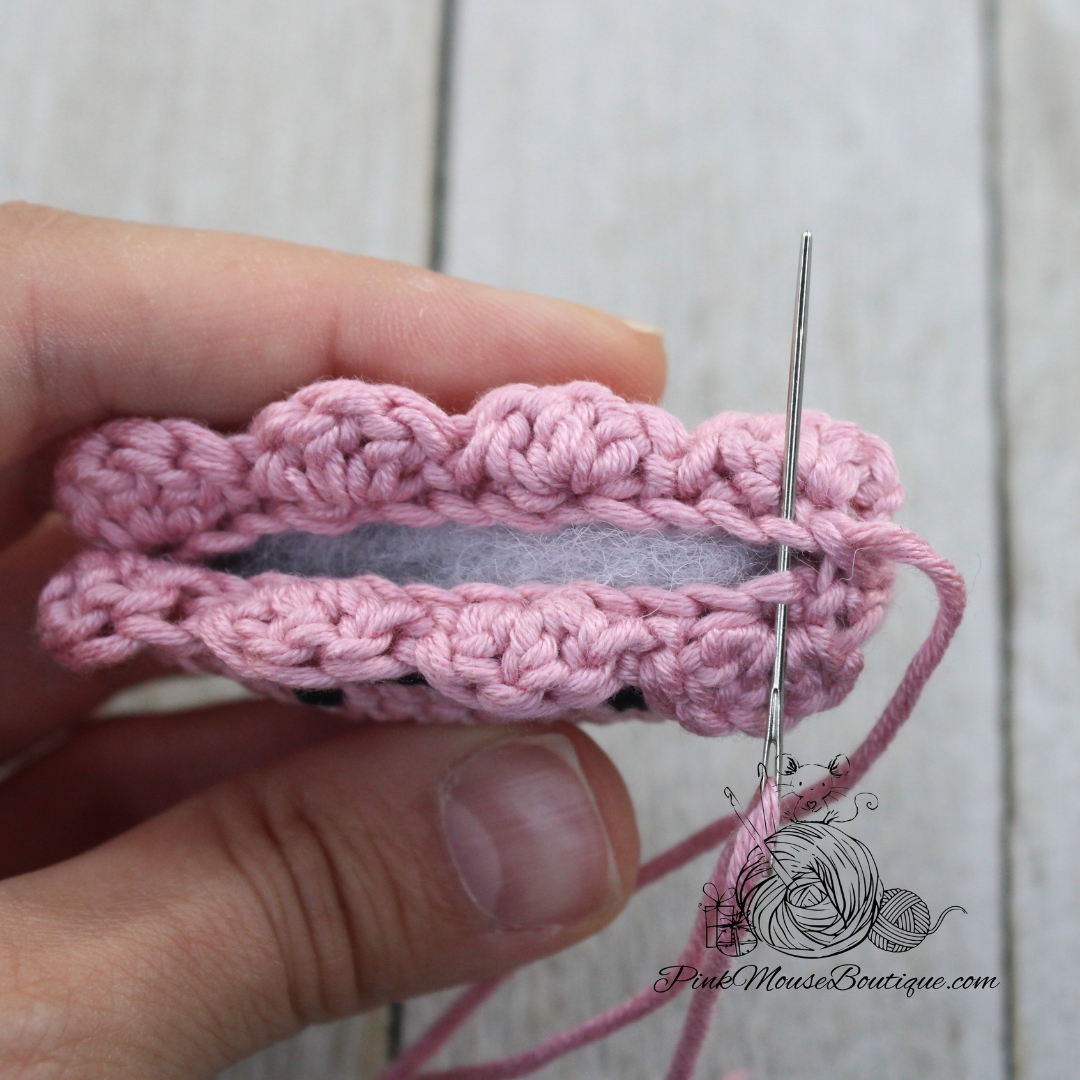
7. Stuff the jellyfish lightly.
8. Insert the end tail, so that it is in between the front and back pieces.
9. Close the body using the back loops. Fasten off and weave in the tail at the back.
10. Open the shells. We will sew the tentacles in between the front and back shells. Begin at one of the ends (left or right). Sew the first tentacle between the 1st and 2nd or the 3rd and 4th shell. Then sew the second tentacle at the opposite end. After you sew in those two tentacles, sew the sides of the shells. I used a tail from the tentacles.
11. Sew the rest of the tentacles between the two end tentacles.
12. To secure all the tails, insert through the same stitch, tie a knot, and stuff inside the body.