


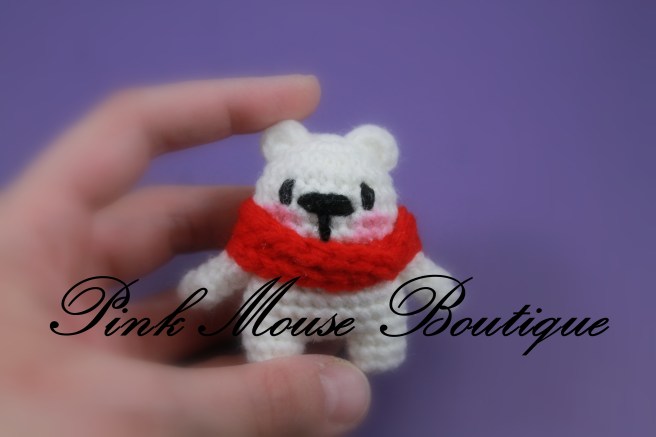
It’s almost Christmas and I wanted to create a tiny design that anyone can make. This little polar bear is super special. He is tiny and adorable and comes with his very own… Hmm… I think I will keep that a secret until next week.
NOTE: This pattern is designed by Diana Moore from PINK MOUSE BOUTIQUE. This pattern is available for free only on my blog pinkmouseboutique.com. If you see the pattern and pictures posted on another website, please let me know. Thank you!
MATERIALS:
- Worsted weight yarn:
- white – for the bear
- red – scarf
- black – eyes and nose
- Clover Amour crochet hook, 3.25 mm
- Sewing needle
- Stuffing
- Glue gun
- Snowflake button (optional)
ABBREVIATIONS:
mr – magic ring dec – decrease
ch – chain inc – increase
sc – single crochet
hdc – half double crochet
NOTES:
- Crochet in continuous rounds unless otherwise specified.
- Use the invisible decrease technique when decreasing.
PATTERN:
We will begin by making the head, body, and legs (in one piece).
Start with white yarn.
Round 1: mr, ch 1, 8 sc in the ring – 8 sts
Round 2: 8 inc – 16 sts
Round 3: (sc, inc) x 8 – 24 sts
Rounds 4 – 7: 24 sc
Round 8: (sc, dec) x 8 – 16 sts
Round 9: (sc inc) x 8 – 24 sts
Rounds 10 – 13: 24 sts
Stuff the head and body well.
The legs will be made with 9 sts on each side of the body. The 6 sts (3 in the front and 3 in the back will be sewn later).
Leg 1:
Continue from where you stopped with the body.
Round 1: 8 sc, sk 15 sts, 1 sc – 9 sts
Rounds 2 – 3: 9 sc
Leave a long tail and fasten off.
Leg 2:
Leave 6 sts in the middle for sewing (3 in the back and 3 in the front of the body). Join yarn to one of the 9 sts you left for the 2nd leg. Continue following the instructions for the first leg.
Once you finish both legs, stuff them well, finish them off and secure the stitches.
Face:
Sew the eyes on Round 5, 5 stitches apart.
Sew the nose in the middle 3 stitches between the eyes. Then sew one long line starting from the middle of the nose and going down 2 rounds.

Arms (x 2):
Round 1: mr, ch 1, 5 sc in the ring – 5 sts
Rounds 2 – 5: 5 sc around
Leave a long tail for sewing and fasten off.
Ears (x 2):
mr, ch 1, 5 hdc in the ring
Leave a long tail for sewing and fasten off.
Tail:
Round 1: mr, ch 1, 6 sc in the ring – 6 sts
Round 2: 6 sc
Leave a long tail for sewing and fasten off.
Scarf:
Use red yarn or any color of your choice.
Ch 66
Fasten off.
Assembly:
Sew the arms on Round 8 (or 9) of the body. Sew the tail in the back a round above the legs. Sew the ears on top of the head (a round below the magic ring). Using a cotton swab and blush, make pink cheeks. NOTE: Cover the body with a piece of fabric so the blush doesn’t stain it.

Fold the scarf in half and find the middle. With the glue gun, glue the middle of the scarf to the front of the bear (Round 9).

You will wrap it around a few times while gluing in a few places to make sure the scarf will stay in place. Note: Add only a little bit of glue at a time so it doesn’t look messy. Tuck both ends under the scarf and glue to secure.
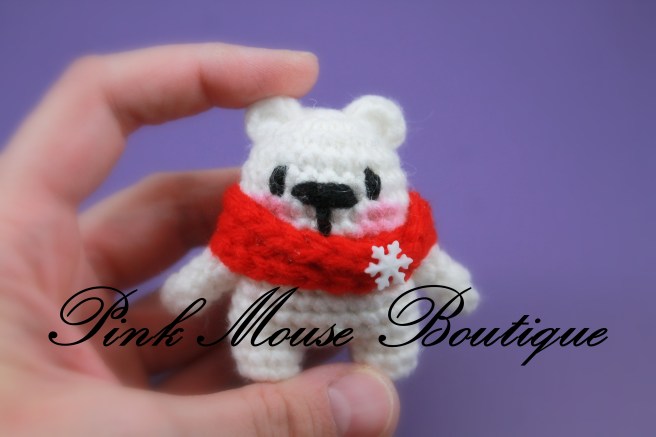
Optional: Sew a small snowflake to the scarf (a little to one side).
And voila! You have made an adorable little polar bear! Now you can also add a ribbon to its head and make it an ornament. 🙂
Stay tuned! In a few days, this little guy will show you something special!
HAPPY CROCHET!

In rounds 10-13 it’s written 24 sts. What stitch we need to do? Is it slip stitch or continue the 24 single crochet
LikeLike
It’s single crochet around 🙂
LikeLike